Cumin-Roasted Lamb Chops with Scallions and Peanuts by Alison Roman

I have an extraordinarily hard time doing nothing. I’m alone in my apartment for the first time in weeks, and instead of just watching the sun move across my furniture like I should, I feel compelled to immediately produce something, write something, be useful for goodness sake. I live in a constant state of urgency to accomplish more, maximize time. I wonder how many other people feel this level of pressure to be productive. Do they fight it and close their laptops to be still? Do they give into that hunger for checking a box and write about lamb chops instead? 

I choose to write about lamb chops. Who knows, perhaps I’ll choose stillness tomorrow… 

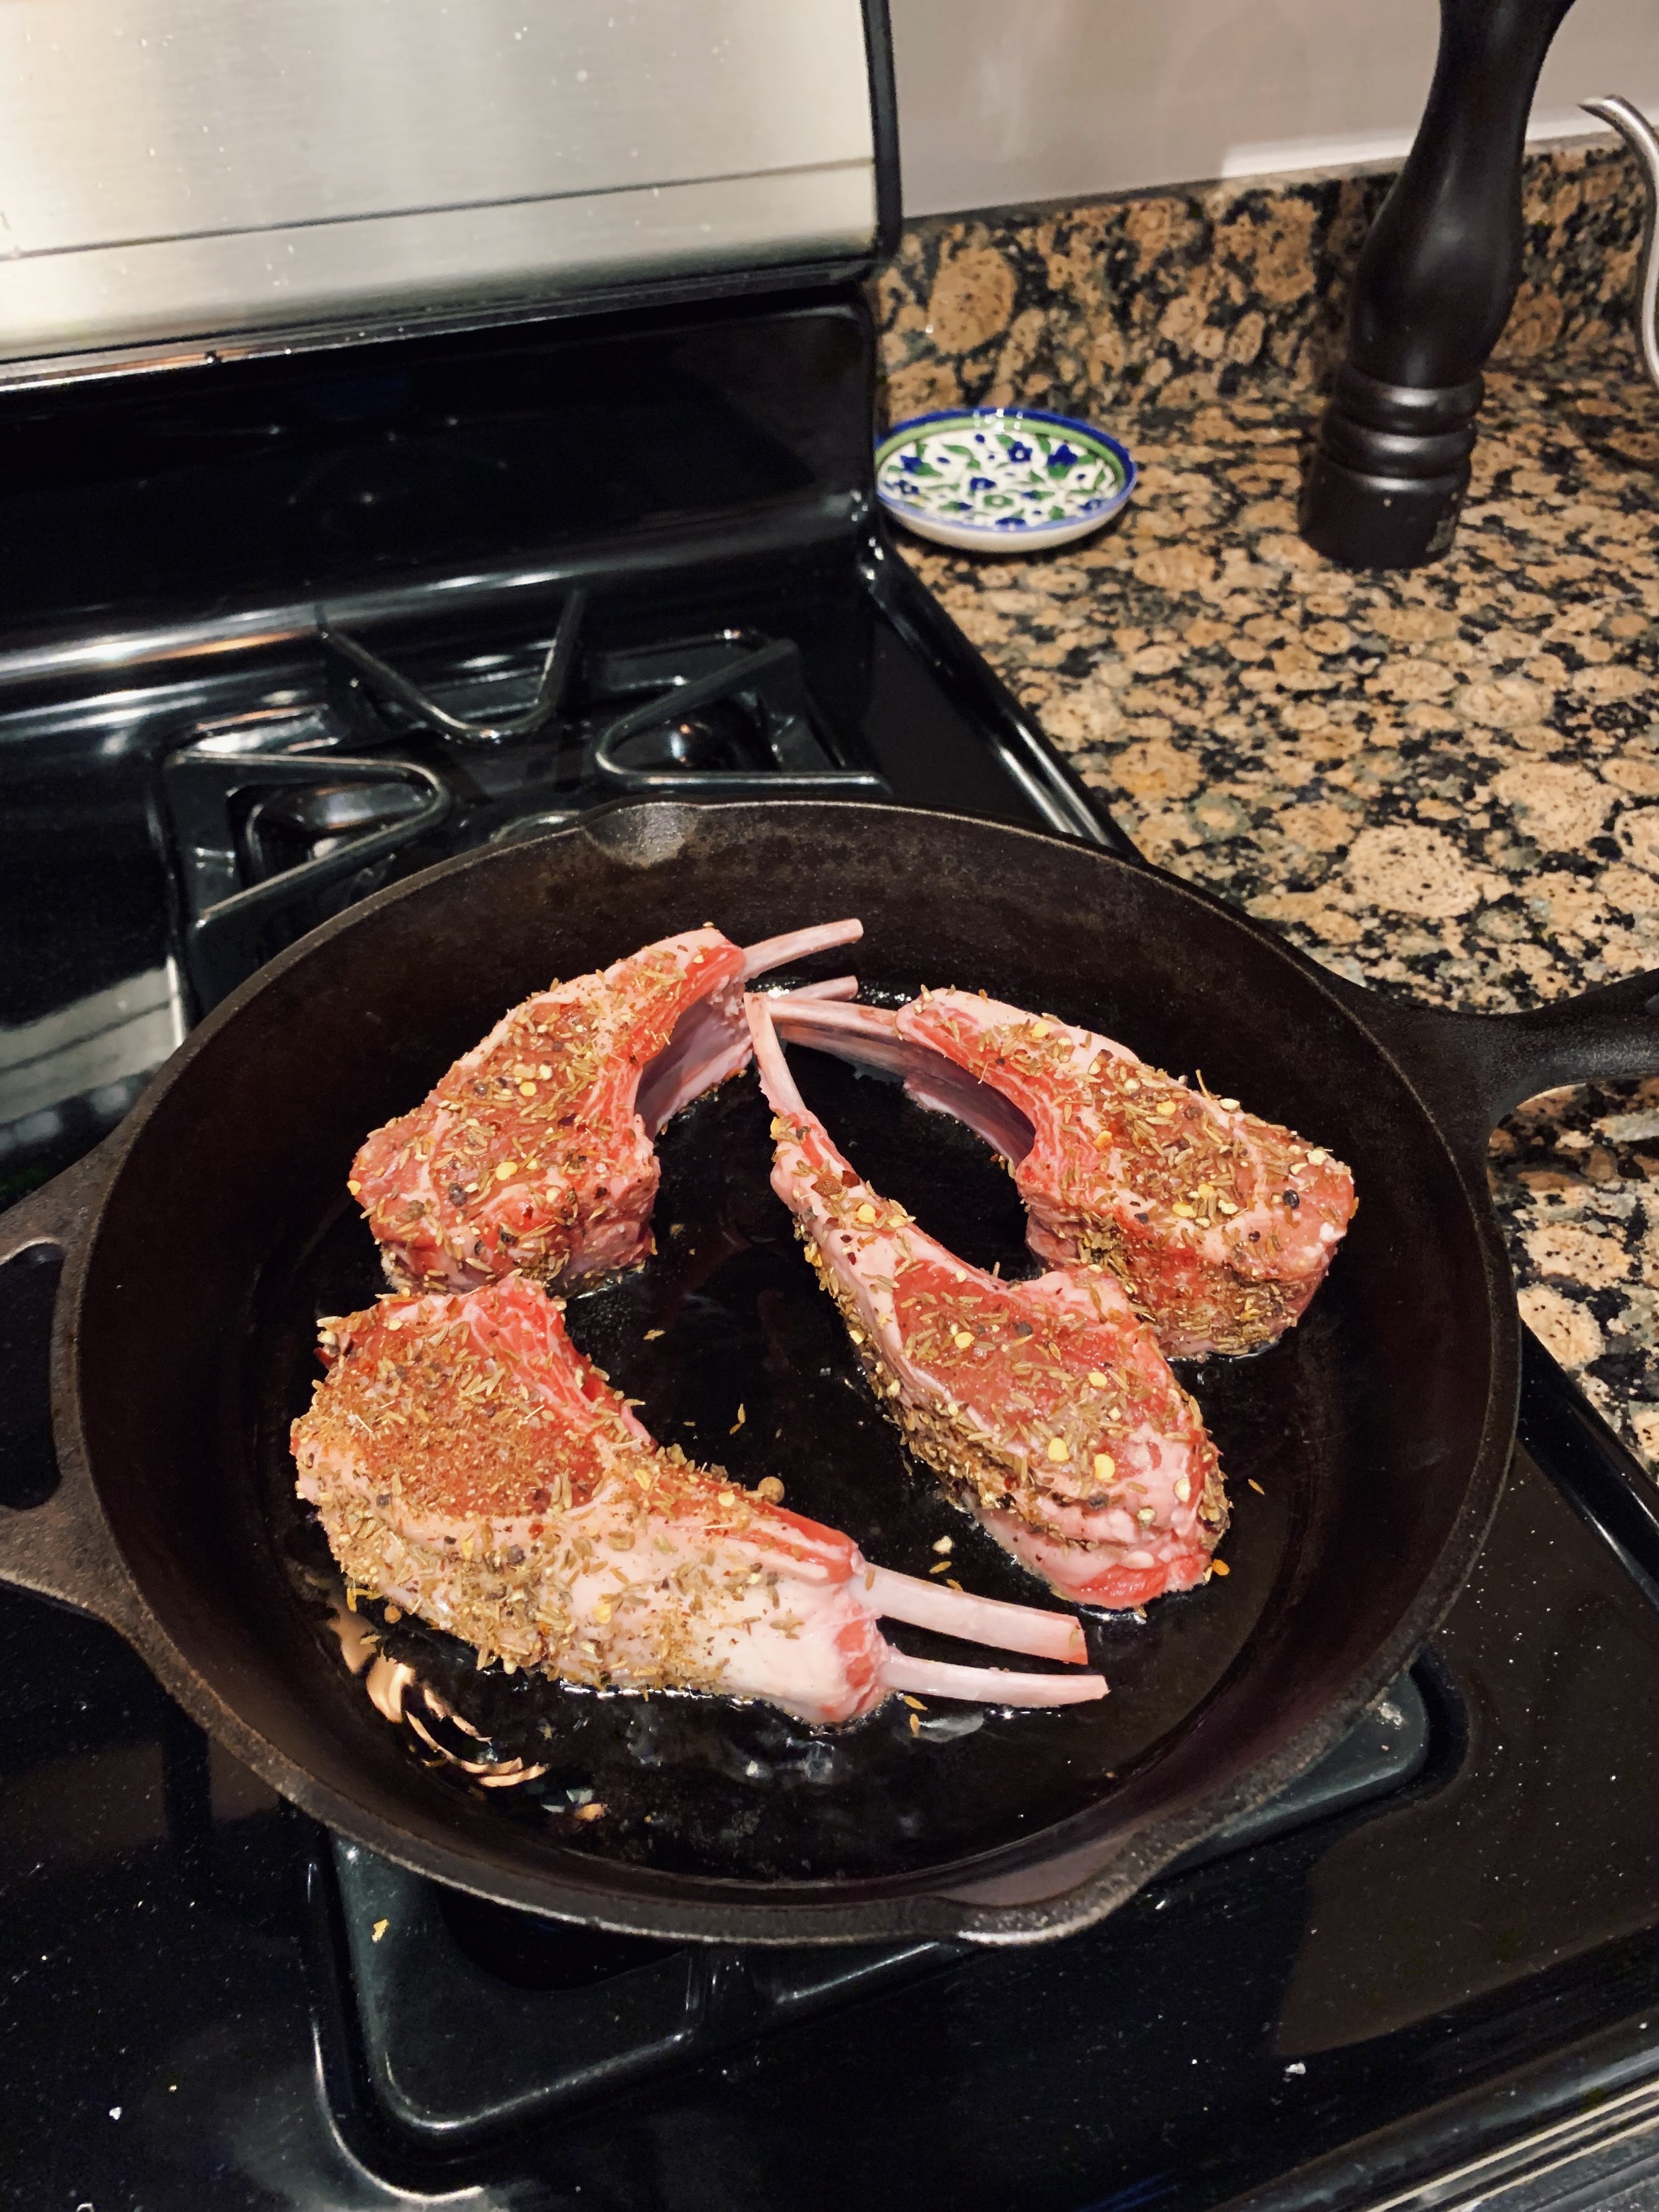
This was my first time ever cooking lamb chops. Given the priciness of this cut of meat, I chose to make a half-recipe just for Jordan and I. I bought the lamb at Whole Foods, unfrenched. (To save someone else the task of googling “frenched vs. unfrenched lamb chops,” I’ll just summarize the results for you: Frenching is the process of scraping the fat and meat off of one end of a bone to make it easier to hold. Unfrenched chops have less room for a good grip on the bottom, but then you get to have more meat.)

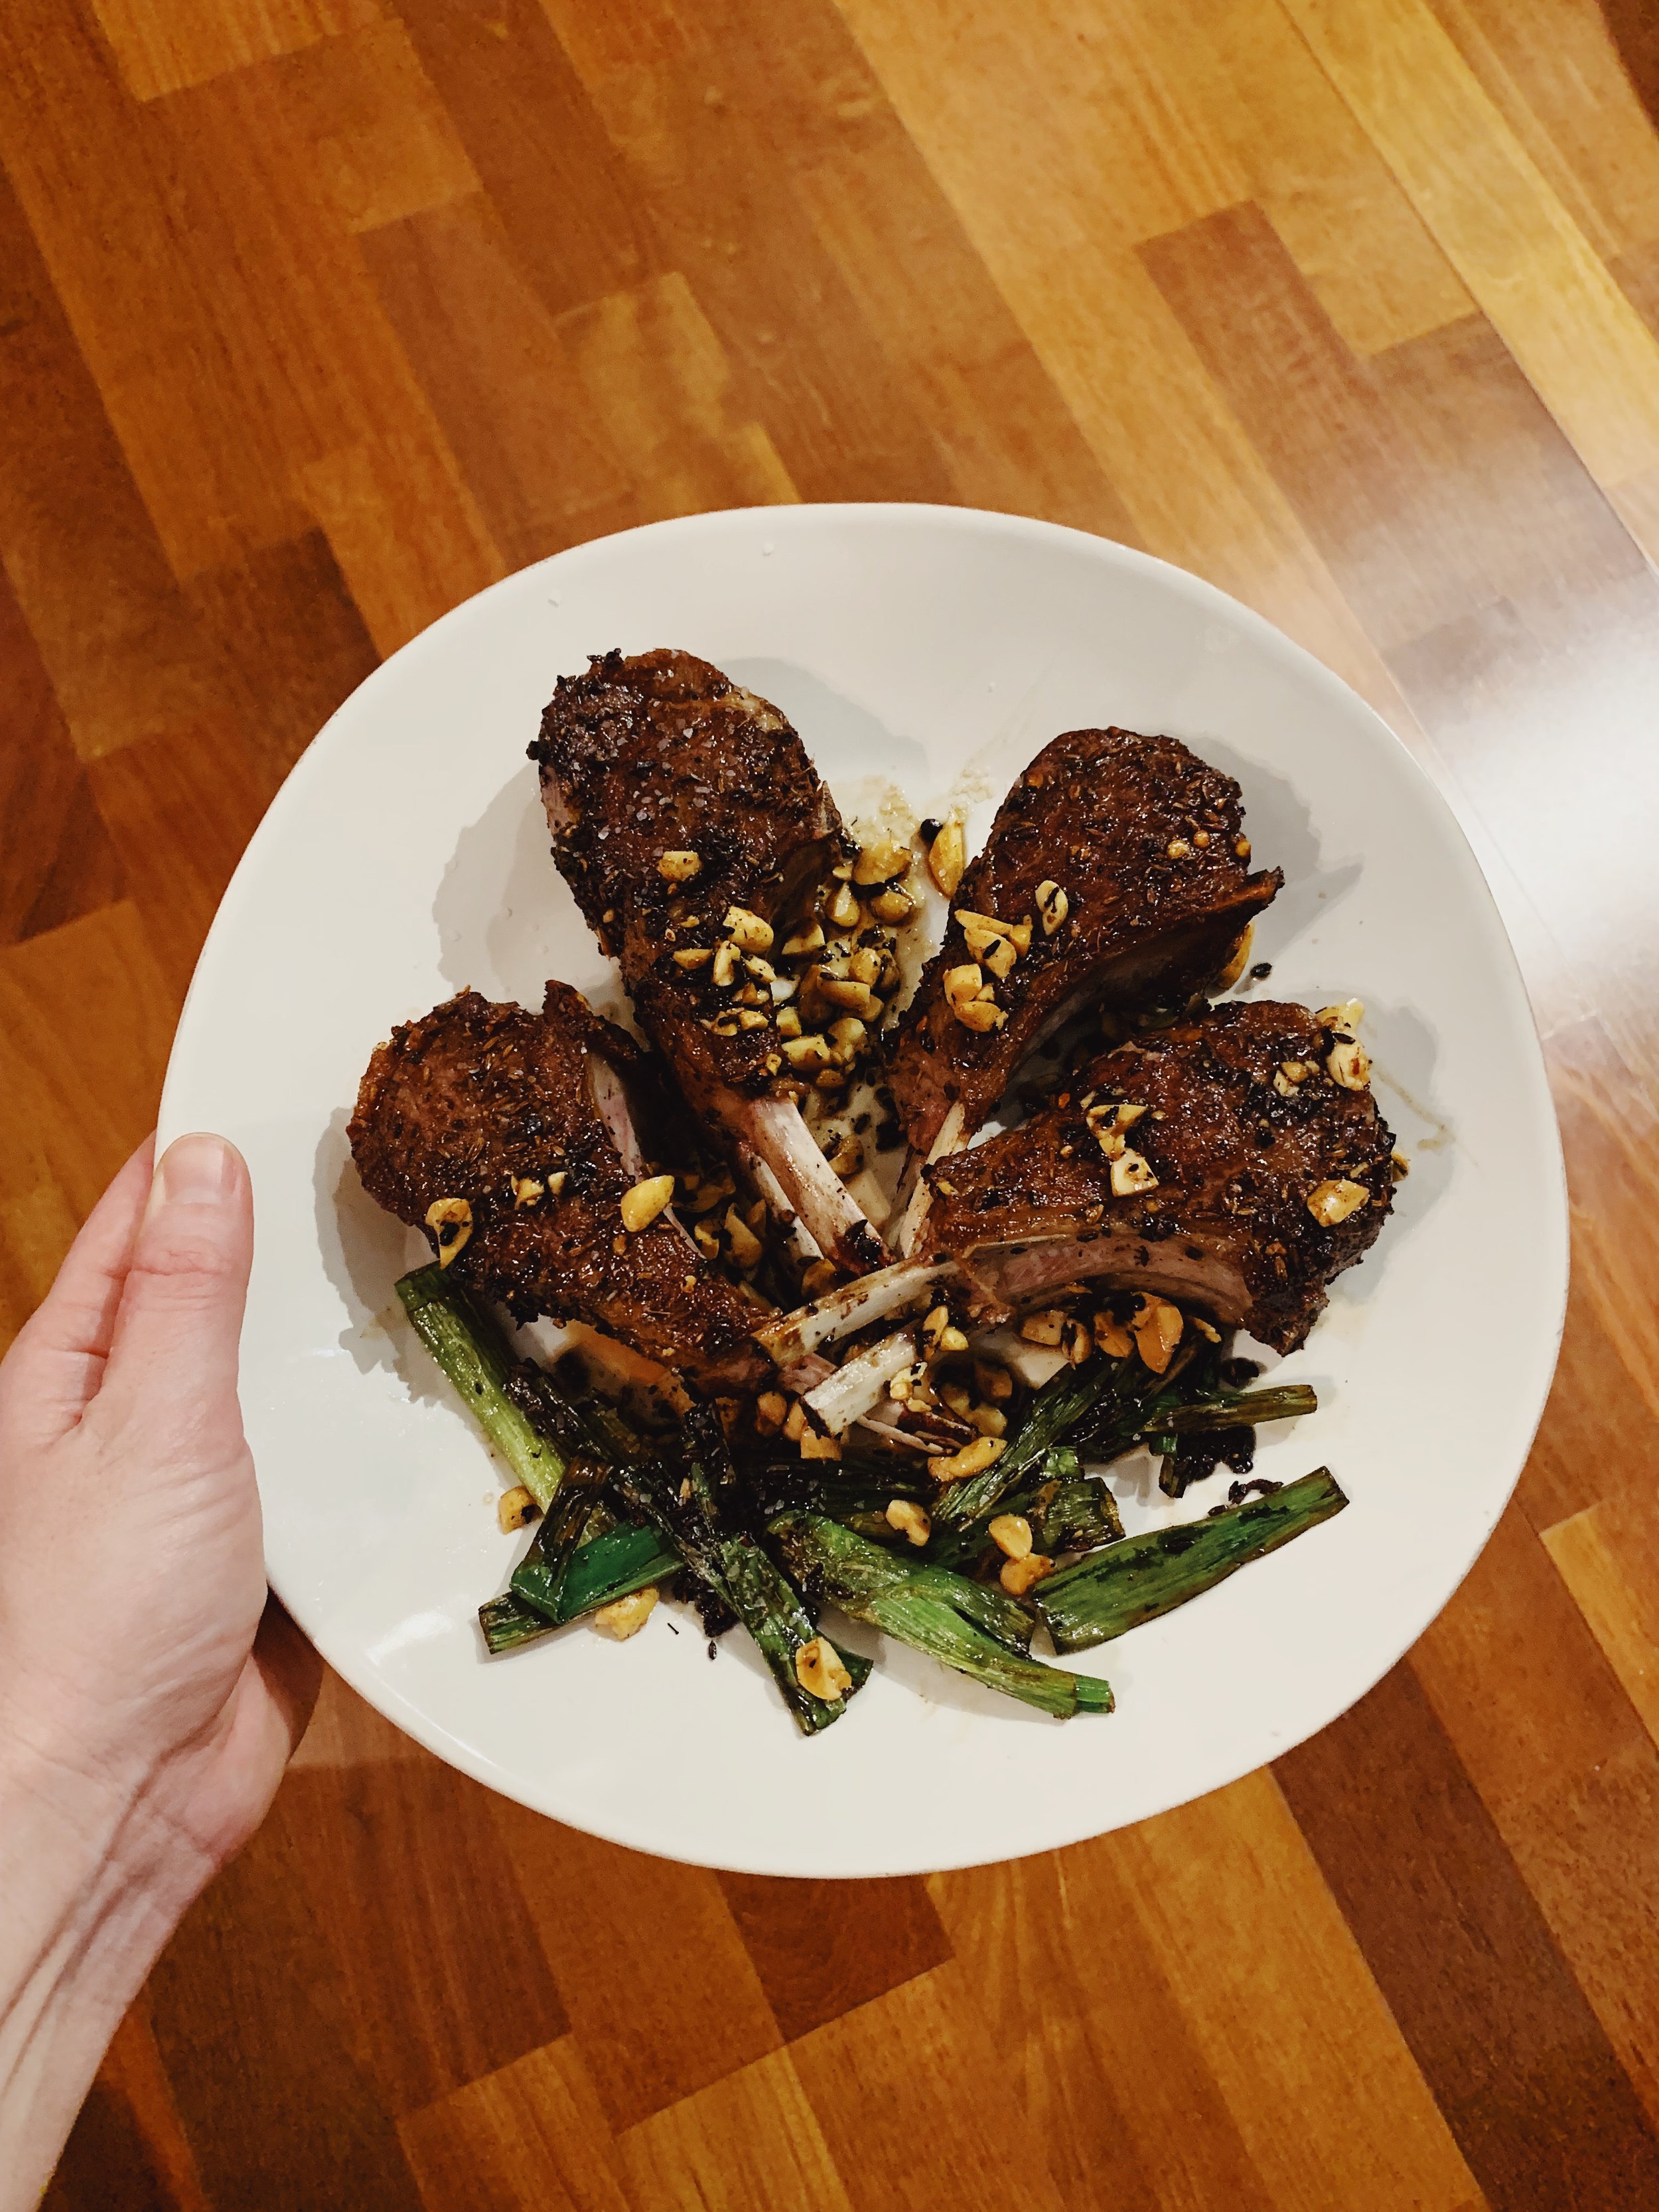
I ground up some cumin seeds, peppercorns (I used regular black ones, Szechuan sets my mouth on fire in a bad way), and pepper flakes with my mortar and pestle, then added salt to the mix. After rubbing the spices on all sides of each chop, I cooked them in my cast iron skillet, about 5 minutes per side, until 140 in the center, knowing they would rise to 145 as they sat. I then seared the scallions in all that lamby, fatty goodness, and tossed in the chopped peanuts and rice vinegar. The whole process took about 25 minutes - yes, that’s it! 

I served the lamb chops with Alison’s Persimmon & Pear Salad with Spicy Pecans and Blue Cheese salad - a strong combination bursting with flavor. I’ve eaten a good bit of tough lamb over the course of this project, but these chops were anything but. The meat was tender, not too chewy, and full of flavor. I savored every bite. 

The sun is still setting and my living room still feels safe and quiet. Maybe I can accomplish some writing and resting in the same afternoon? (There I go saying rest is something to accomplish…) 

184 recipes cooked, 41 to go.

Low and Slow Rib Roast with Rosemary and Anchovy by Alison Roman

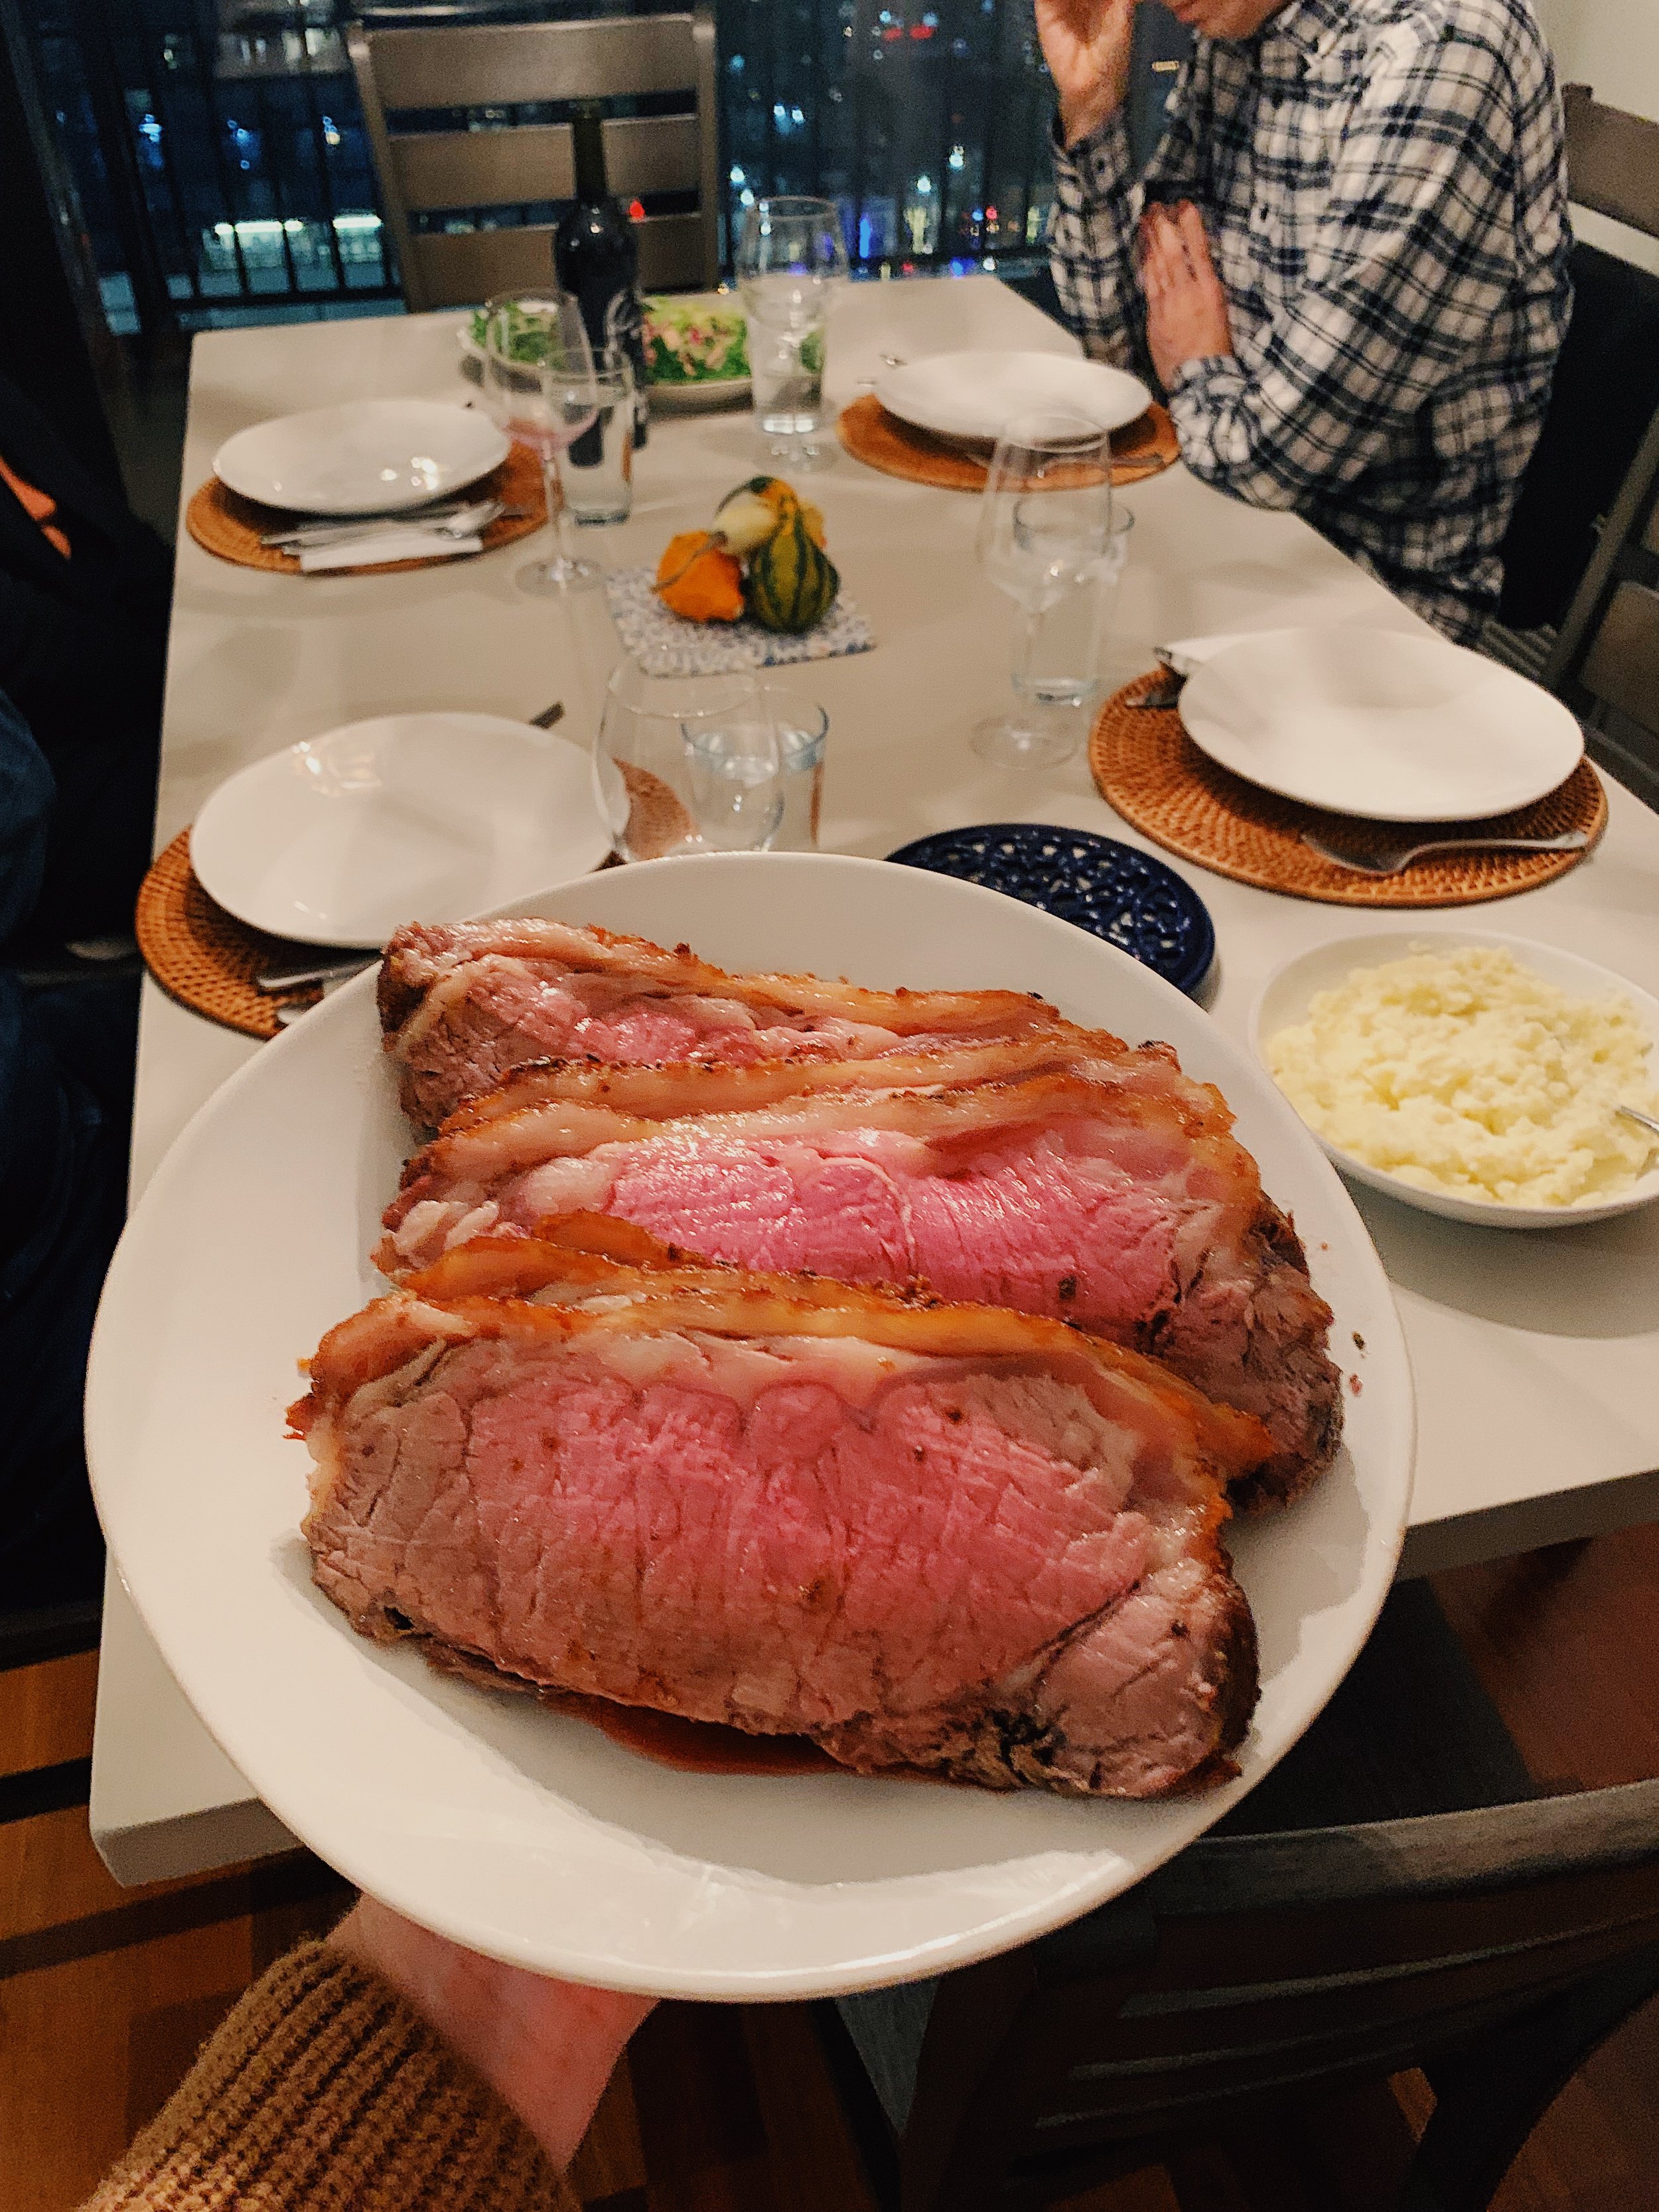
I’ll just come right out and say that this 4.7 lb. hunk of beef is one of my greatest achievements in the kitchen to date. Attaining the perfect internal temperature and color of a large piece of meat has never been a strong suit of mine. Whether it’s an oven that’s unpredictable or my own issues with patience or judgment of done-ness, I’ve tended to overcook meat. 

This year, I committed myself to growing my meat skills. An obvious step one? Buy a reliable digital meat thermometer. Yes, I’ve been rightly accused of slicing open a chicken breast multiple times before it’s done to look for “pinkness.” My meat thermometer has saved me many premature hackings of quality protein. Second step, buy an oven thermometer. Ovens, especially old ones, lie. I’ve yet to live in an apartment where the oven temperature is exactly as listed. 

Third step, trial and error. Though I haven’t failed spectacularly, I’ve been willing to. It’s the willingness that makes all the difference. Alison isn’t afraid of big cuts of meat, and her recipes have given me the chance to stretch my wings. Of them all, two recipes seemed most daunting to me, this rib roast, and her yogurt-marinated leg of lamb which supposedly feeds 8-10 people (that will happen soon). So you could say I was nervous.

A rib roast is intimidating, first of all, because it’s expensive. The cost of failure was a third of my entire grocery bill. Second, though active involvement is quite low, the recipe requires a lot of choices to be made by the cook, which feels risky. So I asked myself, when’s the last time you did something you’re proud of that didn’t require risk? *crickets*.....  Let’s dive in. 

I salted the roast, then made my first big decision to let it sit at room temperature for two and a half hours (instead of in the fridge for far longer). I guess that wasn’t so hard? Meanwhile, I prepped the marinade: chopped anchovy, rosemary, and grated garlic with salt and olive oil. Here, I’d recommend the more marinade the better. With such a large roast, it’s hard to overdo it with flavor. 

With a good bit of oven temperature monitoring, the roast cooked for two hours and five minutes at 250 degrees. Alison gives a range of time here, so I chose to check it on the early side - and what do you know, it was ready to go! The internal temp you’re looking for is 110 degrees, and Alison says it should rise to 125 by the time you’re ready to sear/or flash-roast it (my term for roasting briefly at a high temp). Again, much to my delight, the meat rose to 125 degrees exactly while I heated the oven to 500 degrees. (Is it weird that I’m delighted by instructions coming true? It so rarely seems to work out this well.)

I made my third and fourth choices -- due to the time of day, I chose not to let the roast sit at room temperature for up to four hours, but only for twenty minutes as the oven temp rose. Then I chose to brown the fat by flash-roasting, instead of searing. Why? Clean up. Imagine the fatty oil splattering every surface of my kitchen if I seared the meat in a skillet. Nope. Not today. 

After just 10 minutes, the fat was properly browned and the anchovy bits appeared well-crisped. (And my floor remained without oil spills.) I sliced the meat with bated breath… 

And it looked perfect. It even tasted perfect - melt-in-your-mouth tender. As I said, this rib roast is one of my crowning achievements in this project, due to a convergence of careful attention, following instructions, and definitely luck. I served it with leftover Thanksgiving mashed potatoes and Alison’s Little Gems and Cabbage salad (also phenomenal, post to come). 

Friends, if this recipe also intimidated you when reading through nothing fancy, let this be your encouragement to give it a go. If you pay attention, follow her advice, and maybe say a few quick prayers, this recipe could become one of your proudest meals, too. 

176 recipes cooked, 49 to go.

Black Bass with Salty, Spicy Celery by Alison Roman

Besides all of Alison’s salmon recipes, her black bass recipe is Jordan’s favorite seafood dish from this project, by a long shot. Reasons being threefold: tenderness, flavor, and ease. 

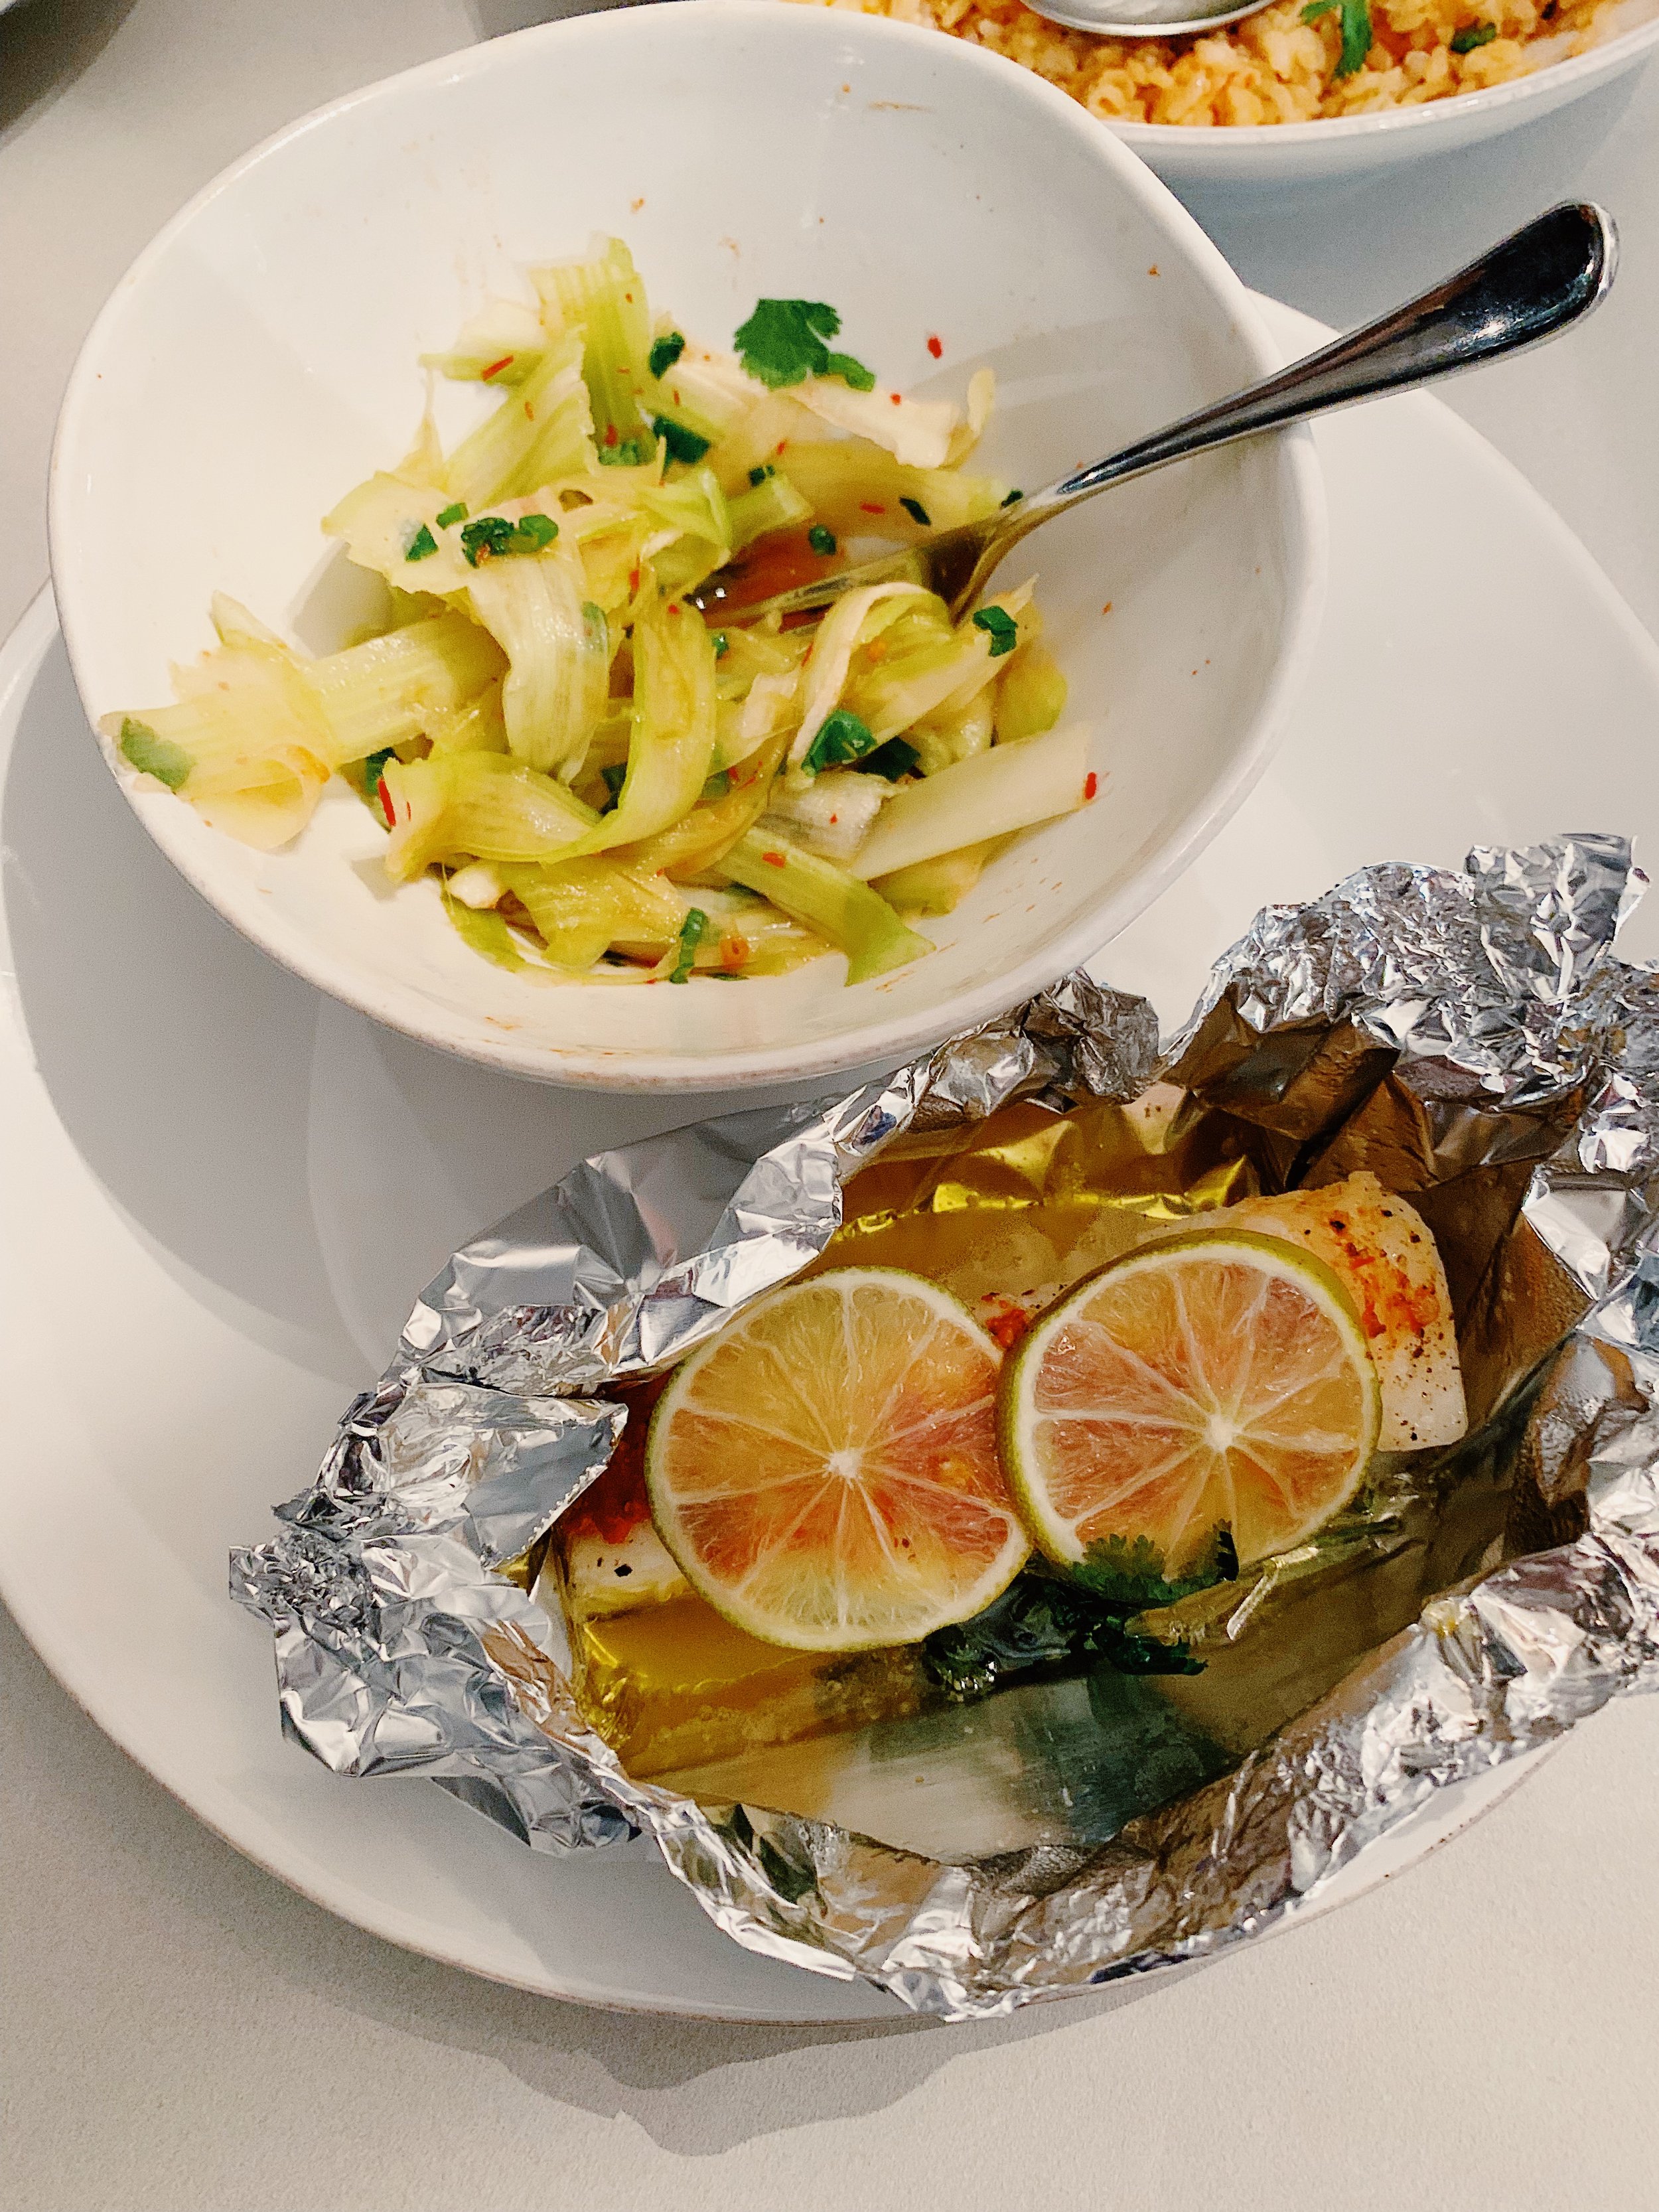
Tenderness: Alison instructs us to cook the fish filets in a foil packet with lots of olive oil, which allows for plenty of fatty steam to cook the fish through without letting it dry out. I’m a big parchment/foil packet fan when it comes to making fish. So quick, easy, and practically foolproof.

Flavor: This recipe includes an X factor ingredient – lime pickle. An indian condiment made of pickled lime. I confess that I didn’t use it here. I searched, but could not find it. So I improvised, and used a combination of salt, lime juice, and harissa to resemble the flavor. And though I can’t officially confirm how similar the flavors are, I personally loved how it turned out! The spicy, saltiness of my spices paired well with the fishiness of the bass, while not drowning out the fish’s flavor altogether. I used this combination with the celery and scallion salad too, and *chef’s kiss* my pals. What a fresh, fun, kick of a dish! 

Ease: The entire recipe took about 10 minutes of prep and 15 minutes in the oven. Half of the prep happened while the fish was in the oven. I also included a packet of frozen brown rice from TJ’s, mixed with a bit of harissa and sea salt to complete the dish. 

I will certainly make this one again. And then, probably, again.

174 recipes cooked, 51 to go.

Butter Beans, Tangy Mushrooms, Baked Pasta with Artichokes and Cheese, and Margaret

This is a Margaret Winchell Appreciation Post. 

Margaret is one of the dearest friends I have ever known. She’s one of the few people I can talk on the phone with for hours and forget how long it’s been. Her phone calls are like menthol when you have a bad cold. They clear your head, open up your chest, and lead you to hope that you’ll feel better very soon. 

Margaret is brilliant. Not in a tongue and cheek way. She’s actually brilliant, especially when it comes to music, teaching, cooking, baking, musical theater, leadership, and multi-tasking. Her brilliance can sometimes intimidate others when they first meet her. But after spending time with Margaret, you realize she uses her brilliance to draw others in. 

Margaret, as I just mentioned, is a phenomenal, intuition-driven cook, with instincts so sharp, they could pierce a stale loaf of bread like a tip of a Global knife. It’s her passion for food and hospitality that turned me on to cooking as well. We became real friends after college, right at the time that I was learning to cook myself. She showed me the way. She took me under her wing and had me cook alongside her in preparation for our weekly dinners with Amy, and then usually at some point over the weekends, too. We did a lot of cooking together those days. Margaret also introduced me to New York Times Cooking, which revolutionized what I cook. 

Margaret visited me last weekend, along with her grad school pal, Evan. A most delightful duo. I went into my suburban office on Friday for work, and took the 4:57pm train home. I walked through the door to find my dearest friend Margaret already through two of Alison’s recipes, and half way through a third. This spoke volumes to me. I could almost cry. When this project felt close to impossible, far out of reach from my energy coffers, Margaret stood in the gap, and darn well filled it. 

I can claim essentially no credit for cooking these three recipes, and that’s okay. I’ll let my friend serve me in this way. I did, however, eat all three dishes, and talked to Margaret at length about their preparation. So in lieu of describing a cooking process, I’ll offer here just a few thoughts and takeaways about each one: 

Vinegar-Marinated Butter Beans: 

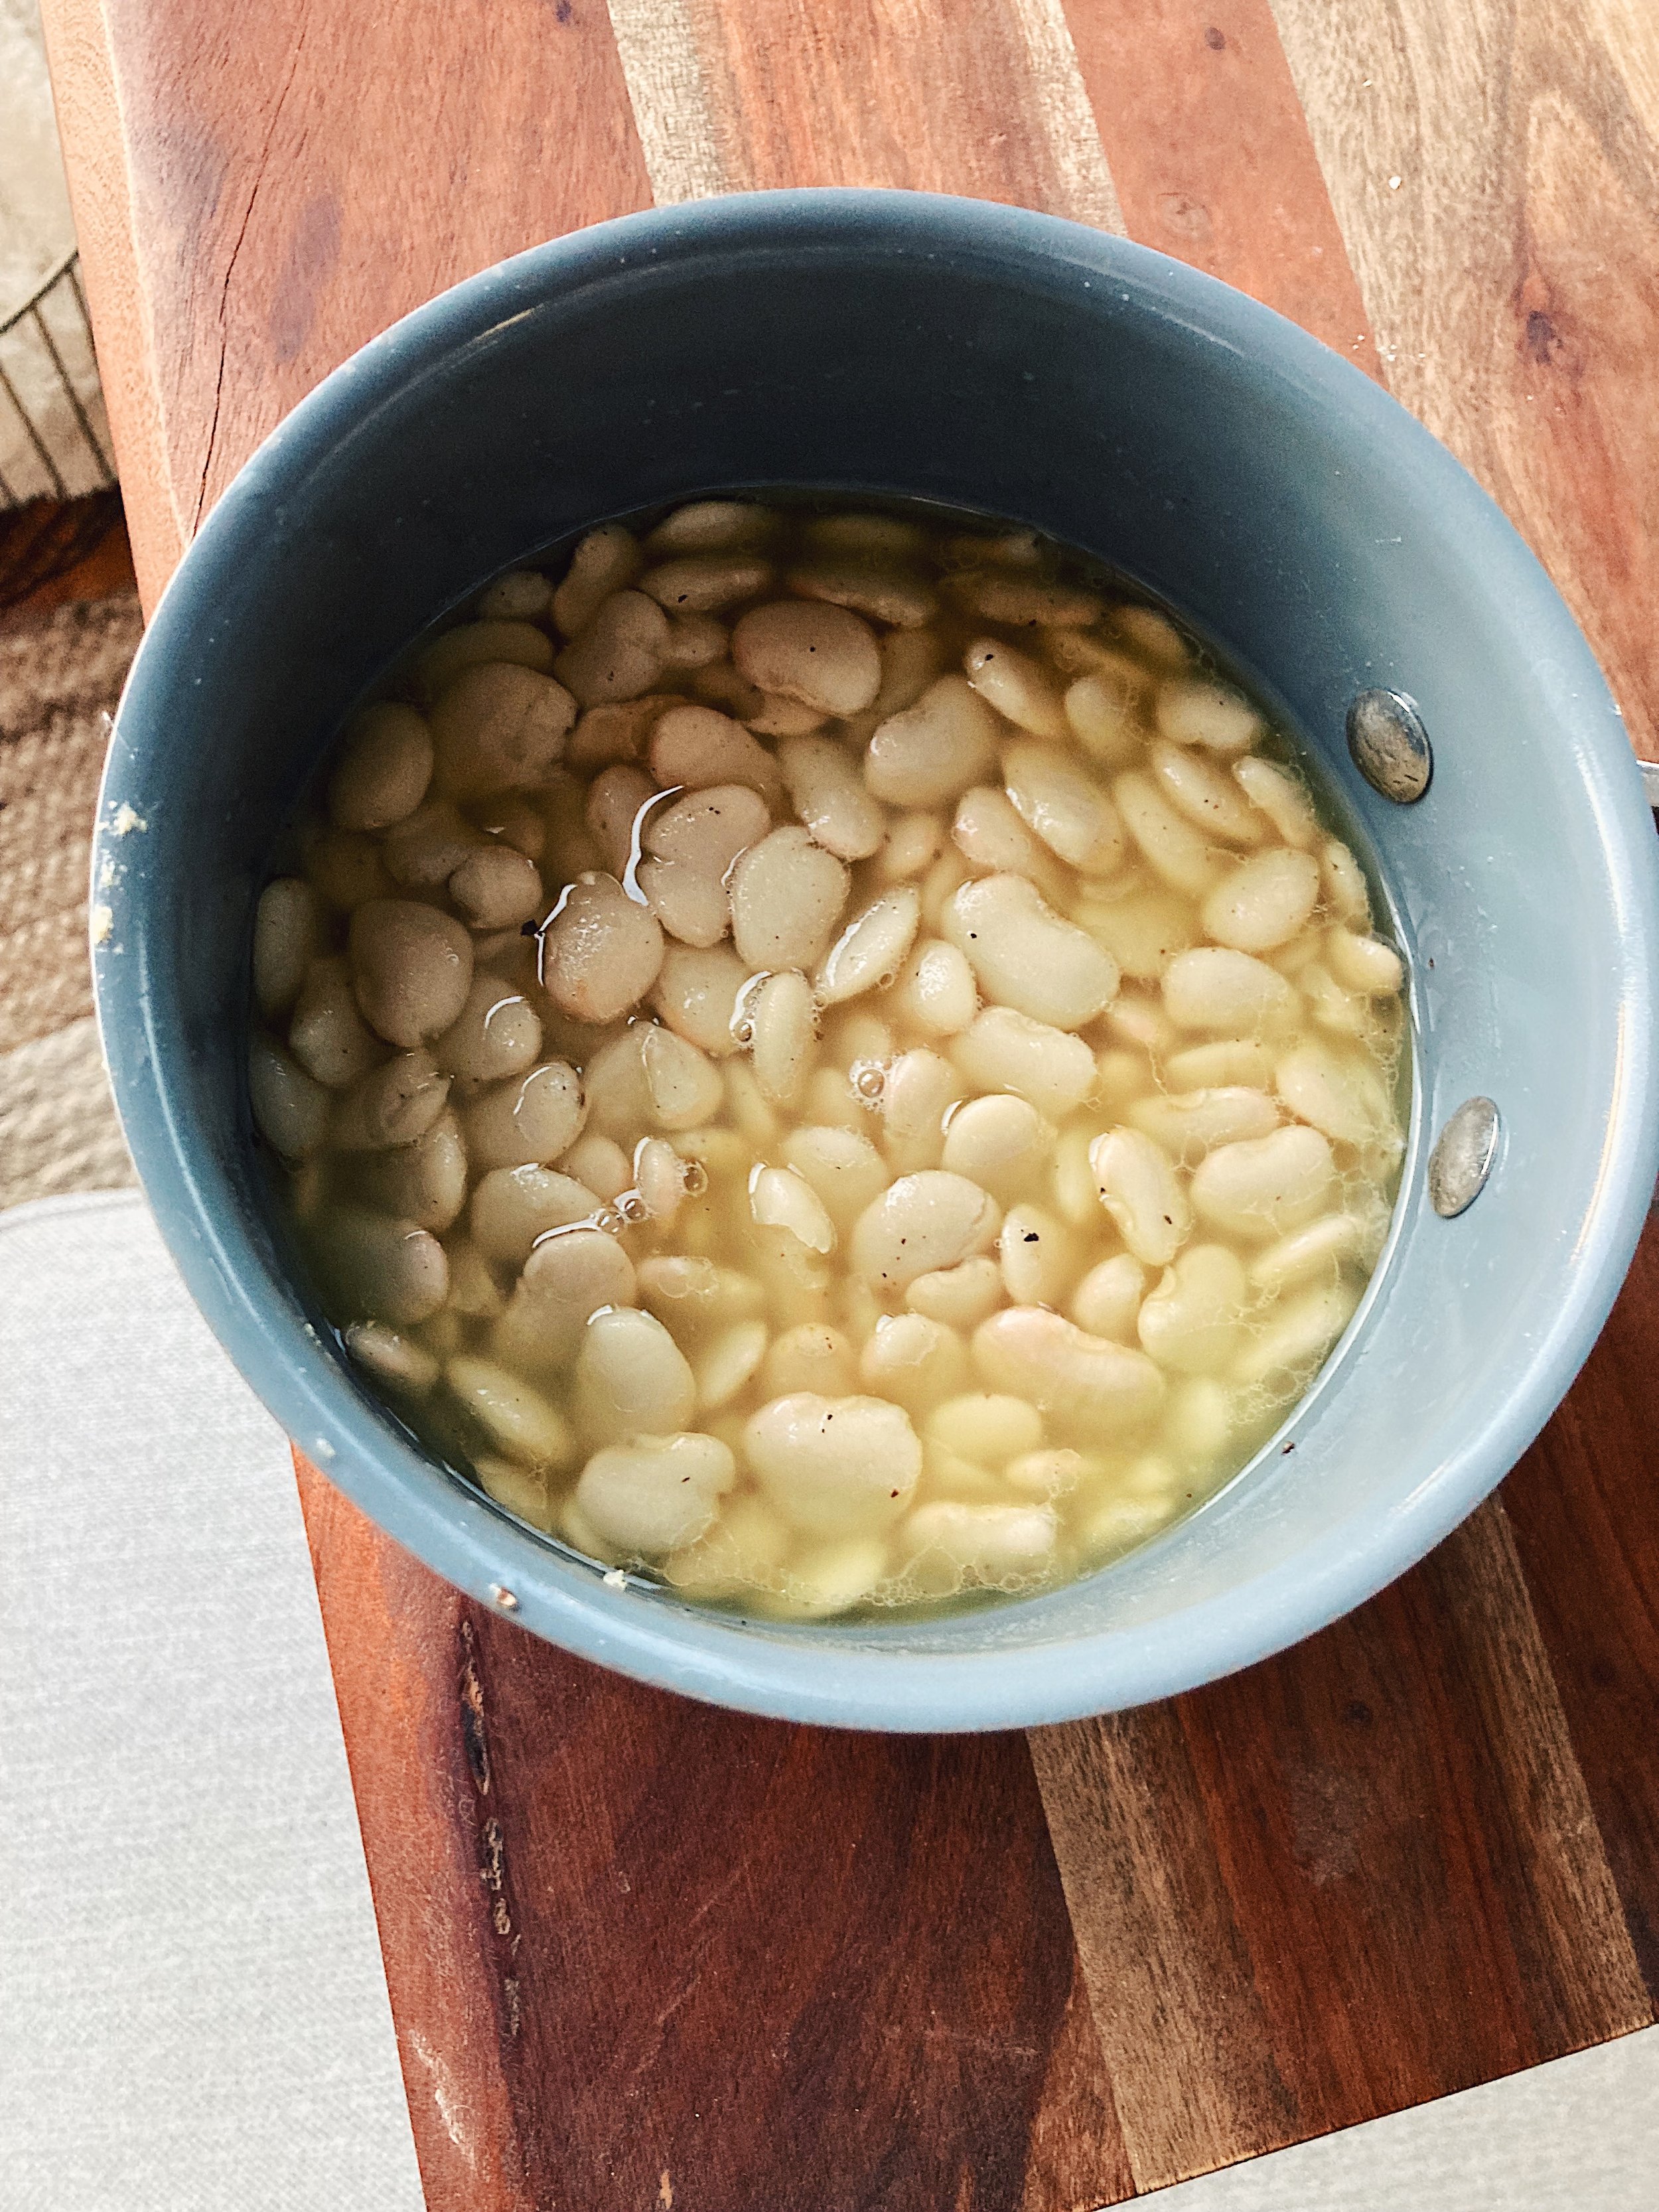
  • Something was UP with these beans. I had on hand a can of Eden Organic Butter Beans that had not expired, and were, you know, supposedly organic. But the best word to describe the final dish is “bitter.” We mused over this conundrum. Vinegar is acidic, but it shouldn’t taste bitter. Garlic can be bitter if you leave the green tips that sometimes sprout out the tops, but Margaret didn’t do this. What we’re left with are the beans. Something must be wrong with the beans. This dish has potential if you don’t have weird beans. It even keeps leftovers for up to two weeks, which I would normally do. But alas, we tossed our bitter beans. 

Tangy-Roasted Mushrooms: 

  • Mushrooms, a good variety of them, are expensive, but worth it, IMO. 

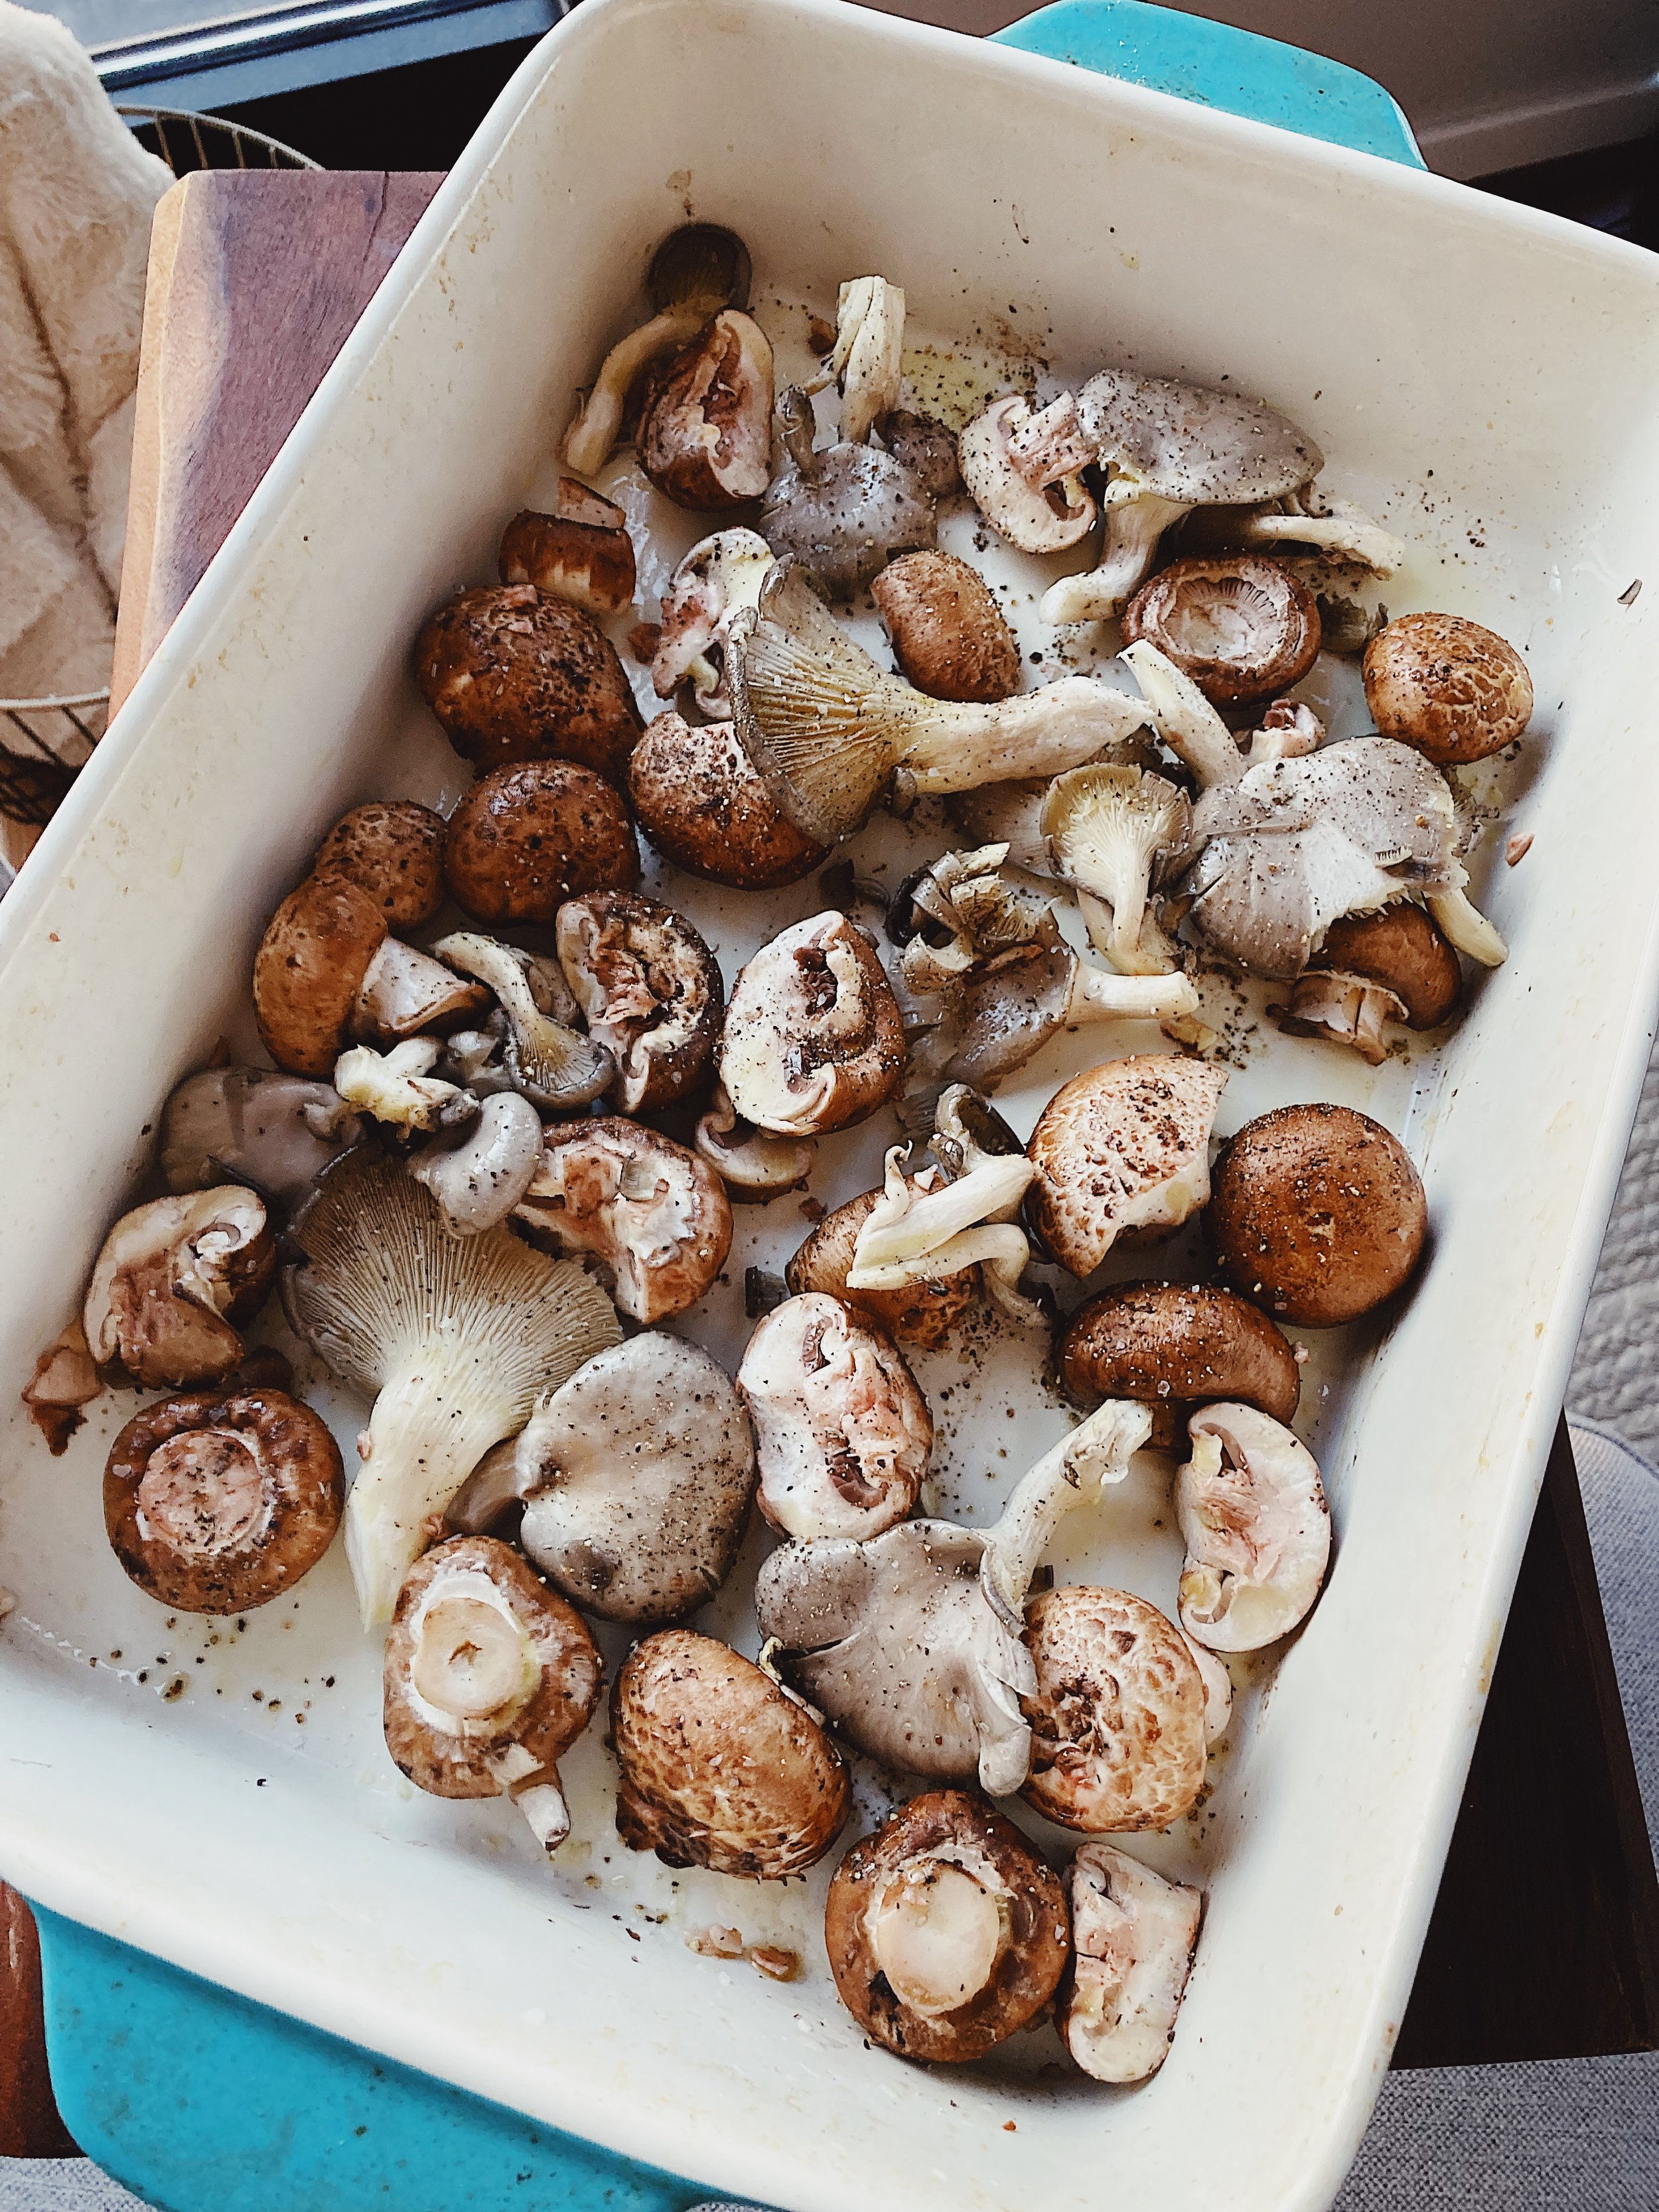
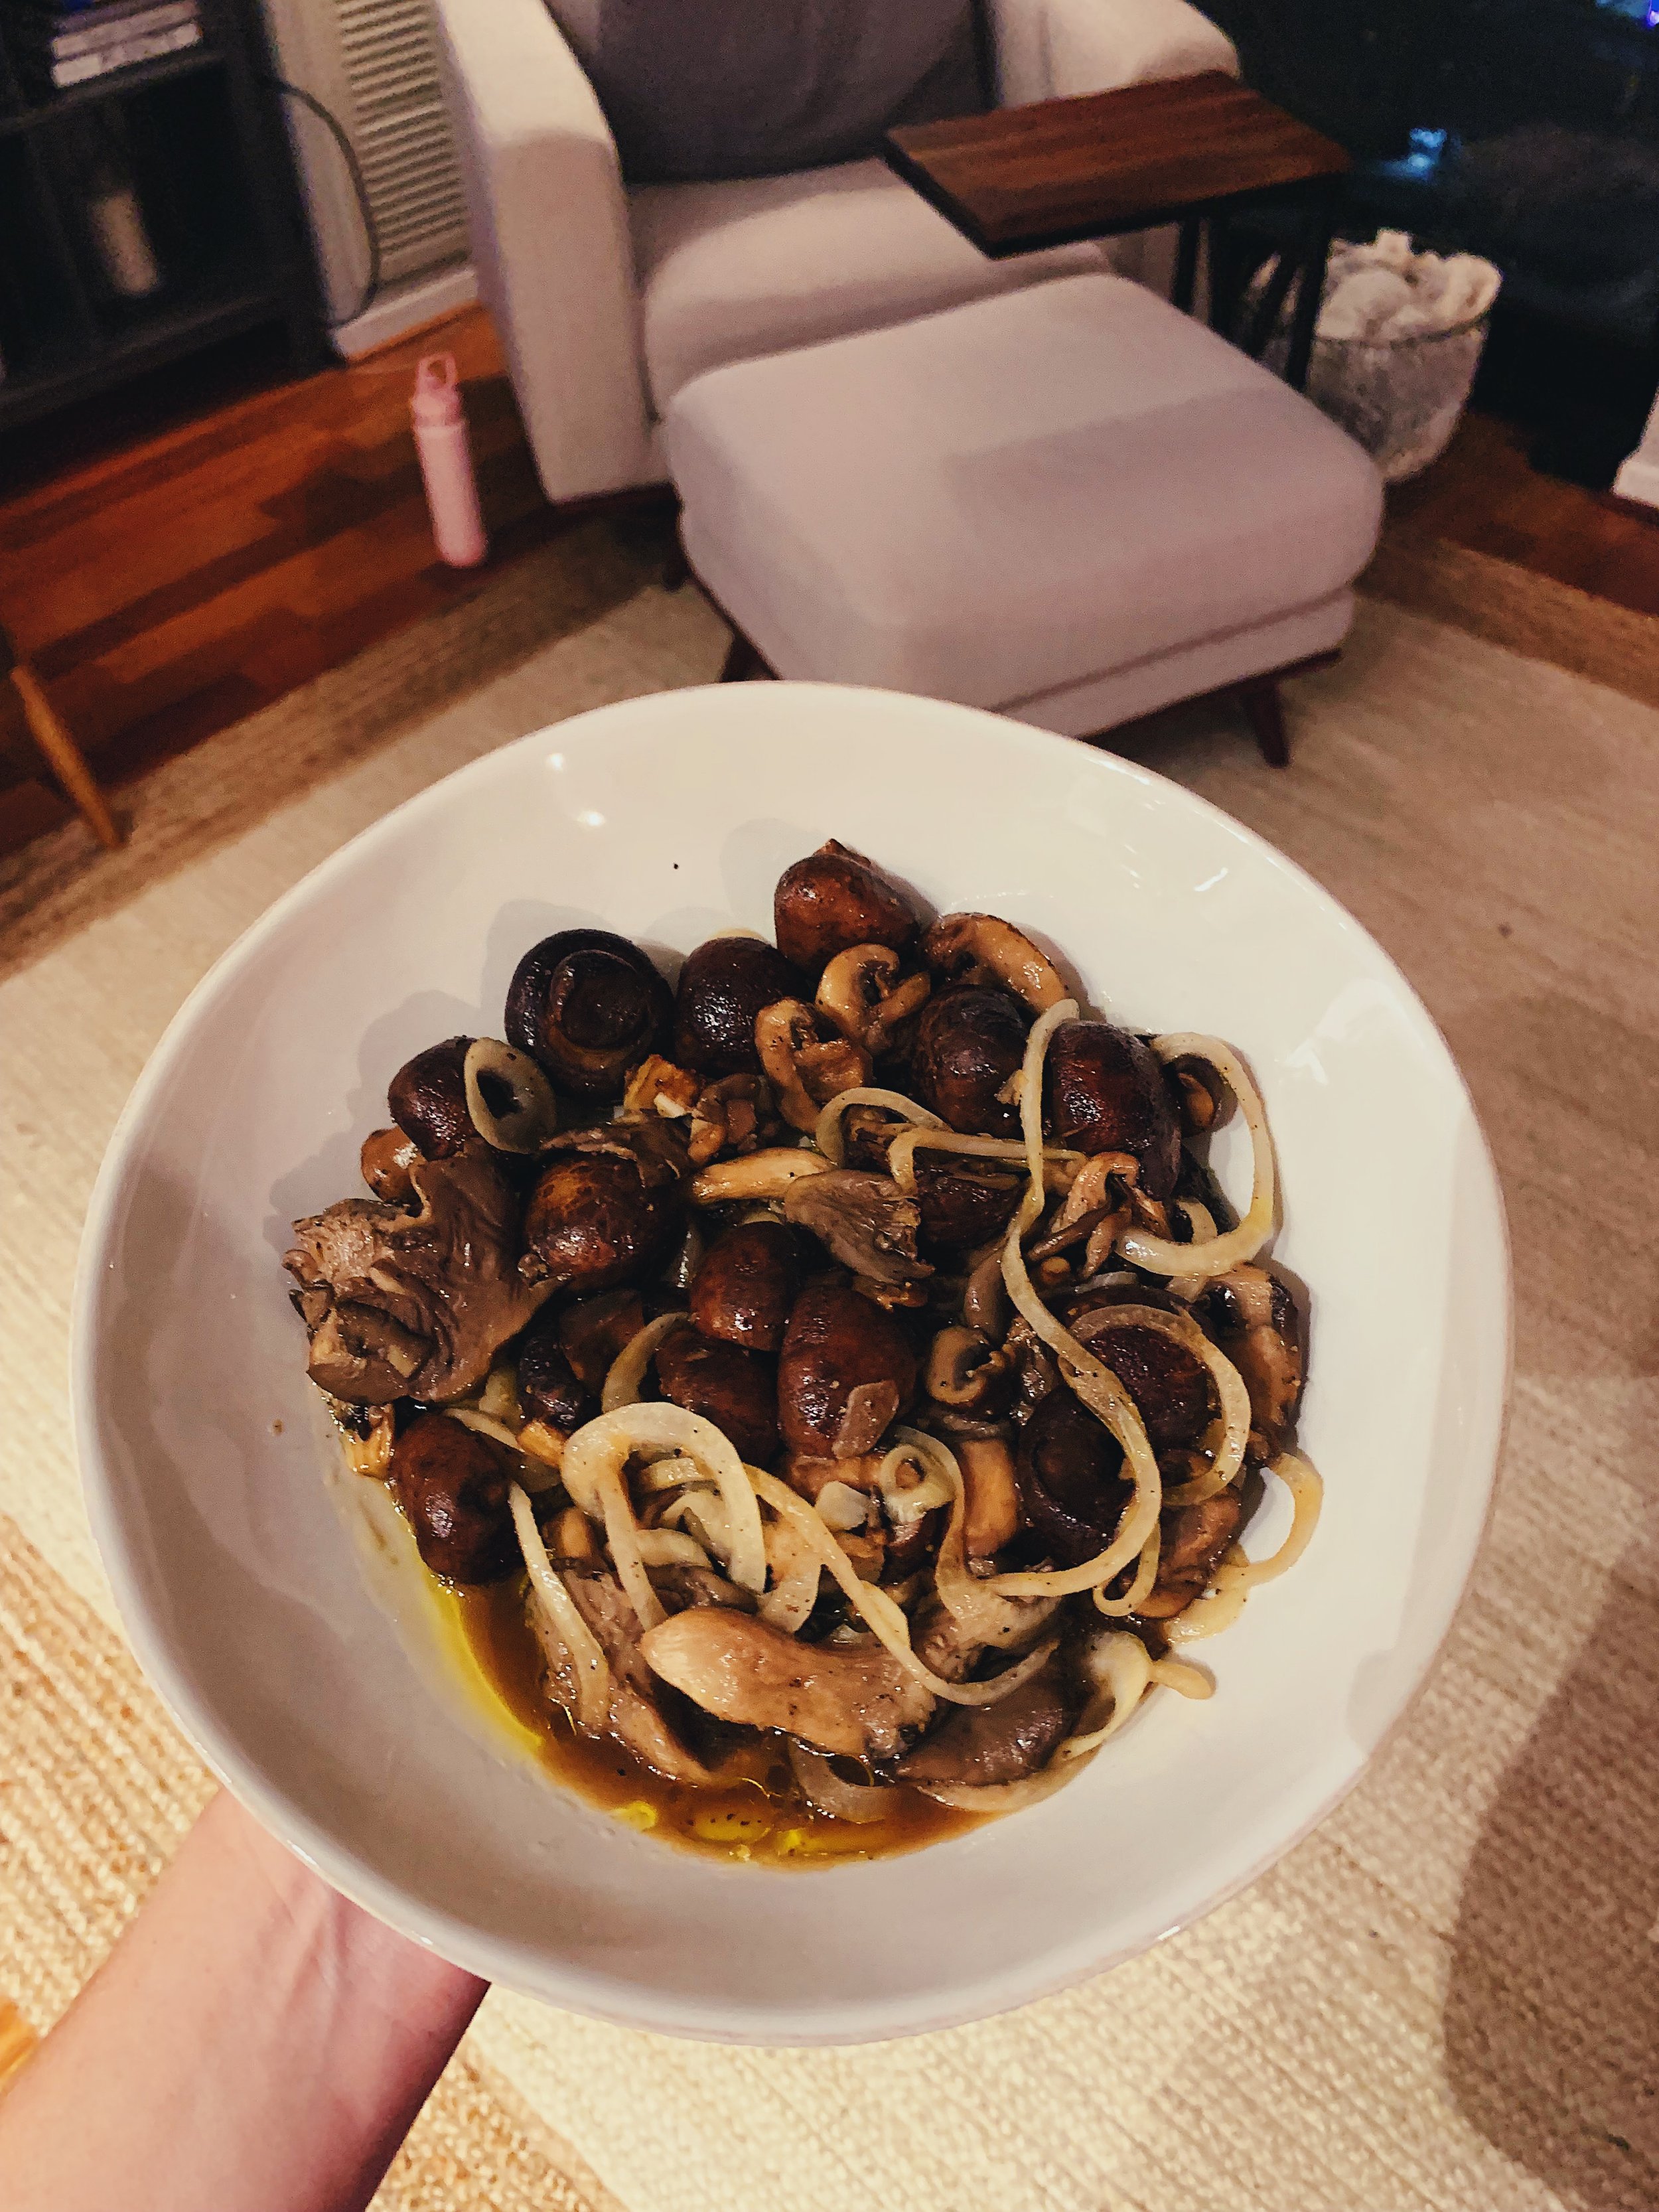
  • Mushrooms don’t shrink much when you roast them. They just get silkier in texture. 

  • Thinly sliced onions add some fun bits of crunch here. 

  • I would serve this at many a gathering. 

Baked Pasta with Artichokes and Too Much Cheese:

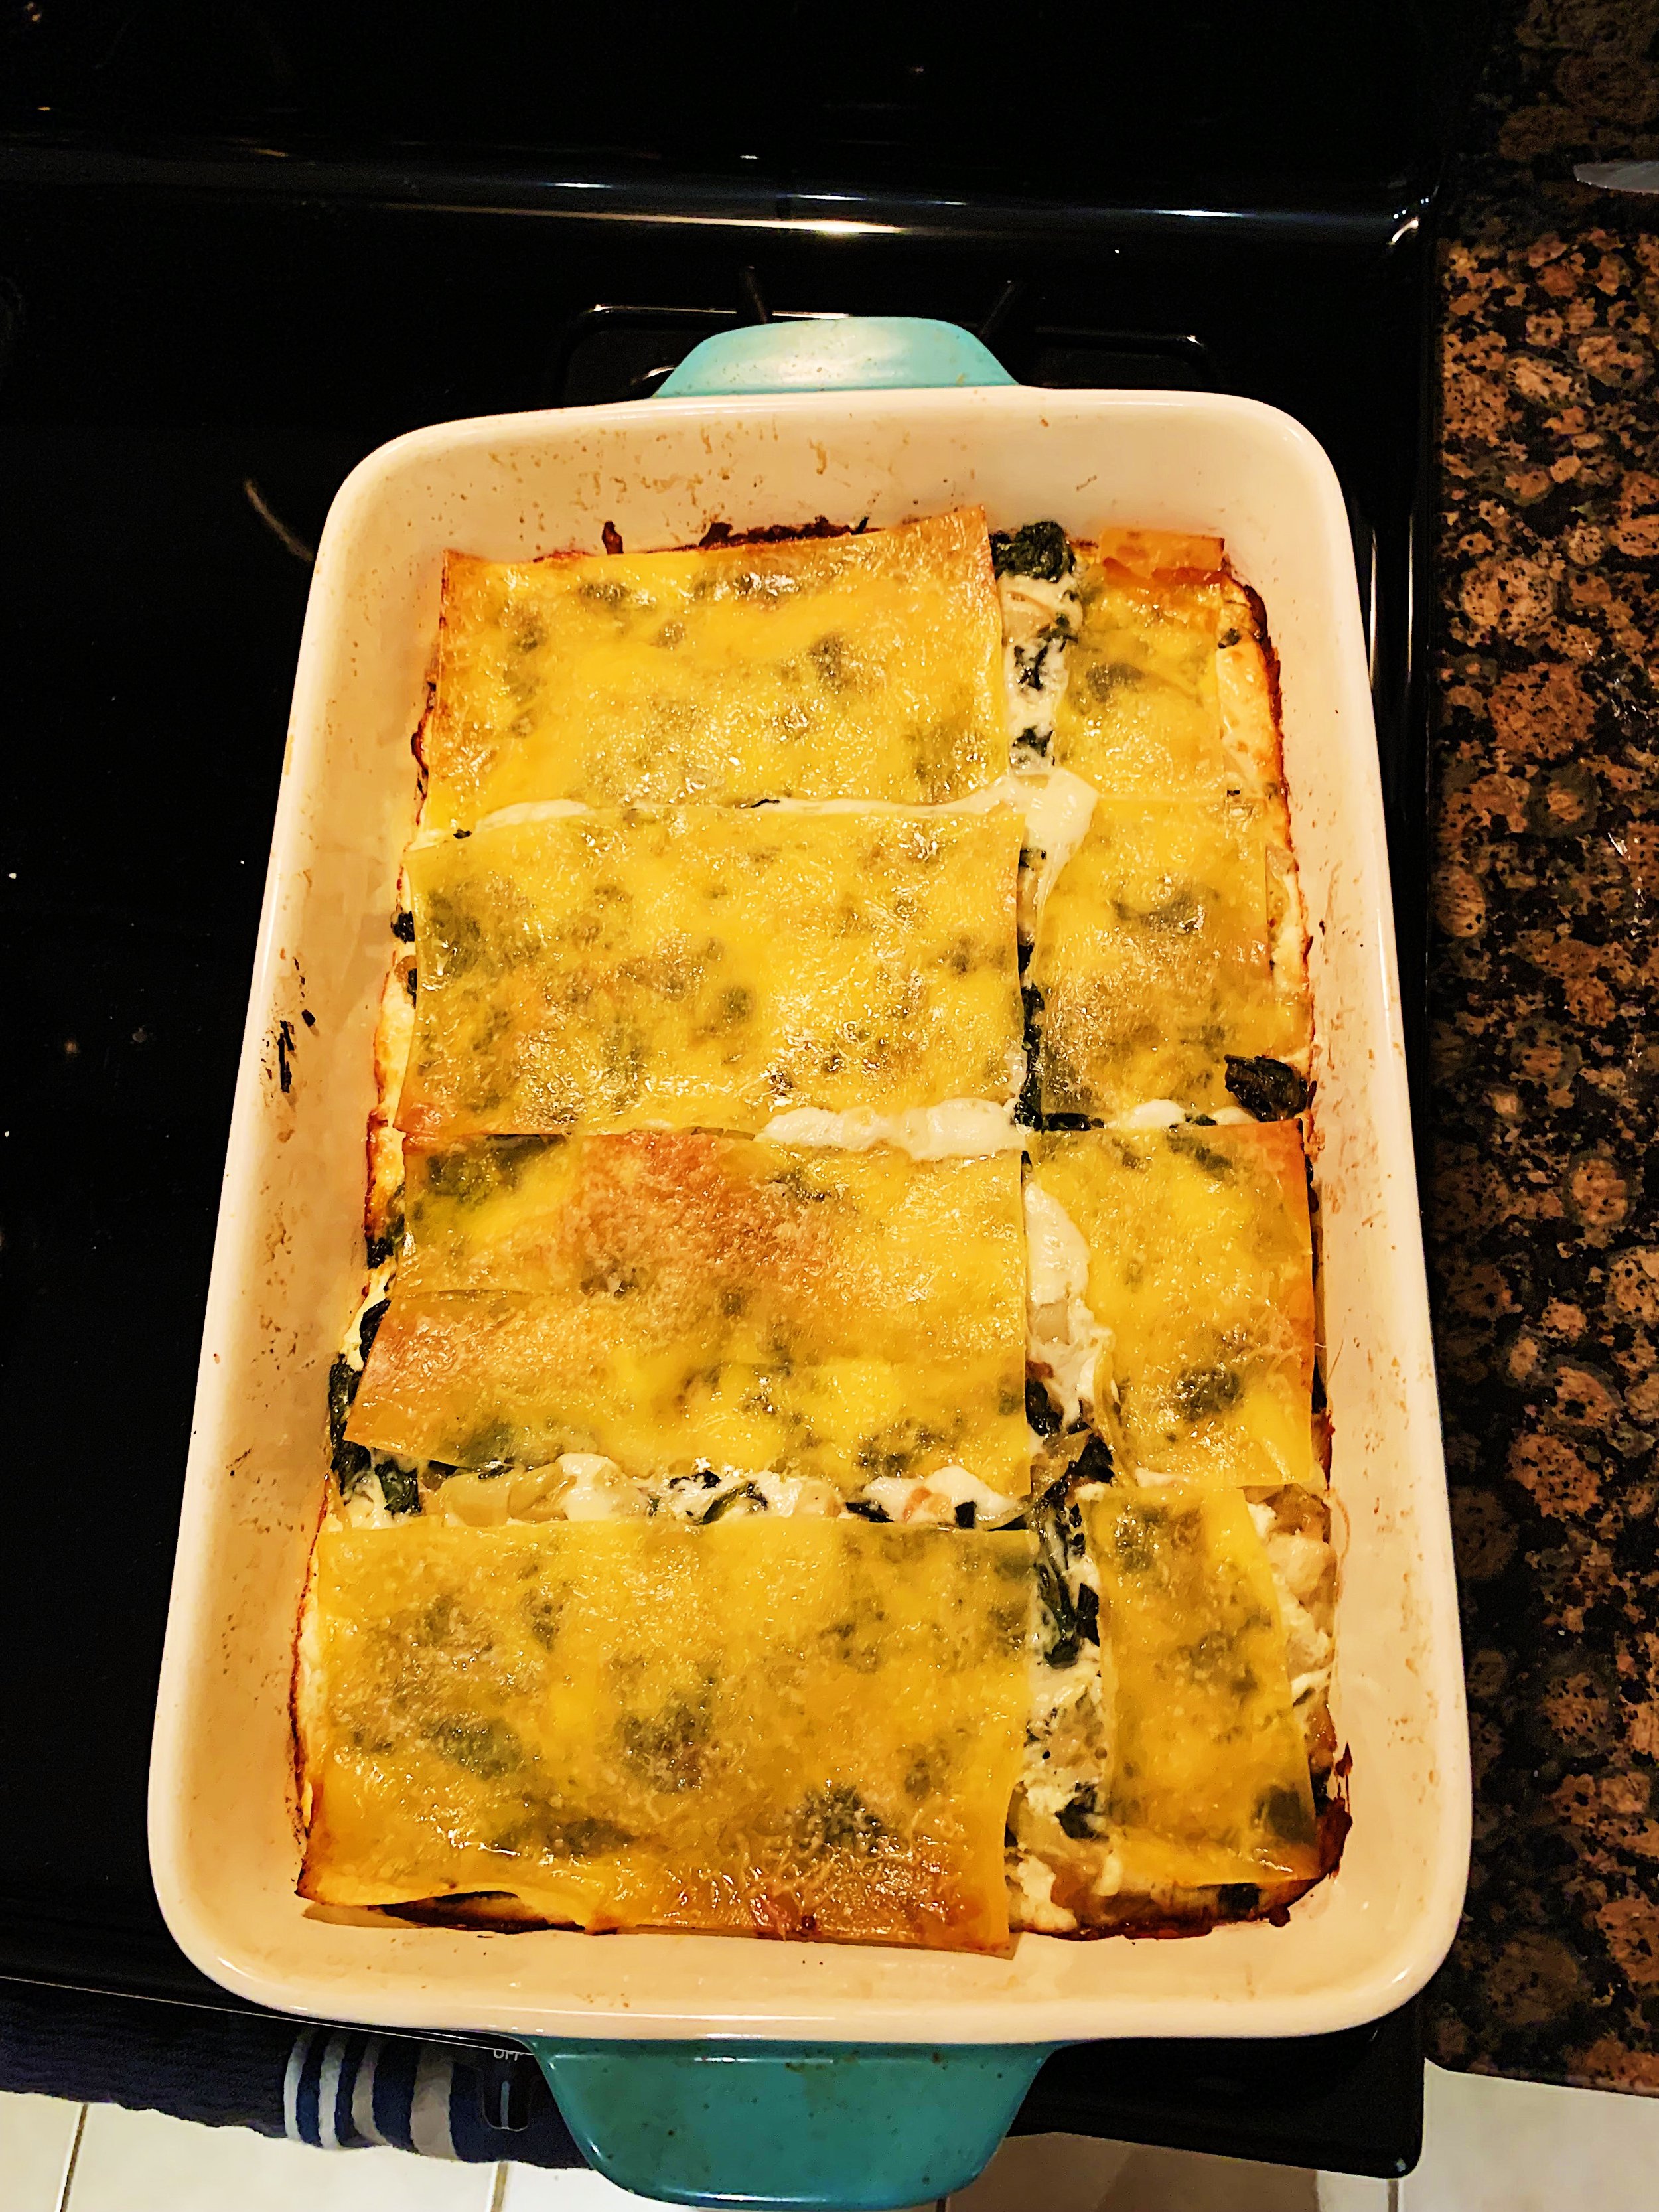
  • Alison absolutely nails the flavor here. Perfect balance of salty, sour (from the artichokes) and creamy (from all that cheese). Pro tip: the flavor gets a glow-up when you add a few tangy-roasted mushrooms on the side. 

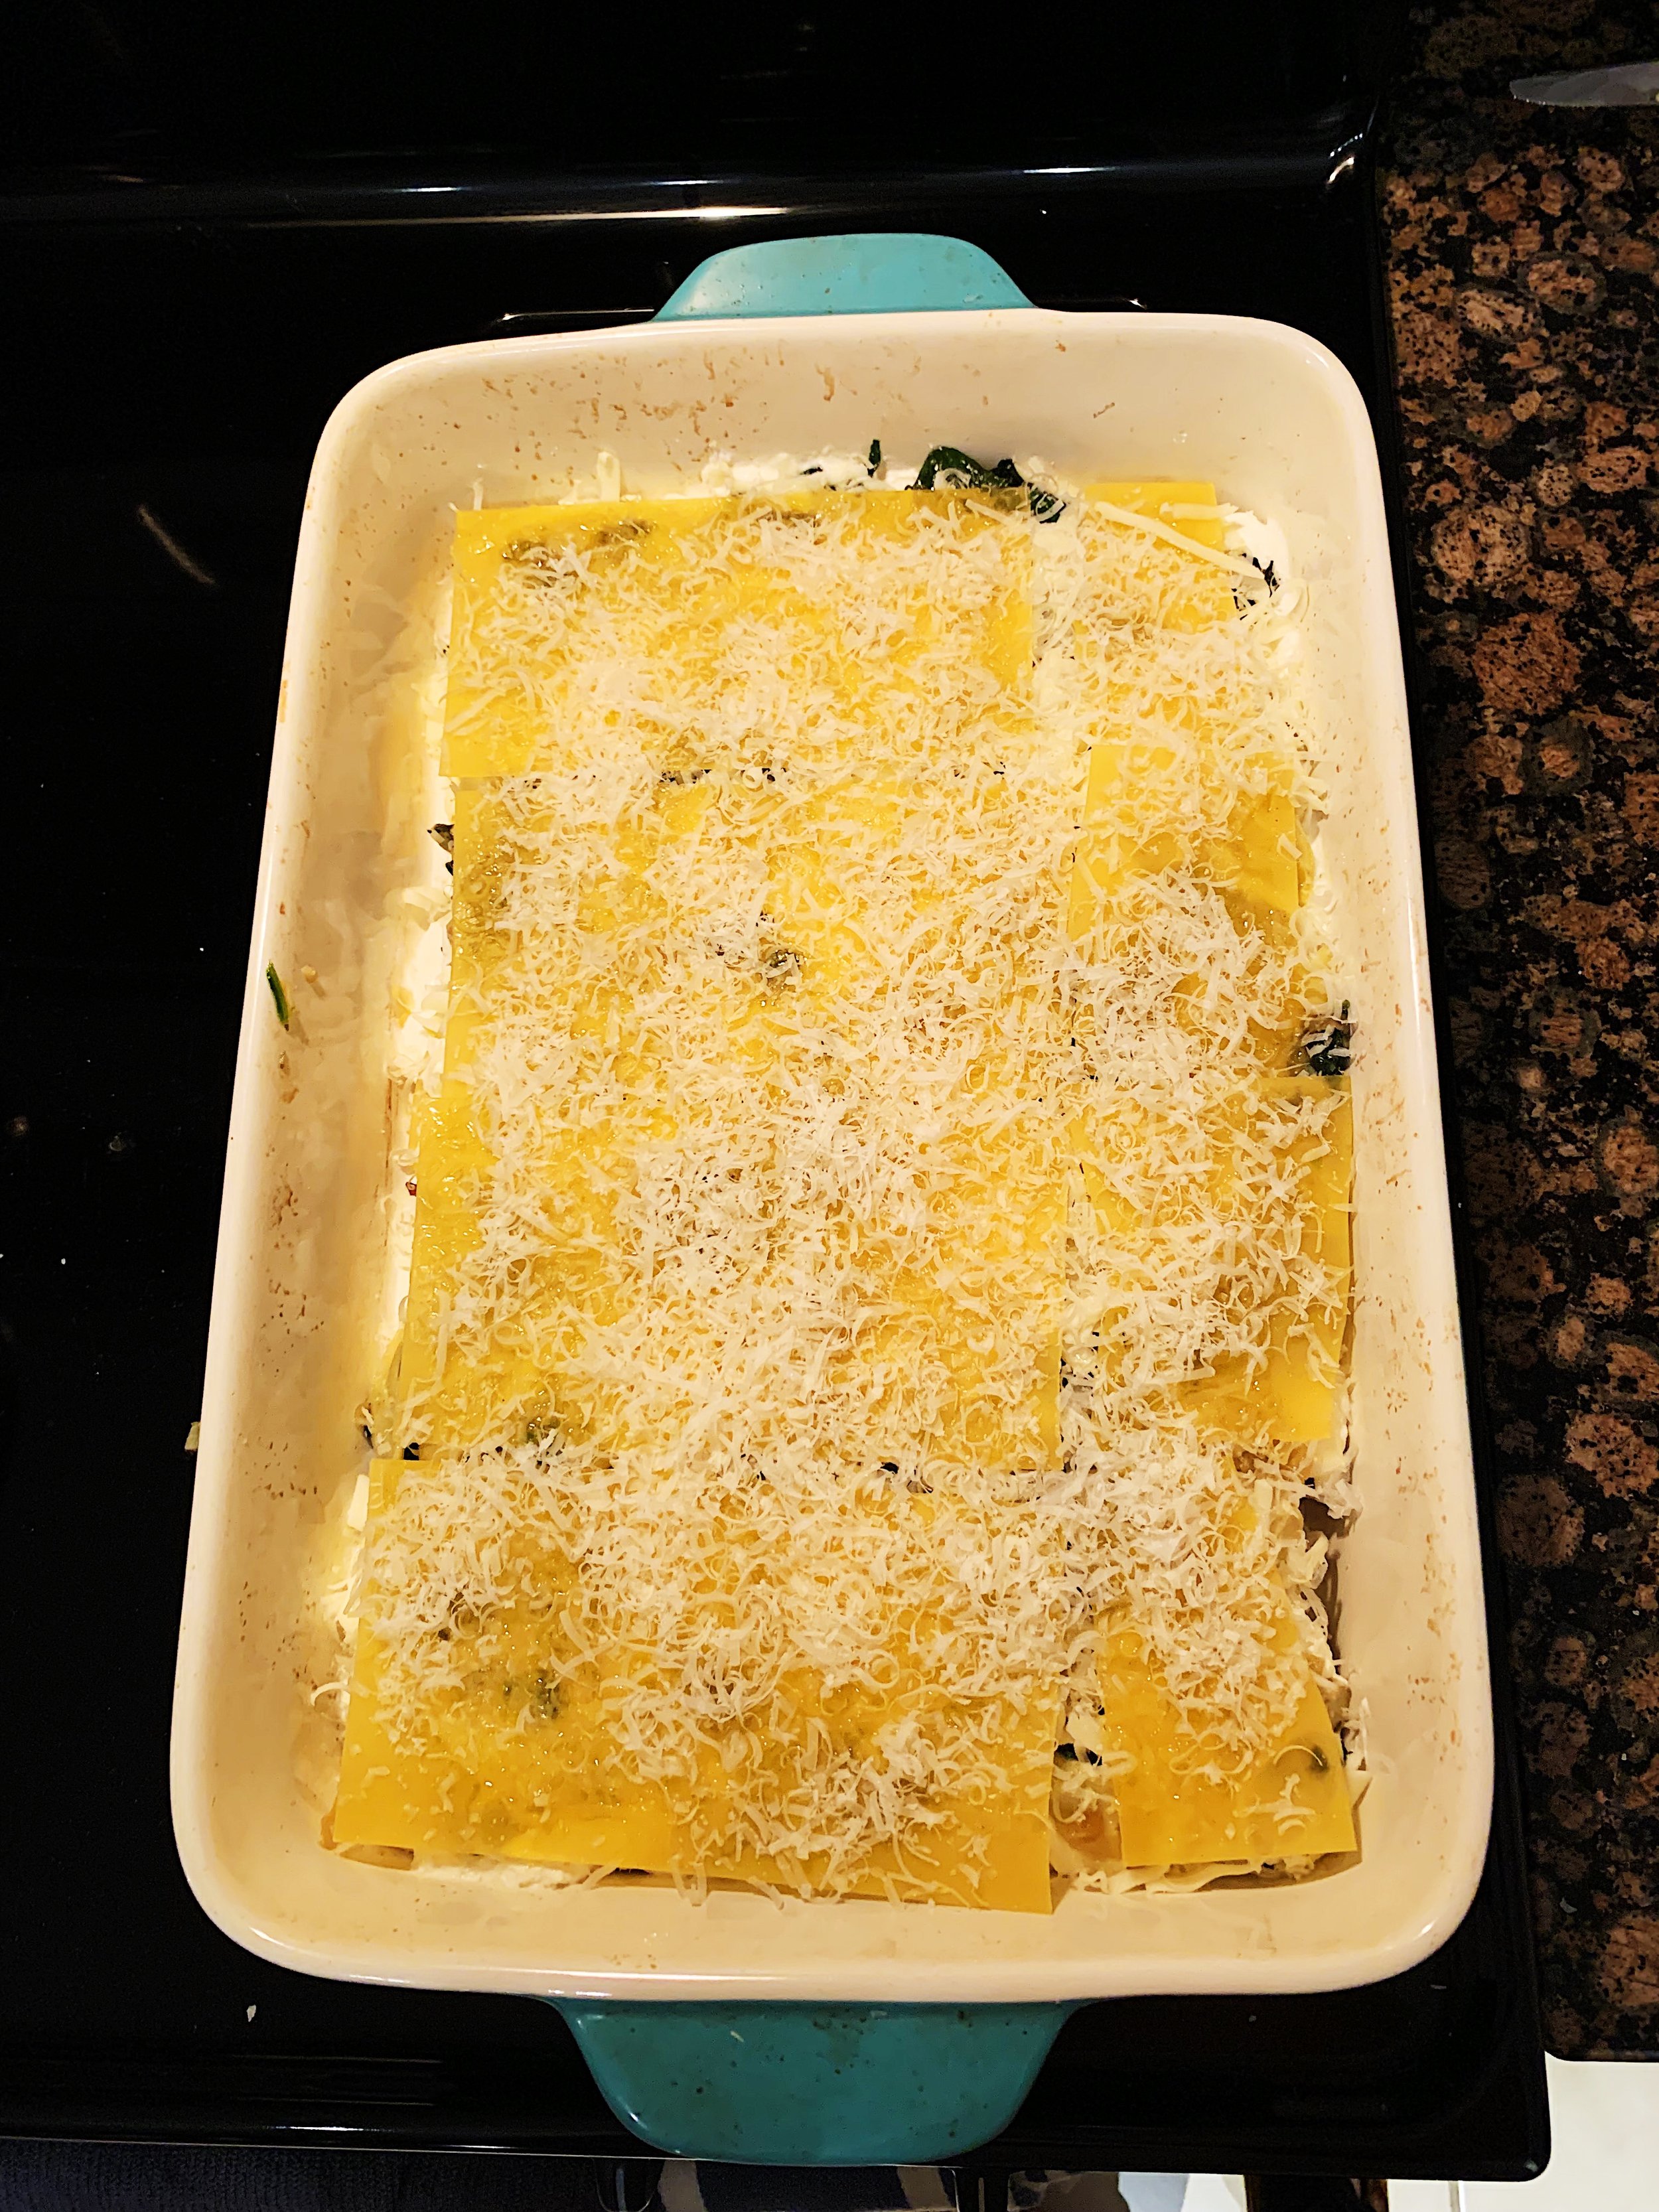
  • We are floored that Alison doesn’t mention any options for ready-to-bake noodles. This feels like an obvious miss for the many people who don’t want to deal with the labor of parboiling noodles before assembling the dish. We simply refused to parboil, and so put our ready-to-bake noodles straight into the casserole. The top layer of noodles sure stayed tough and became like noodle chips. Not the worst outcome, but certainly not the most optimal. 

  • In our humble, yet knowledgeable opinions, we don’t love the lasagna noodle choice. We believe in using a penne or rigatoni. We want to avoid the noodle chip effect.

171, 172, 173 recipes cooked, 52 to go.

Chicken and Mushroom Skillet Pie with Greens and Tarragon by Alison Roman

What a ride this pie was. How buttery, how delicious, how messy. 

It all started with a single disc of gluten-free pie crust (yes, the King Arthur one). I prepared the dough to chill at about noon, and once again felt like this disc is the best one I’ve made yet. My pie crust skills improve every time I attempt the task. It’s been personally satisfying to watch myself improve in this way over the course of the project. Of course, there’s always a mess with pie crust. Powdery flour that escapes from the saran wrap. Bits of butter that stick to the counter when rolling it out. But this doesn’t at all compare to the mess of the pie filling. 

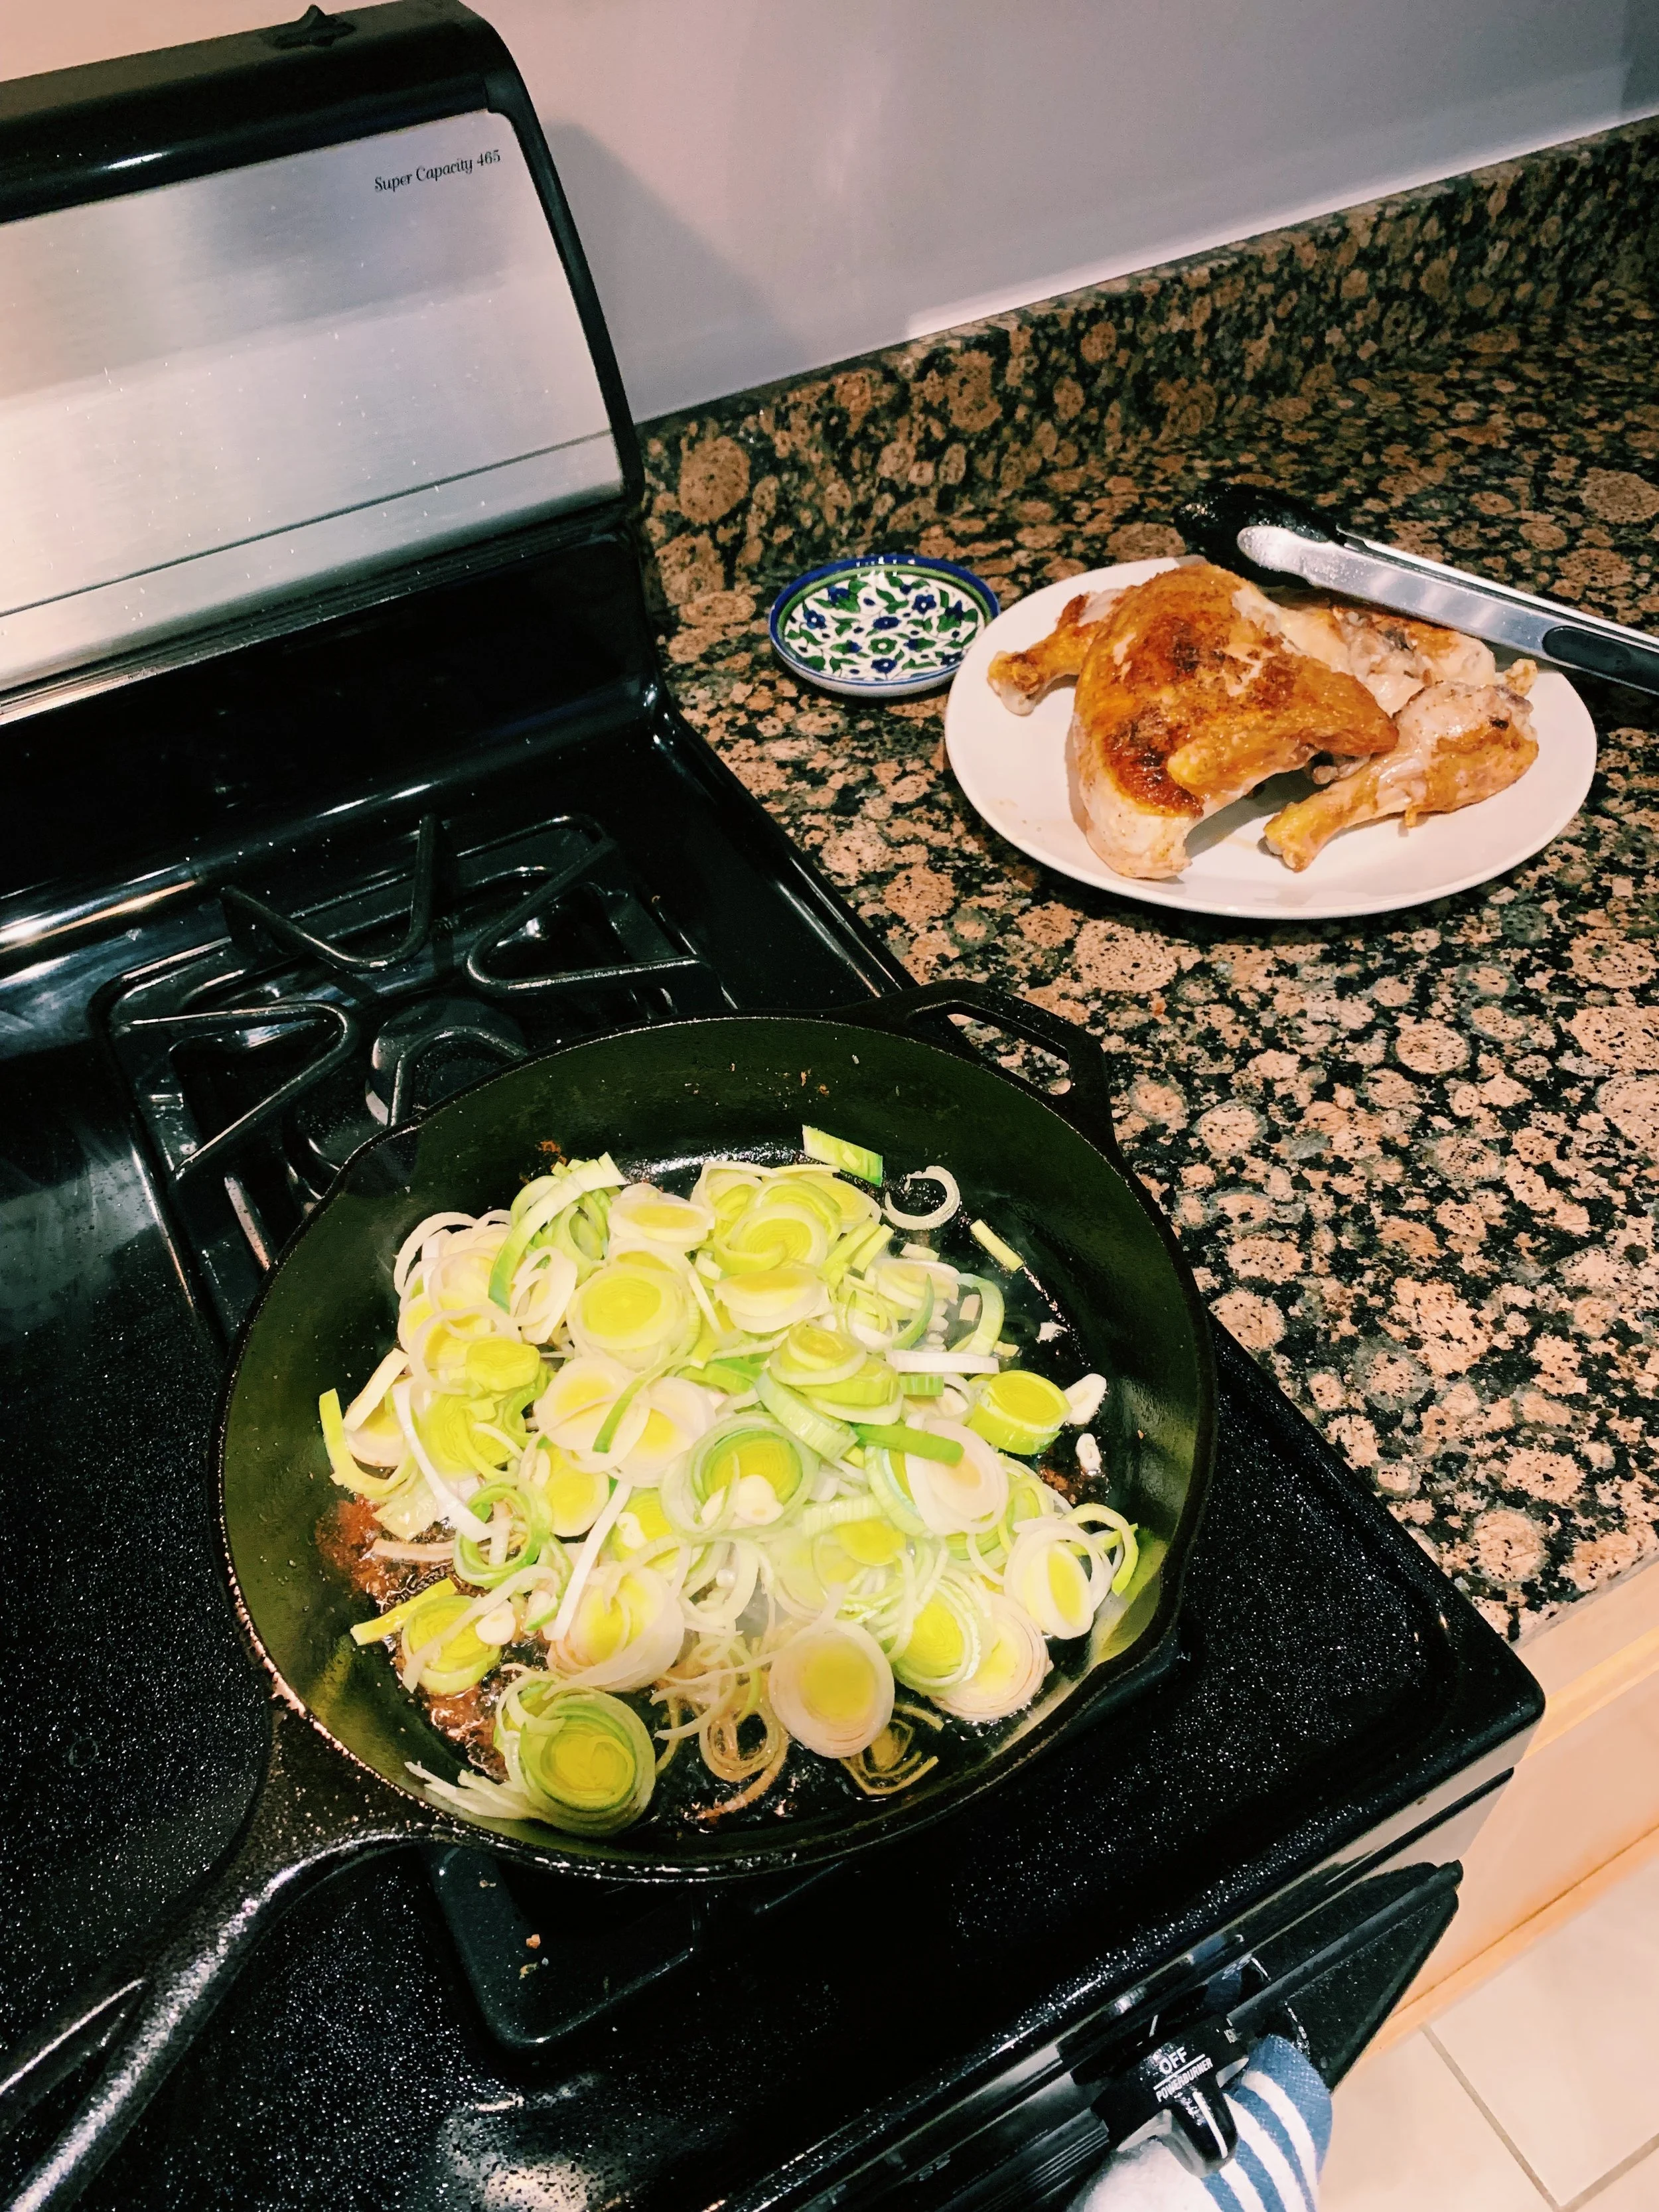
Alison instructs us to brown and cook bone-in, skin-on chicken breasts and thighs in a large skillet. Cue the splatters of hot oil dotting the floor, counters, stove, and occasionally, my arms. The oil flies as the skin crisps and browns. It’s really a shame though, because after it cooks, Alison has you remove the meat and discard all bones, sinews, and skin. All that crispy goodness gone. The meat, though, is tender and juicy. 

Next, in the same skillet with all the chicken fat, garlic and leeks join to become soft and vibrantly green. I then added a pound of fresh mushrooms with salt and pepper, never minding the few little mushroom bits that always flop out of the skillet when I cook mushrooms. A few of them escaped and fell next to the flames underneath the skillet – don’t ask me how. 

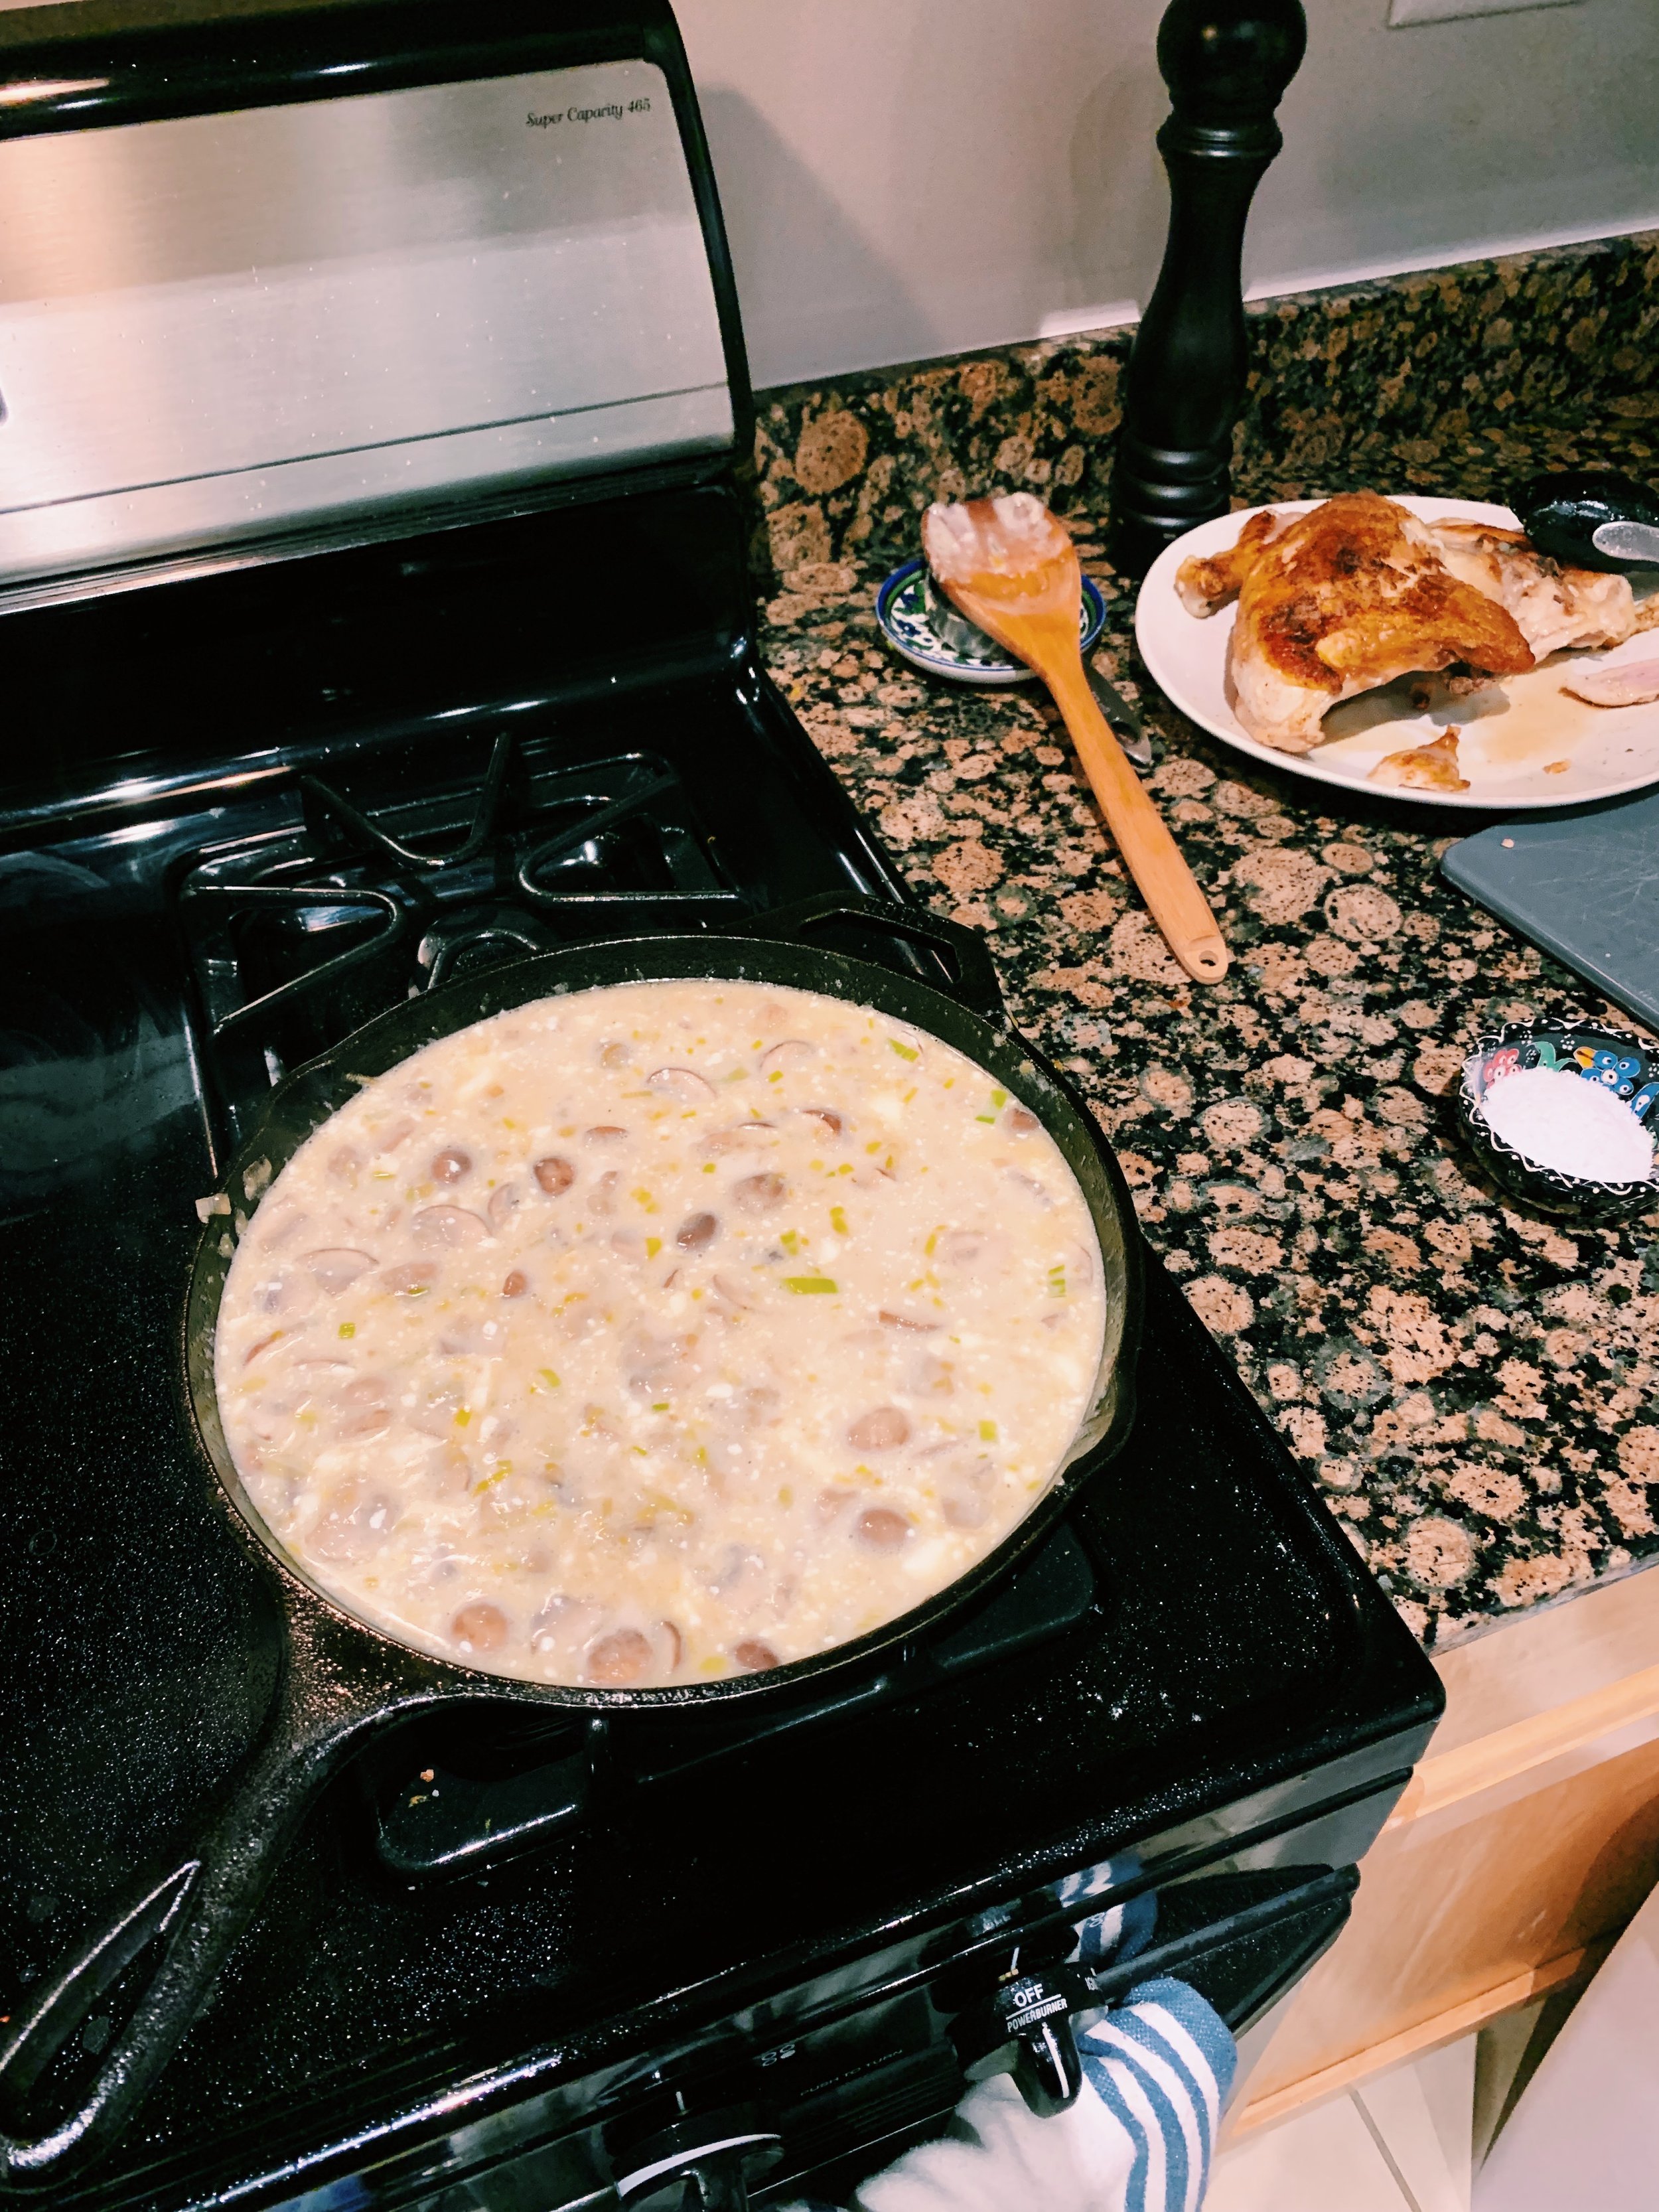
Once the mushrooms softened, I mixed in a pat of butter and a quarter cup of gluten-free flour, which quickly thickens up the filling mixture. The next step calls for chicken broth, and I want to mention here, in case I haven’t already said this on the blog, my newfound love for Better than Bouillon. Margaret exposed me to this brand of chicken broth flavoring in goop form, and it’s changed my pantry for the better. Instead of buying (and wasting) so many cardboard boxes of chicken broth, and also needing to find places to store said broth boxes, I now have a jar of flavoring sitting in my refrigerator door, waiting to make batches upon batches of chicken broth, right when I need them. All it takes is one teaspoon of flavoring for each boiling cup of water, stirred in to make it a nicely flavored, not too salty bit of broth. I just bought my second jar at Costco today, which will last me for many months. Everyone should buy this product! 

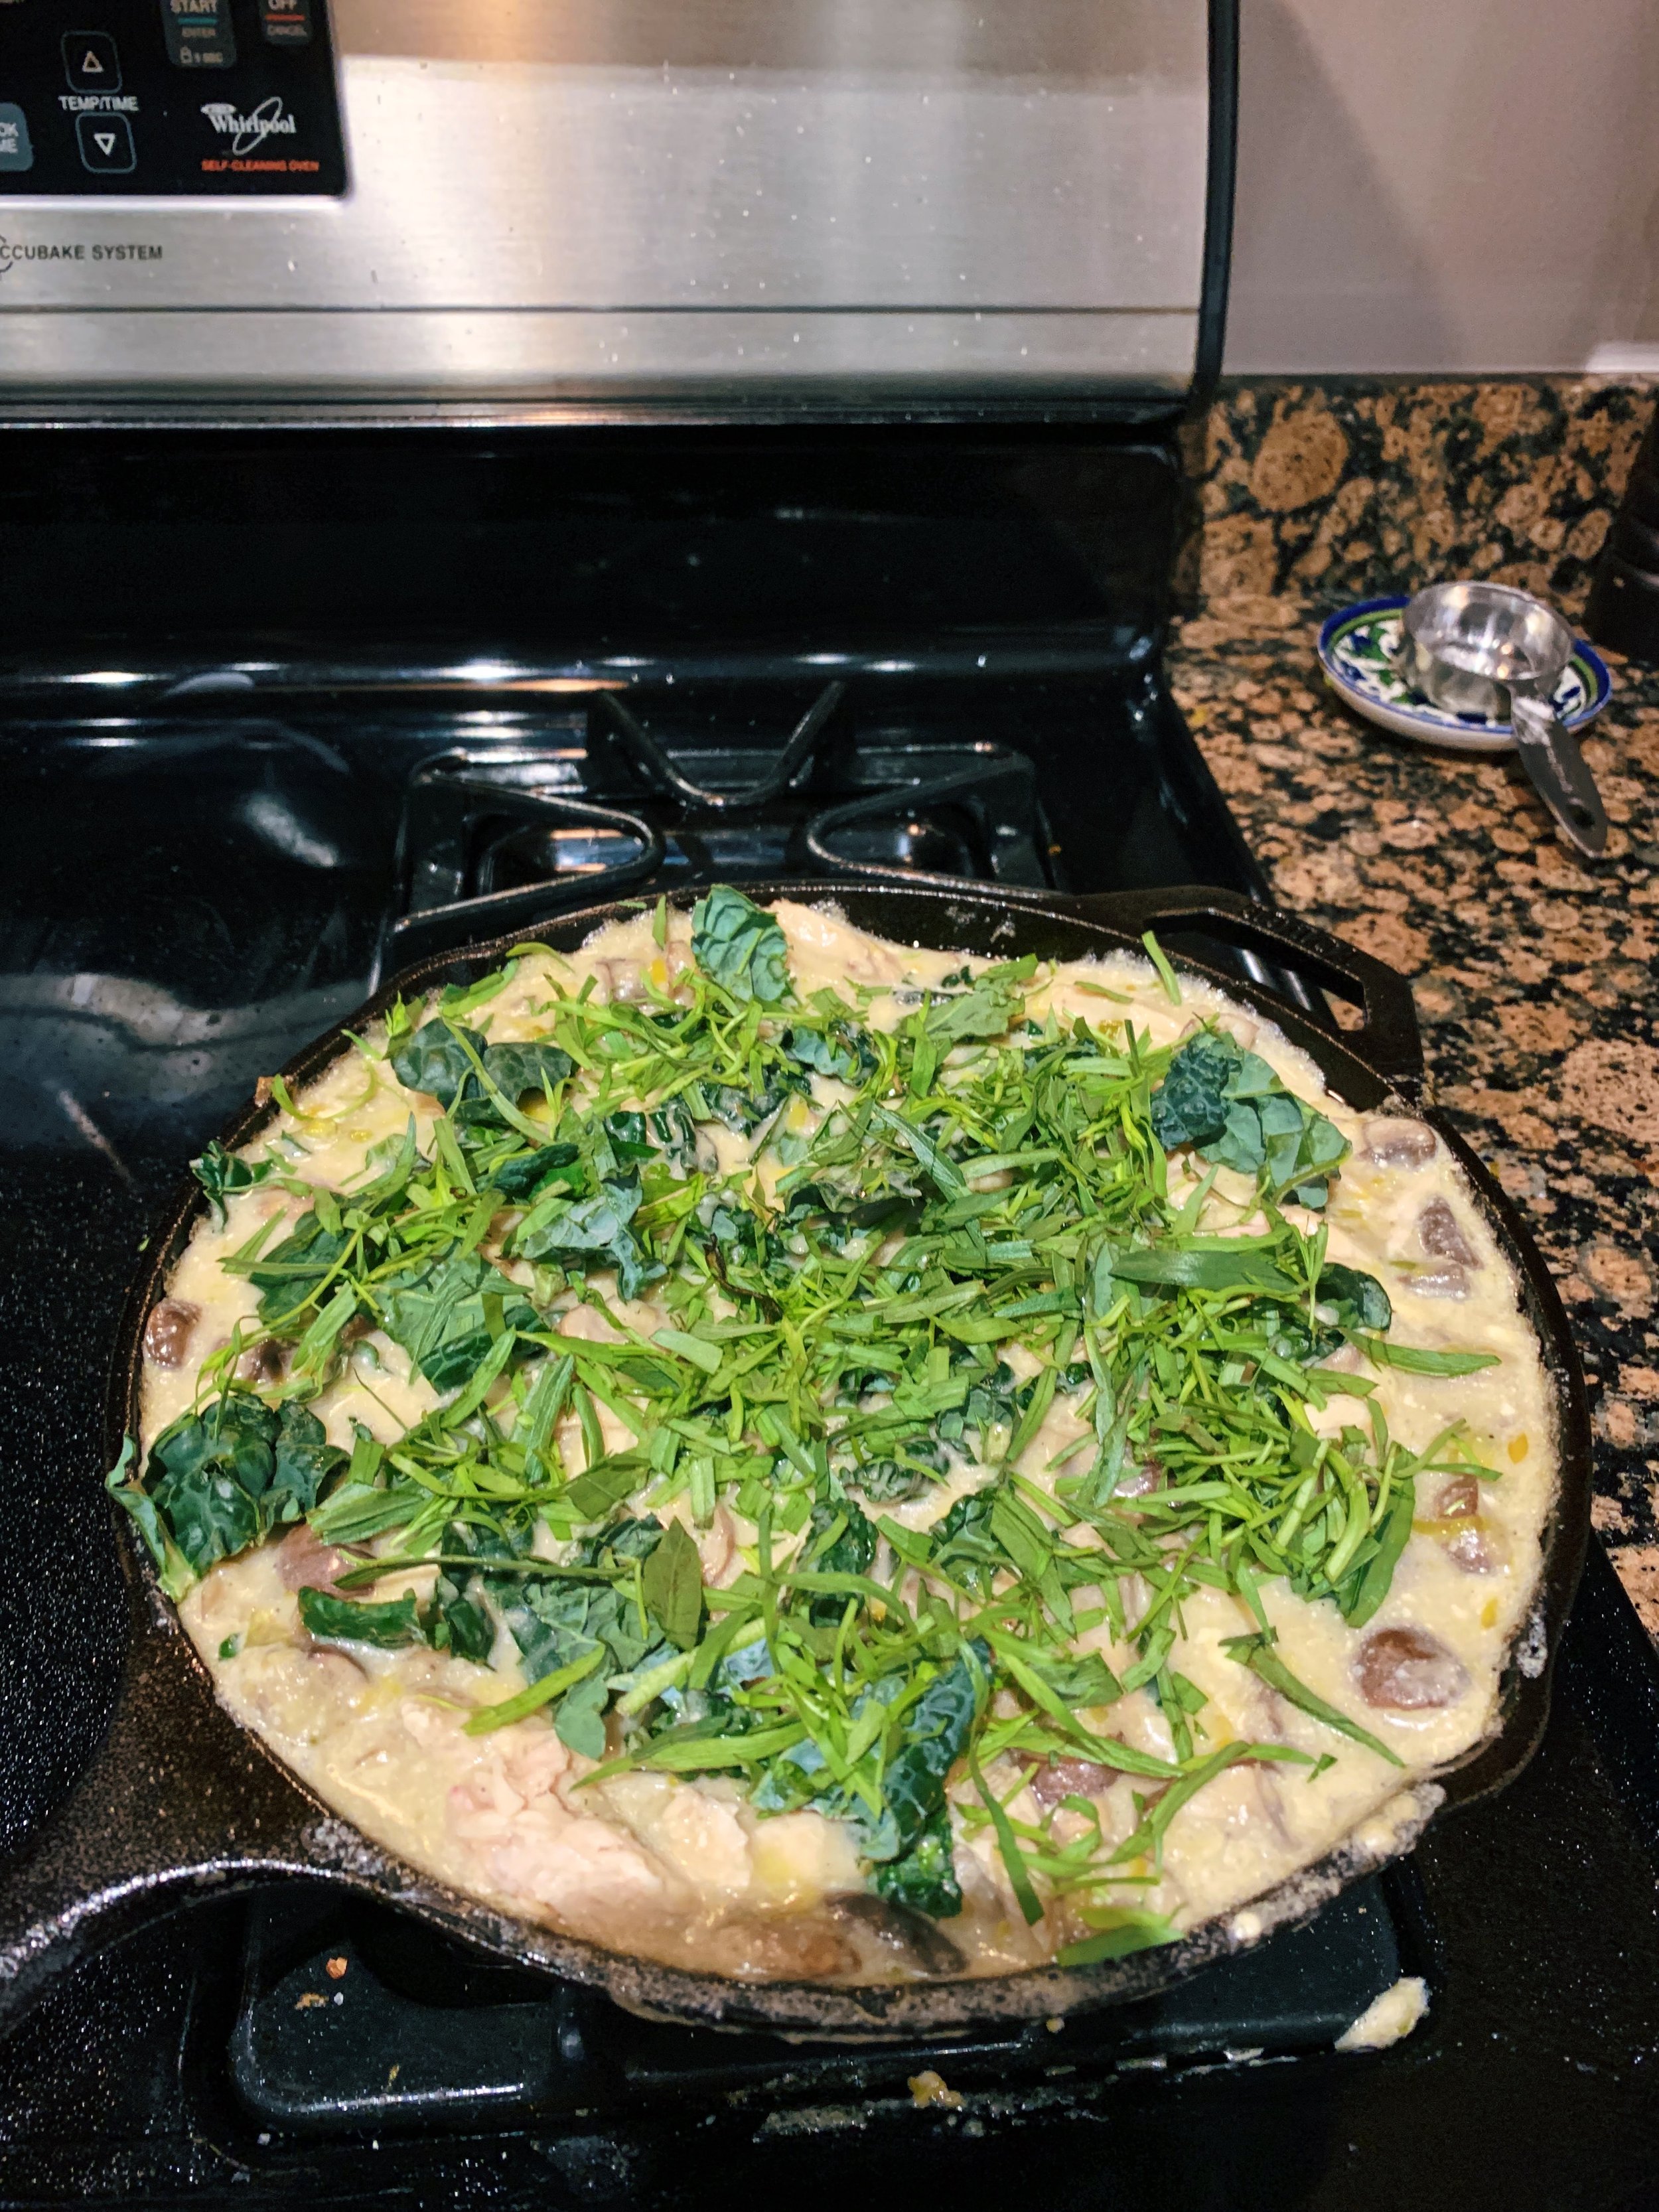
Before turning down the heat, I streamed in heavy cream and a tablespoon or two of creme fraiche that I had leftover from The Greatest Creamed Greens. I then tossed in the separated chicken, chopped tarragon, and kale pieces. And here’s where I mention that Alison does NOT give instructions on the size of skillet to use. Which is problematic. By the time I added all of my ingredients, my 10-inch cast iron skillet was filled to its very brim. Any sudden movements, and the mixture would spill right over the edge. If you have a 12-inch ovenproof skillet, definitely use it here. 

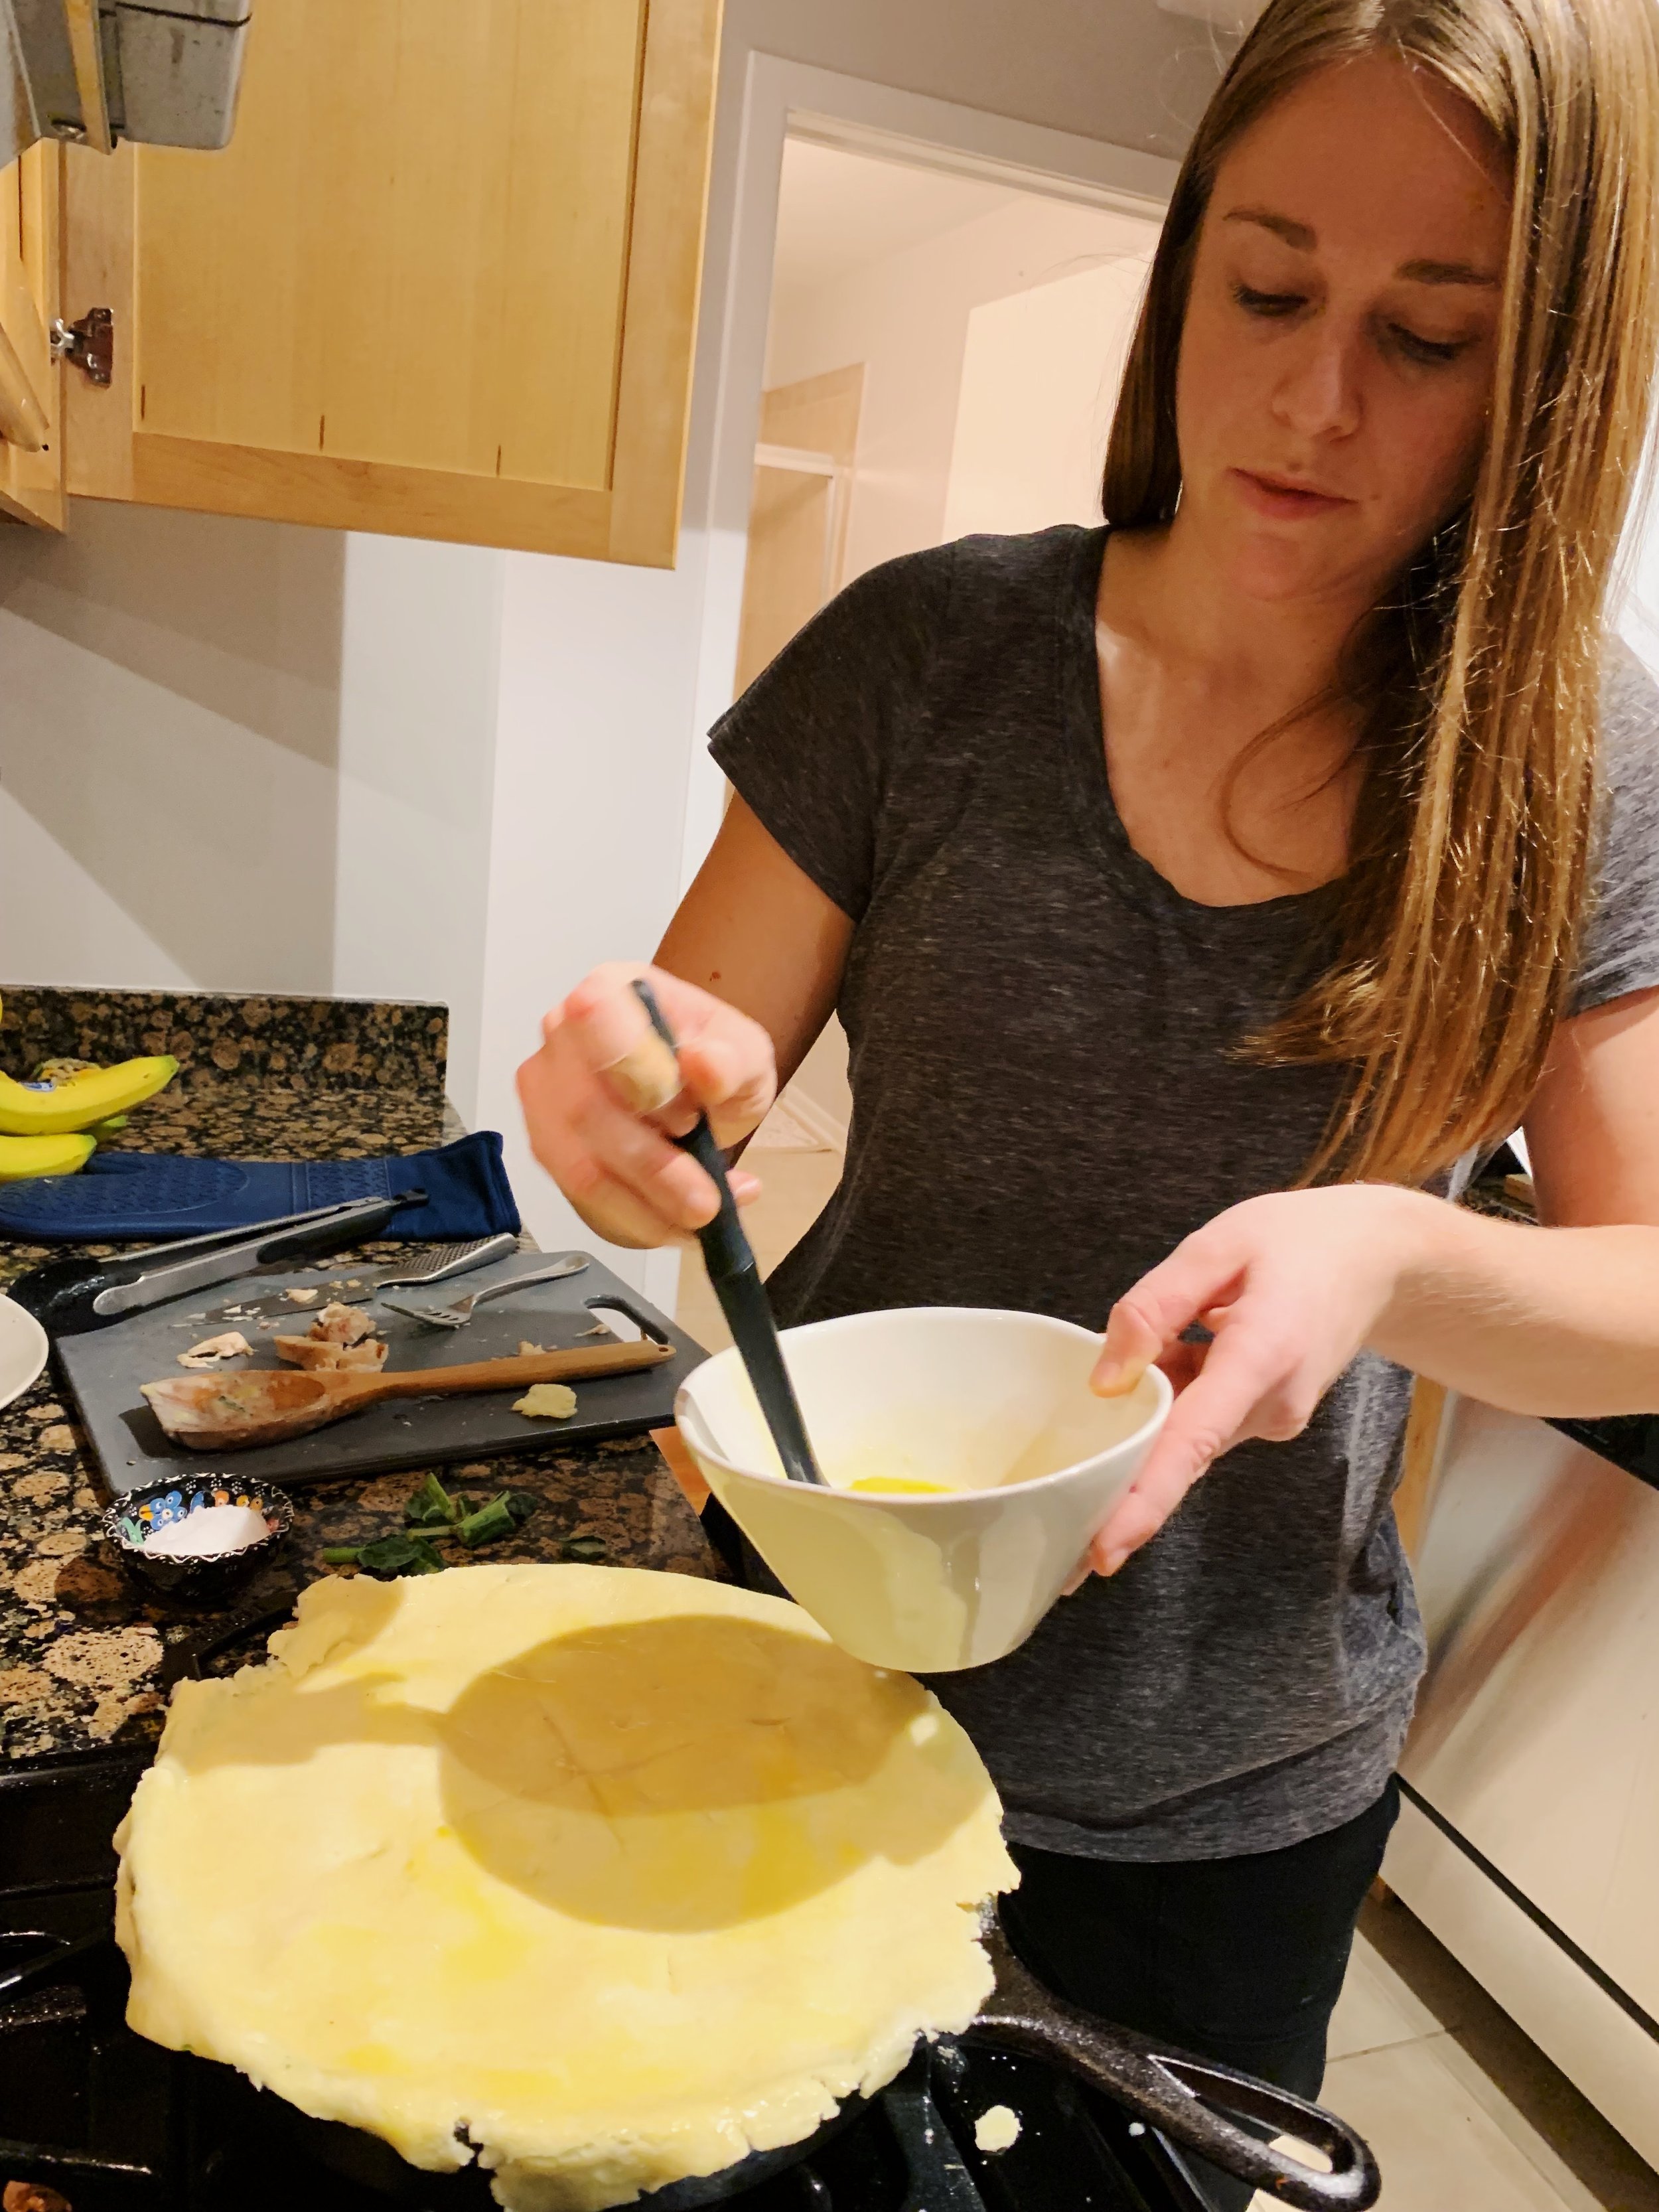
Feeling precarious and cautious, I still chose to top the skillet in its very full state with the rolled out pie dough and stick it in the oven to bake. Which I realize now, was a mistake, but couldn’t know it then. Alison says nothing about how full the skillet should be or how to crimp the edges of the dough around the skillet rim to secure the filling. There’s a real lack of information in the book so allow me to fill in the gaps: 

  1. It would be best to let the filling come up about a fourth of an inch from the top of the skillet. That way, when you lay the dough, it sort of falls into the pie and acts as a pseudo lid. Also, when the filling starts to bubble up, you will hopefully avoid it seeping over and making a huge, smoky mess in the oven as it burns on the bottom. (Yes, this happened to me.)

  2. Trim off any straggling pieces of dough that drape far down the sides of the skillet. I tried to do this, but didn’t do it enough. Within a few minutes, several pieces of dough fell from the sides and burned at the bottom of the oven. 

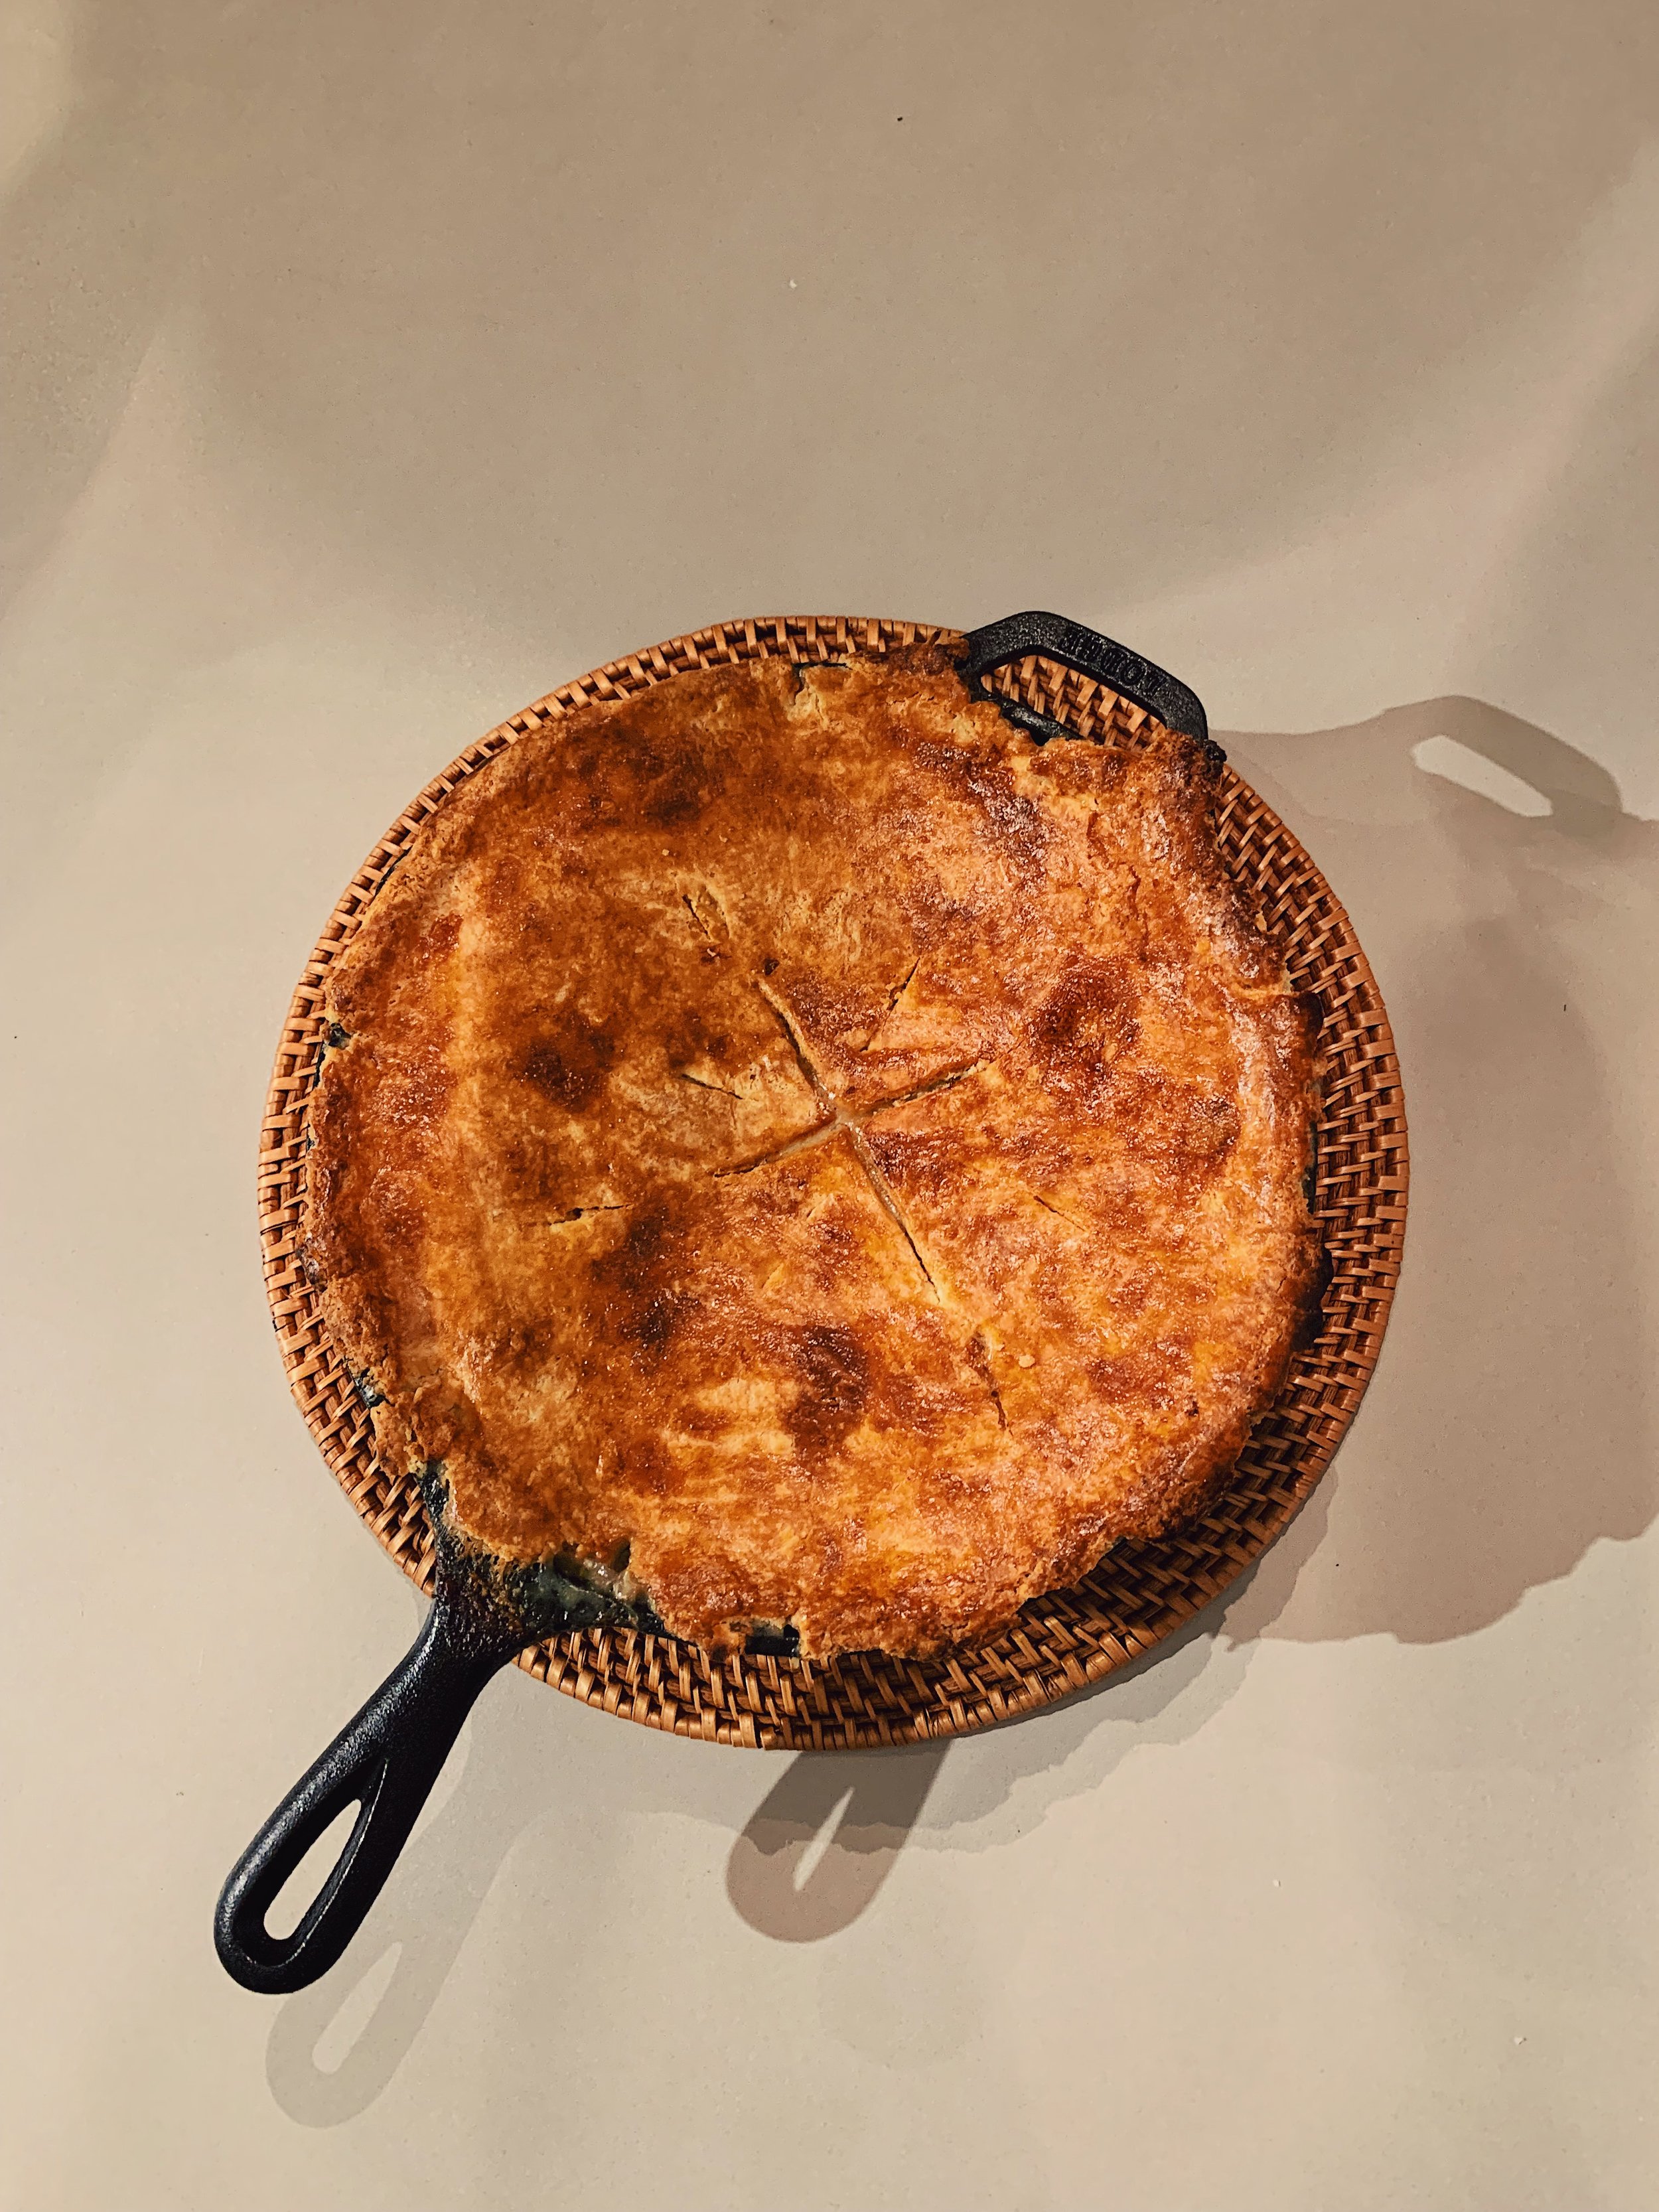
  3. Beware that the pie crust may turn golden faster than you think, so be ready to cover it with foil if it browns too quickly. I, thankfully, thought to check this and caught mine in time. 

  4. Finally, though you make sizeable slits in the dough’s surface to allow steam to escape, beware that they could close up as the butter melts and tries to seal the surface again. Be ready to reinforce the slits with a sharp knife, as necessary. 

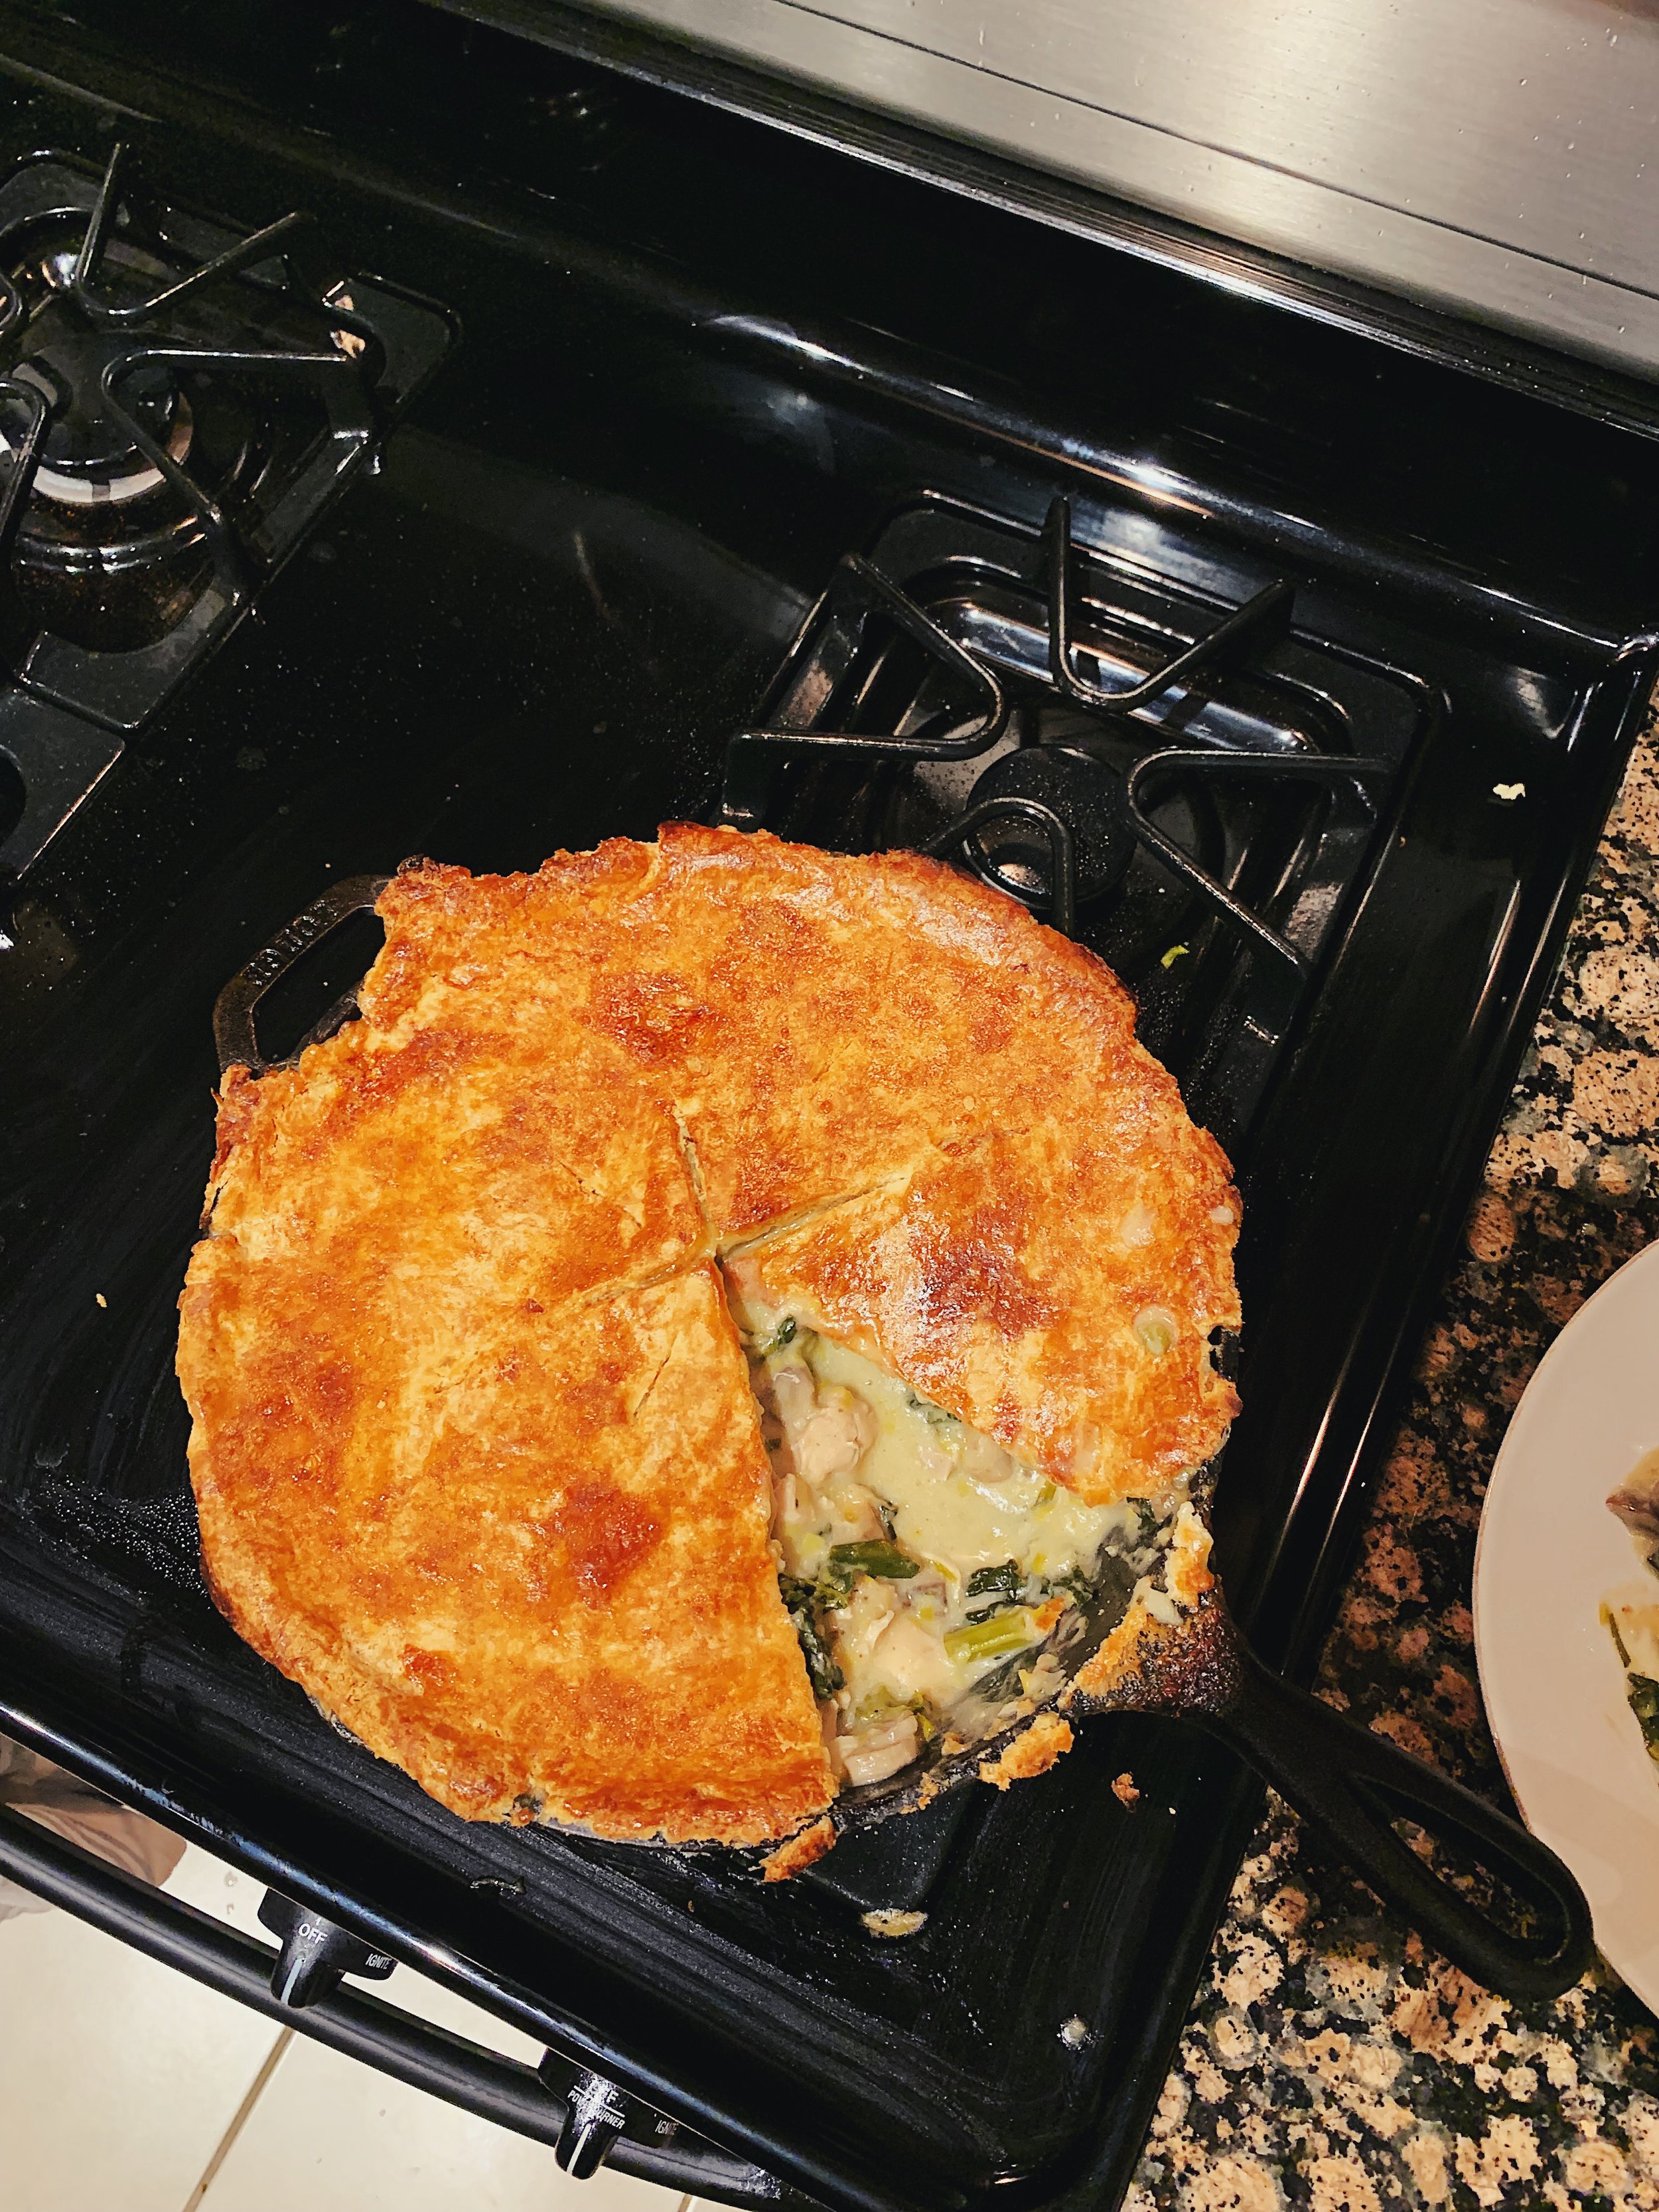
If you’re reading between the obvious lines, you’ll see that this was clearly a chaotic cooking/baking process. I learned a lot. I also honestly enjoyed eating the fruits of my very thorough labor. This pie is delightfully tangy, salty, and filling. Perfect for a cold night with a glass of red wine. It also made fantastic leftovers. I don’t know how soon I’ll make this again – I’m exhausted just thinking about it. But I know I’ll crave it again this winter. Perhaps I’ll make a “Skillet Pie Revisited” post to report back on how my suggested adjustments work. To be determined! 

170 recipes cooked, 55 to go.