Grilled Artichokes with Preserved Lemon Yogurt by Alison Roman

I love a good artichoke. I love the activity of eating one almost as much as the taste of it, too. I first made artichokes with Alison’s Wine-Roasted Artichokes recipe, which taught me all about how to cut and prep them – it’s sort of an art form. These grilled artichokes required slightly less preparation (no stripping the outer layer of leaves), but they did require more time by way of steaming. For more tender artichokes, Alison asks you to steam them before grilling, which adds about an hour to the ordeal. 

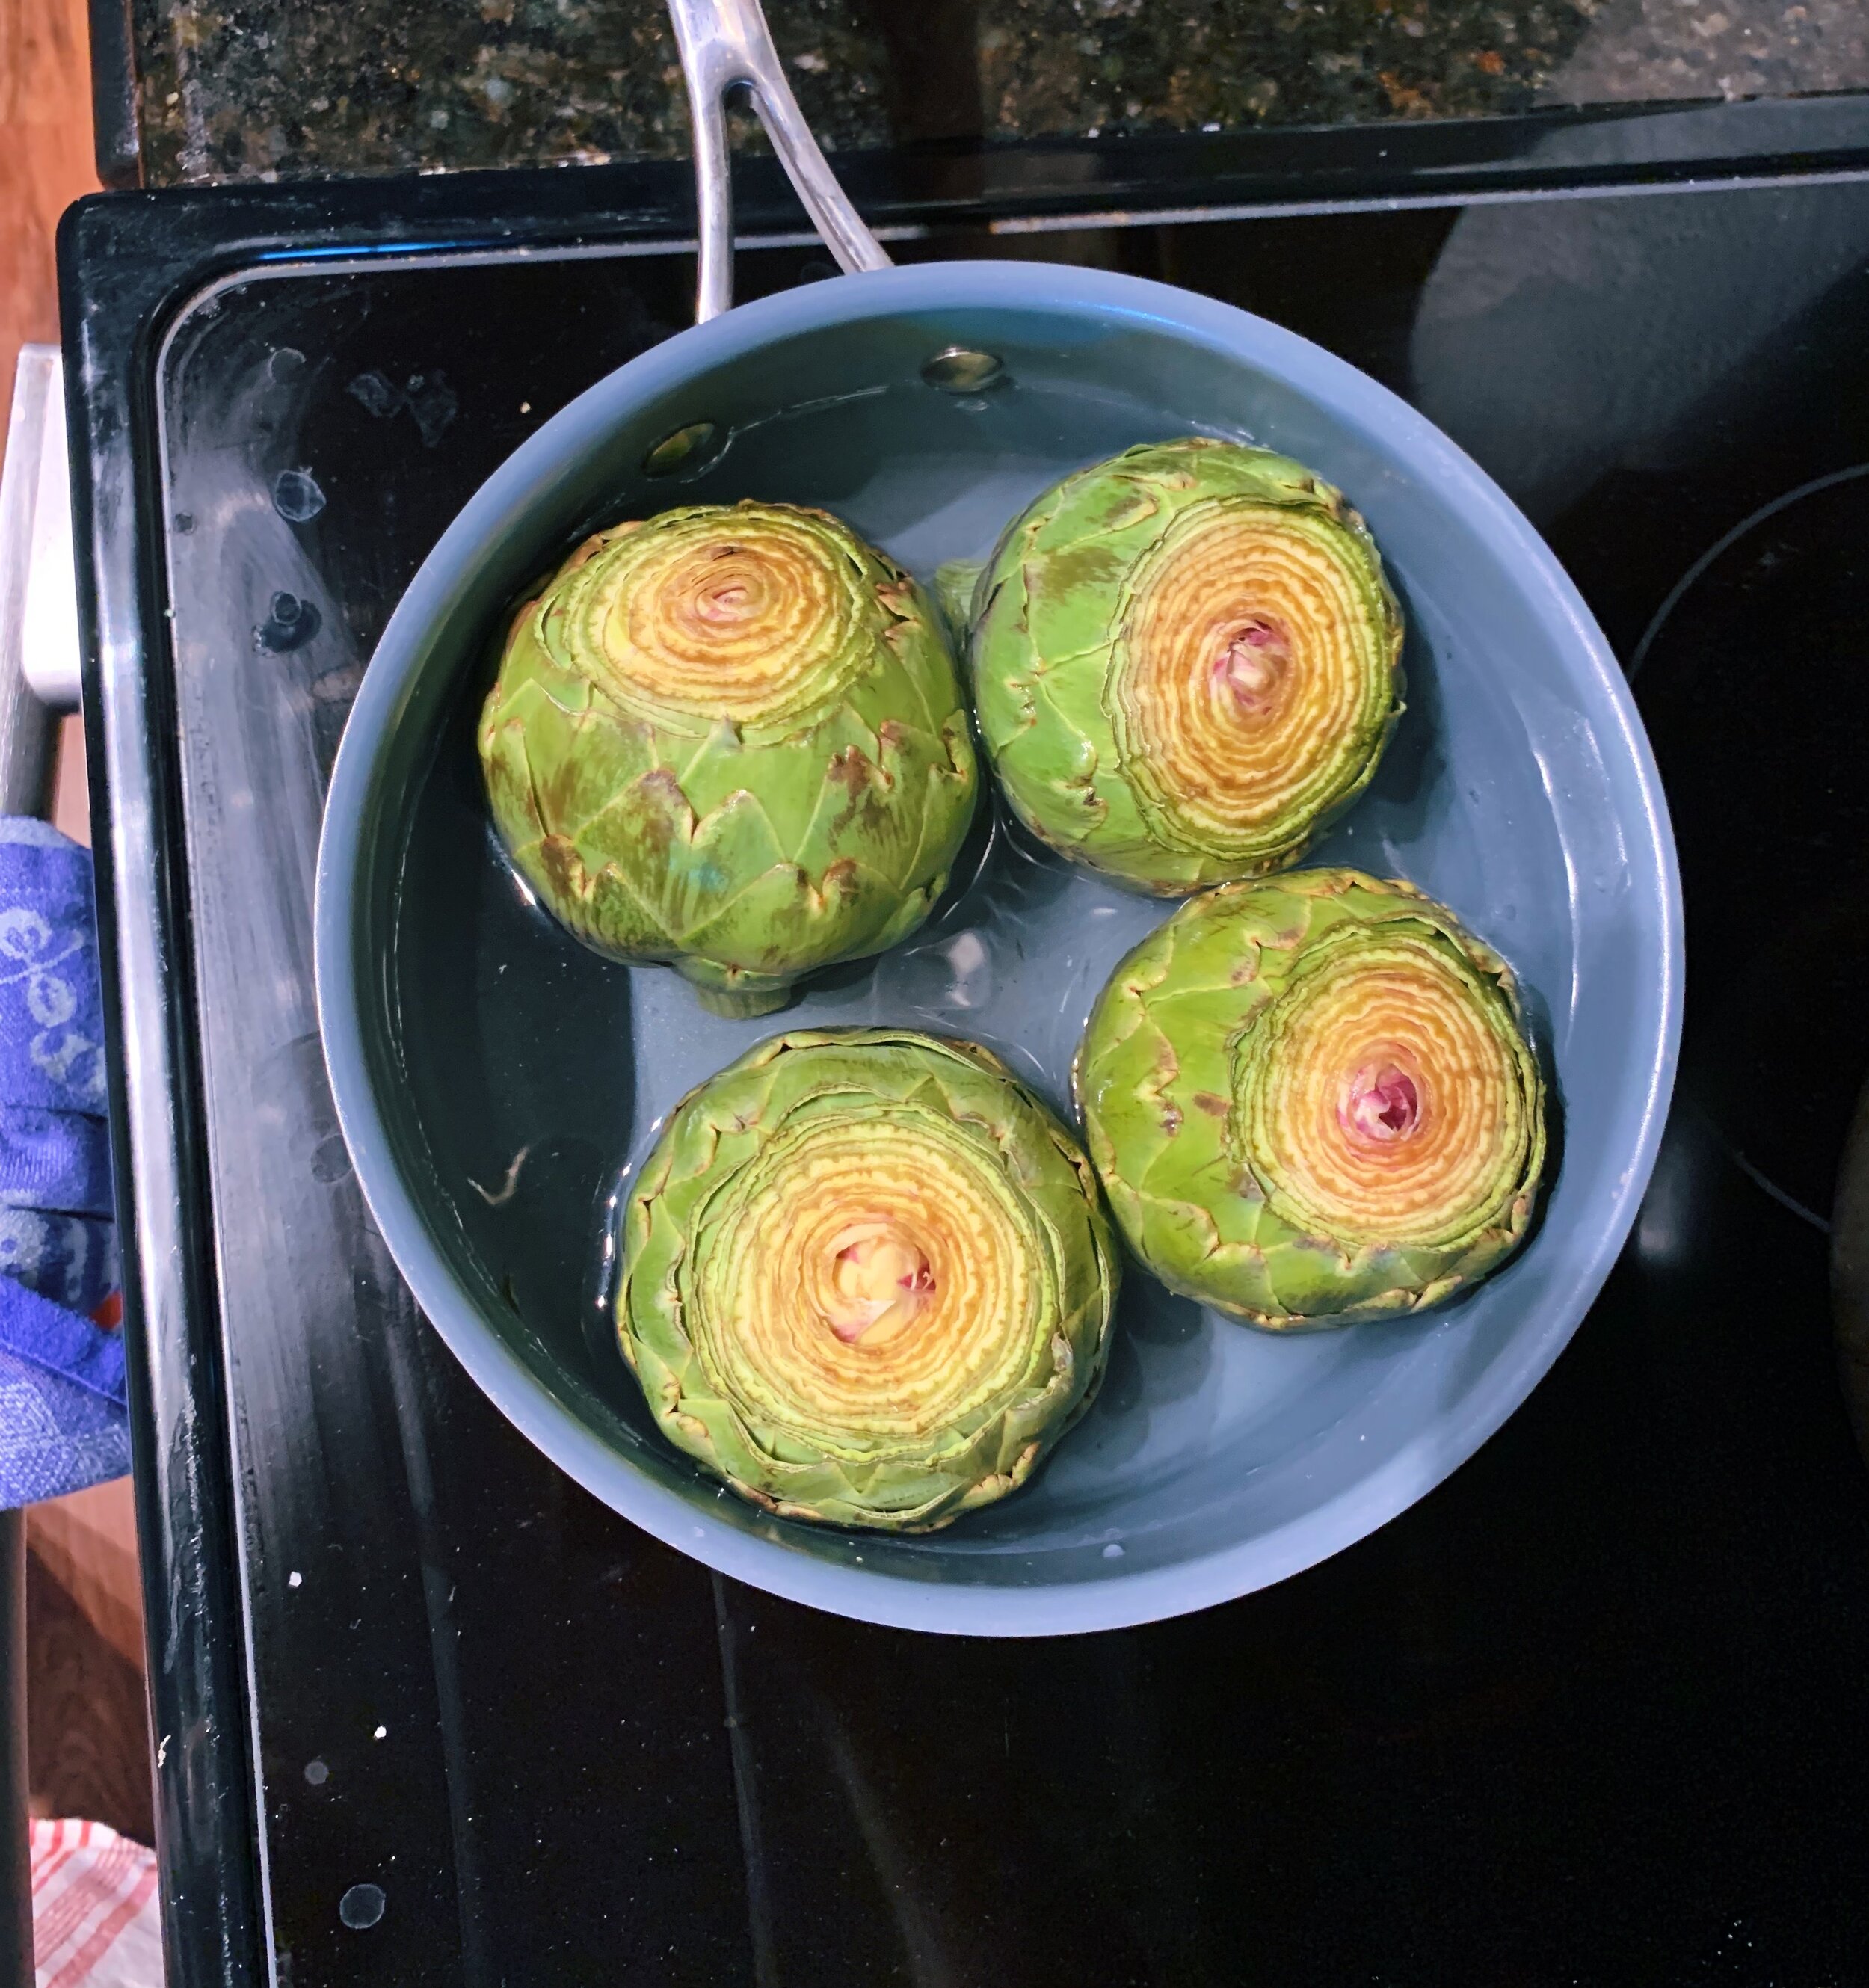
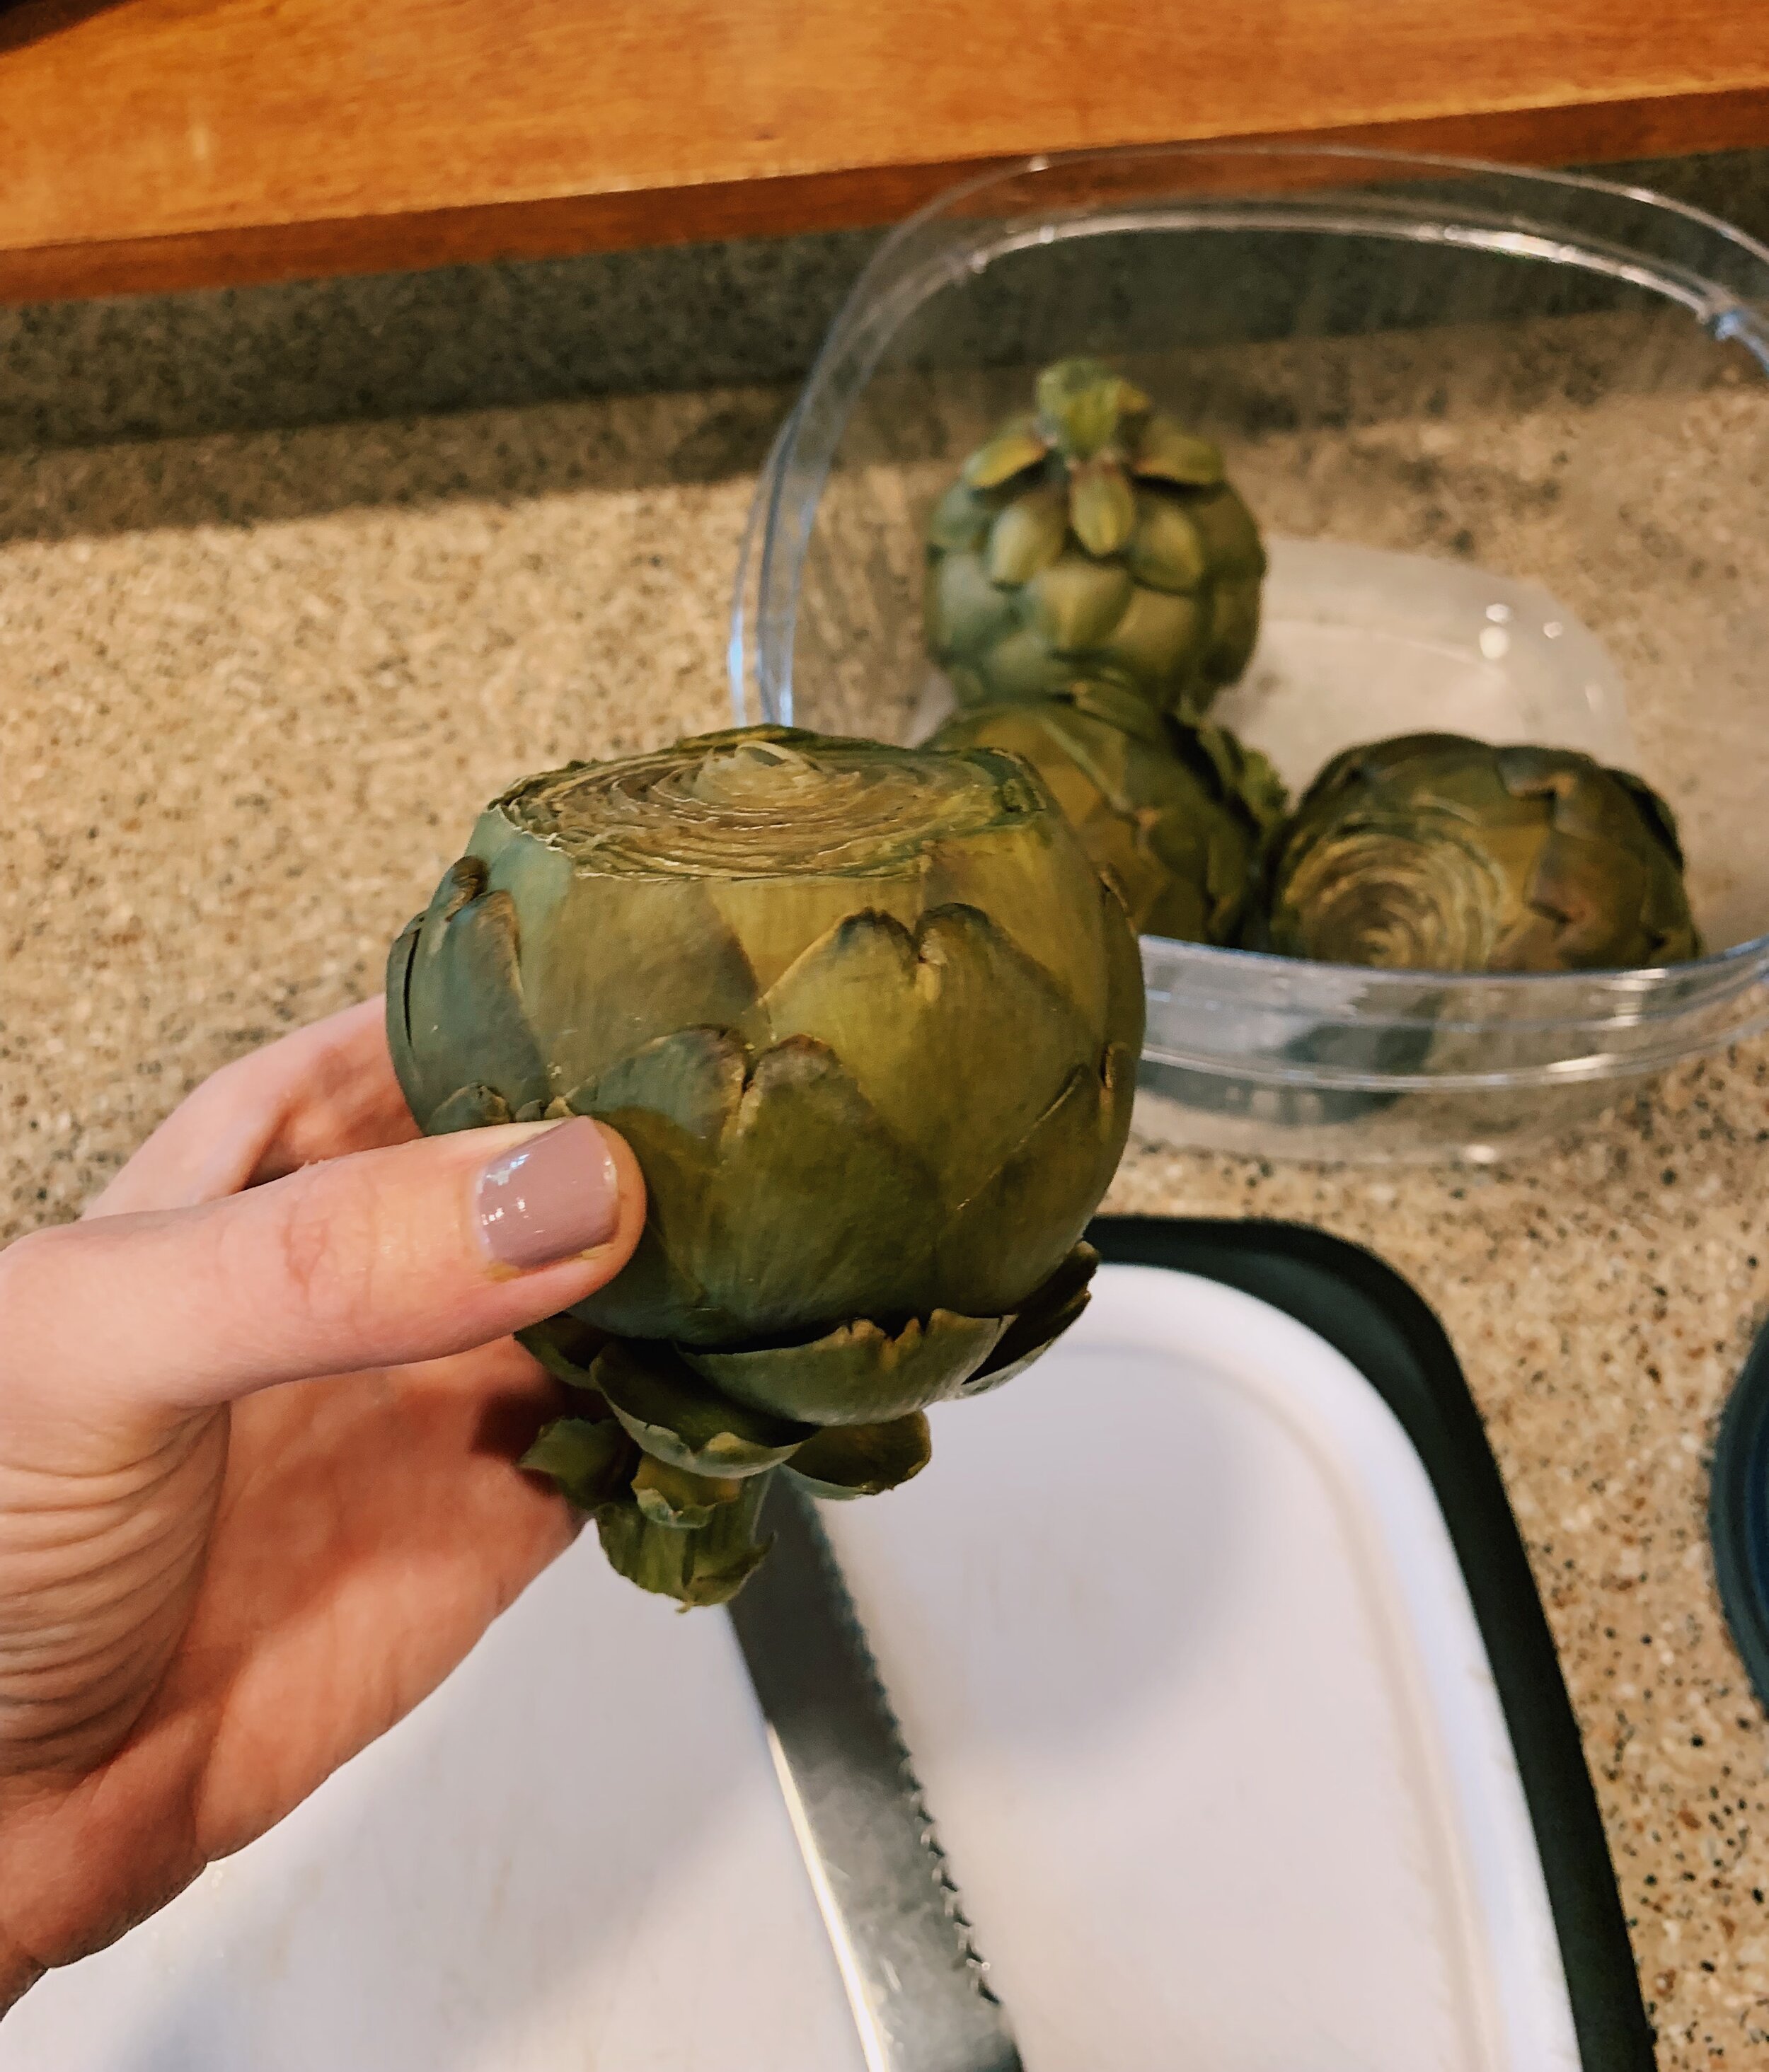
To steam the artichokes, first cut the stem to a little less than an inch, and remove the top 1.5-2 inches of the bulb. Fill a medium pot with 2 inches of water, and place the artichokes stem-side down, with the bulbs poking well out of the water, so as not to water-log them. I highly recommend using 4 smaller artichokes as opposed to 2 large ones so that they stand more securely in the pot. Bring the water to a boil and then simmer for 50 to 60 minutes for large artichokes. For smaller artichokes, I found they were ready within 45 minutes, which you can test by seeing how easily an outer leaf comes off when tugging. 

The book does not specify whether the pot should be covered. However, the only way to create effective steam is to cover a pot to trap the moisture. The picture in her book shows a lid being lifted from the pot, so I took that as my confirmation to utilize a lid. 

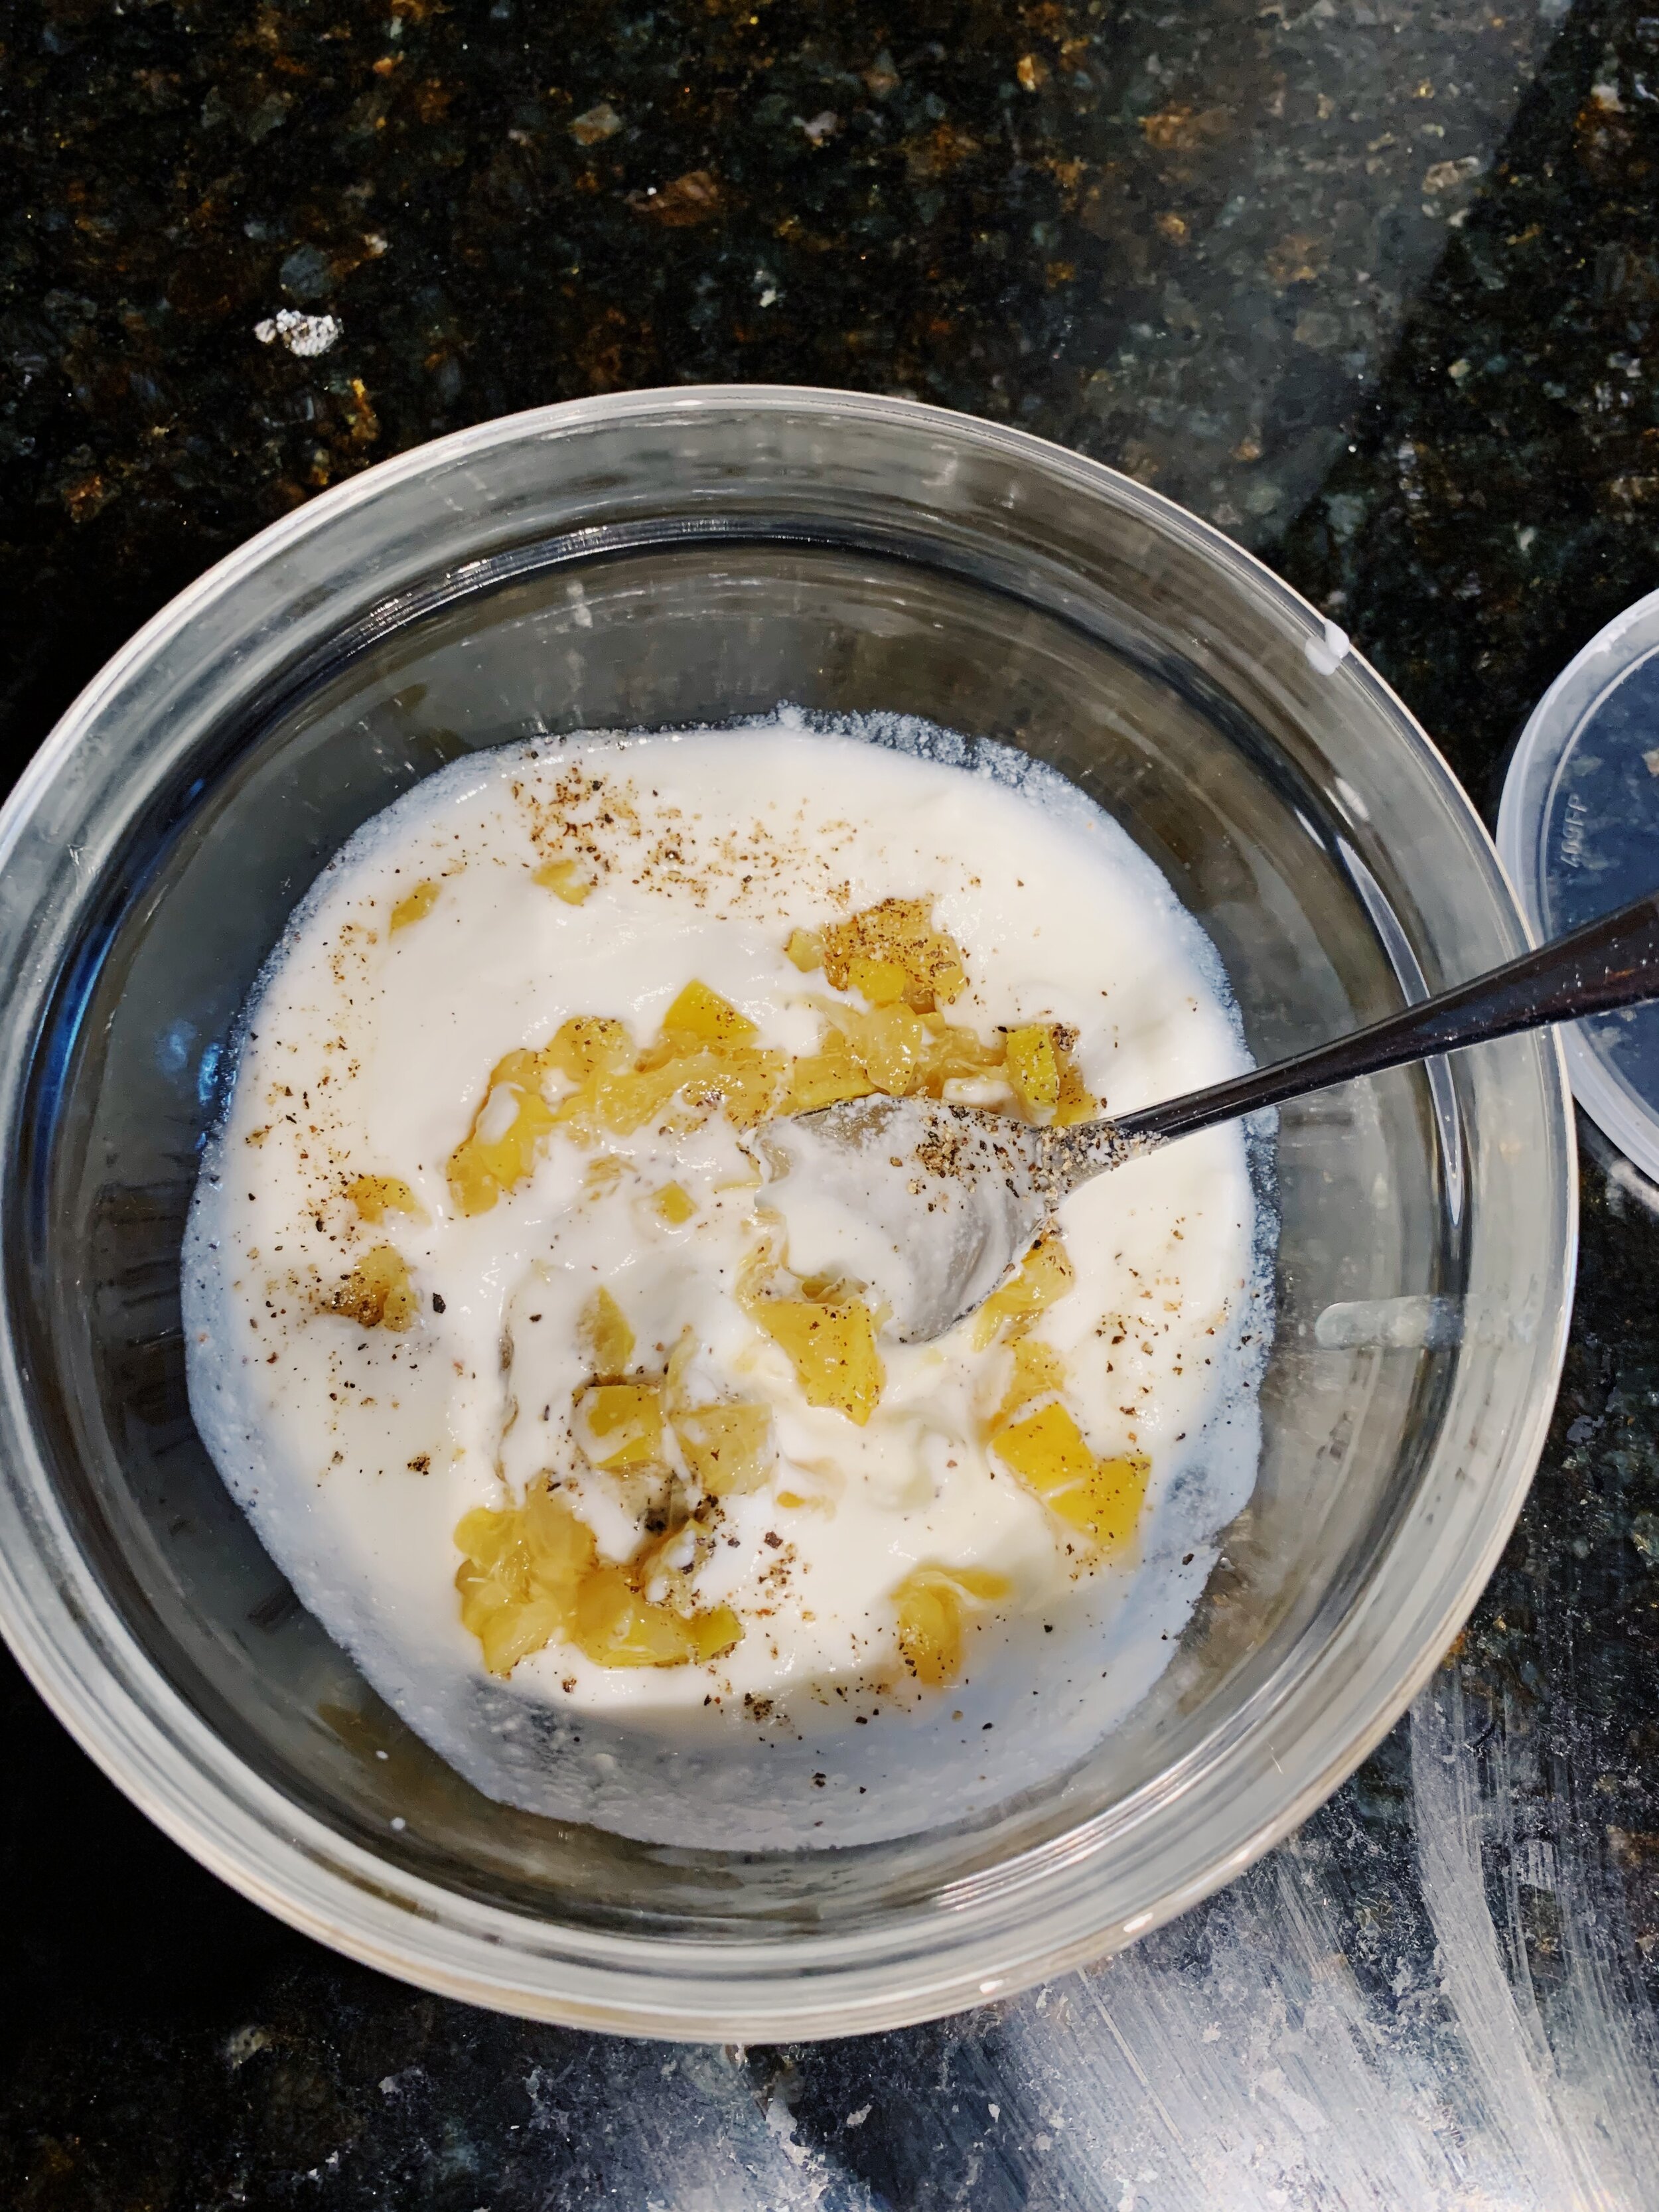
While the artichokes steamed, I made the preserved lemon yogurt, which was just a combination of finely chopped preserved lemon, salt, pepper, and goat’s milk yogurt (or greek yogurt, sour cream or labne – you decide your destiny.) The yogurt serves as the artichoke dipping sauce. It also made a delicious sauce for dipping the roasted potatoes we had as an additional side at dinner. 

I steamed the artichokes just before packing up my meal ingredients and heading to my in-law’s home where they own a grill. Prior to grilling, the artichokes should be halved lengthwise and slathered with olive oil, salt, and pepper. They start cut-side down over medium-high heat. After 4 minutes (we waited until 6 minutes), flip them over to get equal charring on the back side for another 4 minutes. Bon appetit, they’re ready to serve! 

I must say, steaming the artichokes first made a giant difference in the tenderness of the leaves. They were easy to pull and eat, but not so soft that they fell limp when holding them. 

I served this dish with Alison’s Grilled Branzino with Lemons All of the Ways – an excellent pairing if you ask me. 

99 recipes cooked, 126 to go.

Blistered Green Beans with Creamy Tahini and Fresh Hot Sauce by Alison Roman

Green beans are notorious (in my mind at least) for being exceptionally boring vegetables. Like asparagus, they’re easy to overcook. We’ve all eaten cafeteria green beans – limp, soggy strands of yellowish green mush, and we’ve all regretted those experiences entirely. While I hope to never allow my green beans to get to that level of devastation, I must confess that I’ve made some disappointments. 

Blistered green beans are anything but a disappointment. To blister green beans, toss them in a bit of vegetable oil with salt and pepper before sauteing them in a cast iron skillet over HIGH heat. It took only 7 minutes for my beans to show a light charring and turn a bright green color. By utilizing high heat for a short time, the beans retained their fresh, snap-like quality and firm structure, while still heating through completely. It was the easiest and most rewarding way of cooking green beans I’ve yet to encounter. Much like Alison’s Perfect Asparagus method, I will turn to the blistering method for green beans moving forward. 

Beyond the exceptional cooking method, there are several other elements in this dish that elevate the beans. The first involves toasted hazelnuts, which, by now, you know that I completely ignored. I could have used toasted pistachios but I had neither the time nor the interest. The fresh hot “sauce” comprises distilled vinegar, half a jalapeno, garlic, salt, and sugar. It’s best to combine these ingredients first so the jalapeno has some time to pickle in the vinegar. 

Finally, the creamy tahini, a mixture of labne (or yogurt), tahini, and lemon juice, provides an interesting foundation and kind of dipping sauce for the plate of blistered beans. The beans and hot sauce get tossed together before sitting in the tahini. 

Bright, fresh, tangy, slightly spicy, creamy, crunchy are some of the fun adjectives that describe this dish. Words that I never before would have associated with green beans. Life is full of pleasant surprises. 

94 recipes cooked, 131 to go.

blistered-green-beans-alison-roman.JPG

Charred Corn and Scallions with Tomatillos by Alison Roman

Grilling recipe number 2! If you want to know more about the actual grill experience, feel free to check out yesterday’s post about Grilled Carrots with Limey Hot Sauce and Cotija

There are several components to prep for this dish, including tomatillos, which I’ve yet to talk about on the blog. For those of you who are unfamiliar, tomatillos are small green fruits that resemble a smaller tomato in shape, and come wrapped in a sticky husk. Tomatillos are not spicy, but rather tangy, acidic, and bright. They’re frequently used to make green salsas. I also love making homemade enchilada sauce with them. I roast the tomatillos and several jalapeños under the broiler before blending them up with salt and pepper. Delicious!

This recipe only needs a few tomatillos (they’re sold by the pound.) They’re thinly sliced and tossed with lime juice, cilantro, salt and pepper, and set aside to await the corn and scallions.  

The recipe calls for either scallions or spring onions. And since I happened to find some spring onions (which are rare these days!), I used those. Two of the raw onions are saved for chopping and tossing with the tomatillos. The rest of the bunch get charred over the grill — which takes only a few minutes. 

The corn grills on medium-high for 8 to 10 minutes according to the recipe. However, similar to the grilled carrots, they could have used another 5-8 minutes to get more char. As long as they aren’t totally blackened, I say the more char, the better. 

Once ready, cut the corn off the cob, roughly chop the grilled spring onions, and mix both with the tomatillo mixture. Per Alison’s note, we added diced avocado — to which I also say, the more avocado, the more delicious. (Alison claims that avocado “does nothing for her,” but I couldn’t disagree more. See this post for a deeper dive into my feelings about avocados.) 

This dish lends itself very well to modification! Margaret pointed out that plenty of alterations could be made based on preference. Add sliced jalapeño or flaky salt, diced fresh bell pepper, or cotija, just to name a few. 

We loved this dish, and it made enough for 6 of us to each have seconds (and for some, thirds). 

91 recipes cooked, 134 to go.

my sweet pal Margaret

my sweet pal Margaret

Grilled Carrots with Limey Hot Sauce and Cotija by Alison Roman

It’s summer, friends! Which means grilling season! Which means of course I had to make a list of all of Alison’s recipes that require (or strongly suggest) using a grill. My in-law’s live about 15 minutes away, and have both gas and charcoal grills. I plan to utilize these grills for all of the grill recipes until we move to Chicago in September. 

grilled-carrots-limey-hot-sauce-cotija-alison-roman-grill.jpg

I find it necessary to disclose that I’ve never grilled before. I still haven’t. I asked my father-in-law to monitor these carrots while I prepped the rest of the meal. That said, I intend to be more hands-on in the future! 

To prep these delicious carrots, I simply tossed them in oil and salt and pepper before plopping them directly on the grill. The grill is set to medium-high, and Alison says the char should happen in 8-10 minutes. We took the carrots off at 10 minutes, but I must admit that they could have spent another 5 and gotten even softer, charred and more delicious. Margaret agreed. 

charred-corn-scallions-tomatillos-alison-roman-3.jpg

That’s right, Margaret! Margaret, more than anyone else in my life, has taught me how to cook. She’s also one of my best friends. She and I cooked this recipe together, and it was such a treat. 

Once grilled, the carrots are tossed in a “limey hot sauce” which is really just a mixture of lots of lime juice, honey garlic and minced jalapeño. It’s not a marinade, it’s a sauce. A very thin liquid sauce with chunks of minced jalapeño. It’s really good, and the leftovers were passed around the table for more drizzling on truly everything on our plates — Alison’s charred corn and some grilled chicken. 

The final element is cotija cheese. We crumbled far more than the recipe calls for on top of the carrots. Margaret would have liked for a better way for the getting the cotija to adhere to the carrots. It tended to fall off once plated, which meant scooping up cheese crumbles with your fork after each bite of carrot. Doable, but not ideal, nor elegant. Although, can you eat carrots elegantly? I’m unsure. 

Overall, these carrots are a fun summer night dish that most definitely will appear again in meals to come. 

90 recipes cooked, 135 to go.

grilled-carrots-limey-hot-sauce-cotija-alison-roman-3.jpg

Tomatoes Dressed in Toasted Fennel and Anchovy by Alison Roman

tomato-toasted-fennel-anchovy-alison-roman-2.jpg

Alison describes this dish as something so good, it made her cry. I agree, it’s really good. (It didn’t make me cry.) It was also effortless, pretty to look at, and totally consumed in about 30 minutes. 

The recipe calls for 2-3 lbs of small-ish ripe tomatoes. I used the kind that grow on a vine, are larger than a cherry tomato, but smaller than a beefsteak tomato. You know what I’m talking about, right? Of course you do. 

Several hours before dinner time, I assembled the anchovy oil. This consisted of melting about 8 anchovies in some olive oil and Aleppo pepper over medium heat. I tried not to let the oil get too hot so that it bubbled, but hot enough to let the anchovies melt. This took some vigilance and heat adjustment as the fish began to break down. I assume it would have gone much quicker if I had a more predictable gas stove, but it’s hard to nail an exact heat range with my electric stove. I waited to prepare the tomatoes until right before our guests arrived so they were as fresh and cold as possible. I chose to quarter the tomatoes instead of slice them, which made them easier to eat. 

The combination of flaky salt, anchovy and aleppo oil, and toasted fennel seed was far more subtle, in a good way, than I anticipated. I could only partially taste the anchovy, which allowed the fresh tomato to still shine in its own juicy glory. I could have easily eaten half the plate by myself, but instead, I had several others help me with it. If you love tomatoes, then this is a fabulous, and quick to assemble, side dish for any summer meal. 

88 recipes cooked, 137 to go.

part of this All-Out-Alison meal — served with the Scallops with Corn, Anchovies with Potato Chips, Baked Summer Squash, and Alison’s Upside-Down Apricot Tart

part of this All-Out-Alison meal — served with the Scallops with Corn, Anchovies with Potato Chips, Baked Summer Squash, and Alison’s Upside-Down Apricot Tart