Coconut Banana Cream Pudding by Alison Roman

As a child, I experienced many random urges to bake something. Usually in the midst of boredom, I would get sudden hankerings to be creative and make something with my hands for other people. Which always led me to beg my mom to let me use up a box of baking mix in the pantry, think brownies or chocolate chip cookie bars. Though the instructions were rather straightforward, and little effort required, I still tended to nail the desserts only 50% of the time. (I had a shorter attention span in those days.) Every once in a while, we only had a packet of Jello pudding mix on hand, which only required mixing powder with cold milk and chilling it in the fridge. But it was enough to scratch my baking itch. 

And thus concludes my prior experience making pudding. As you can imagine, I had really no idea what I was getting into with Alison’s pudding. And yes, I made a big mistake. Hopefully my writing about it helps someone avoid the same. 

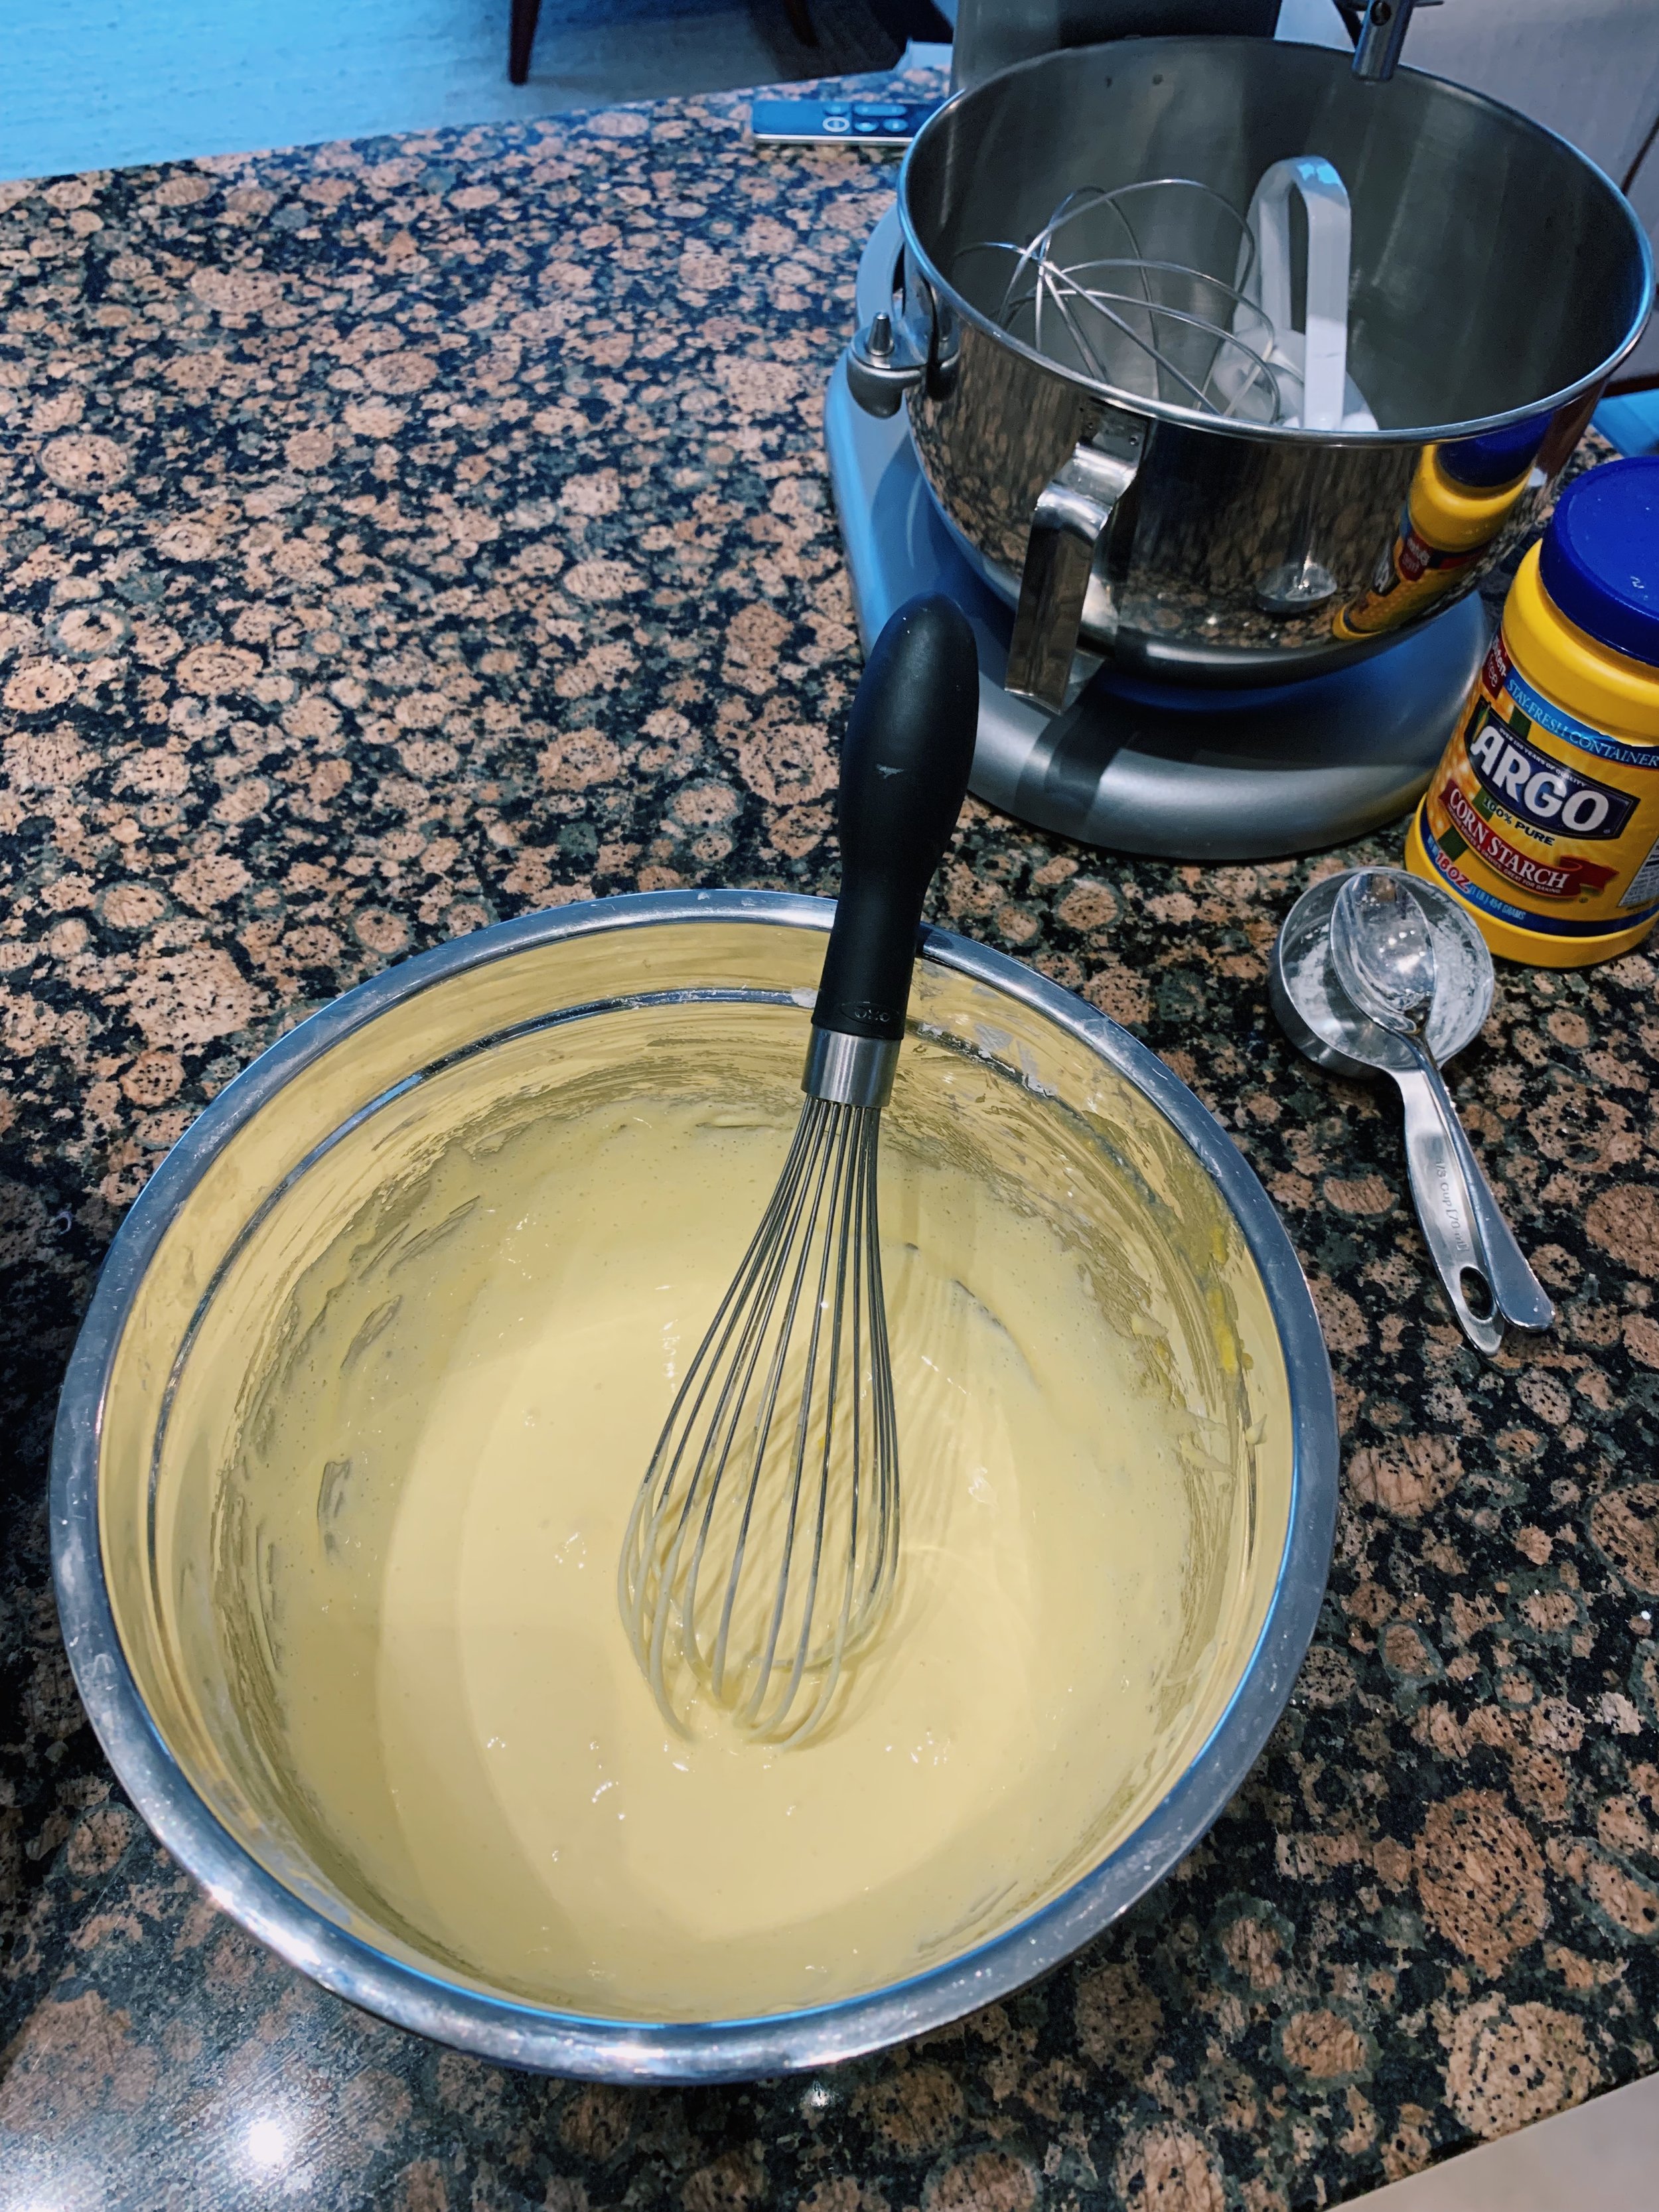
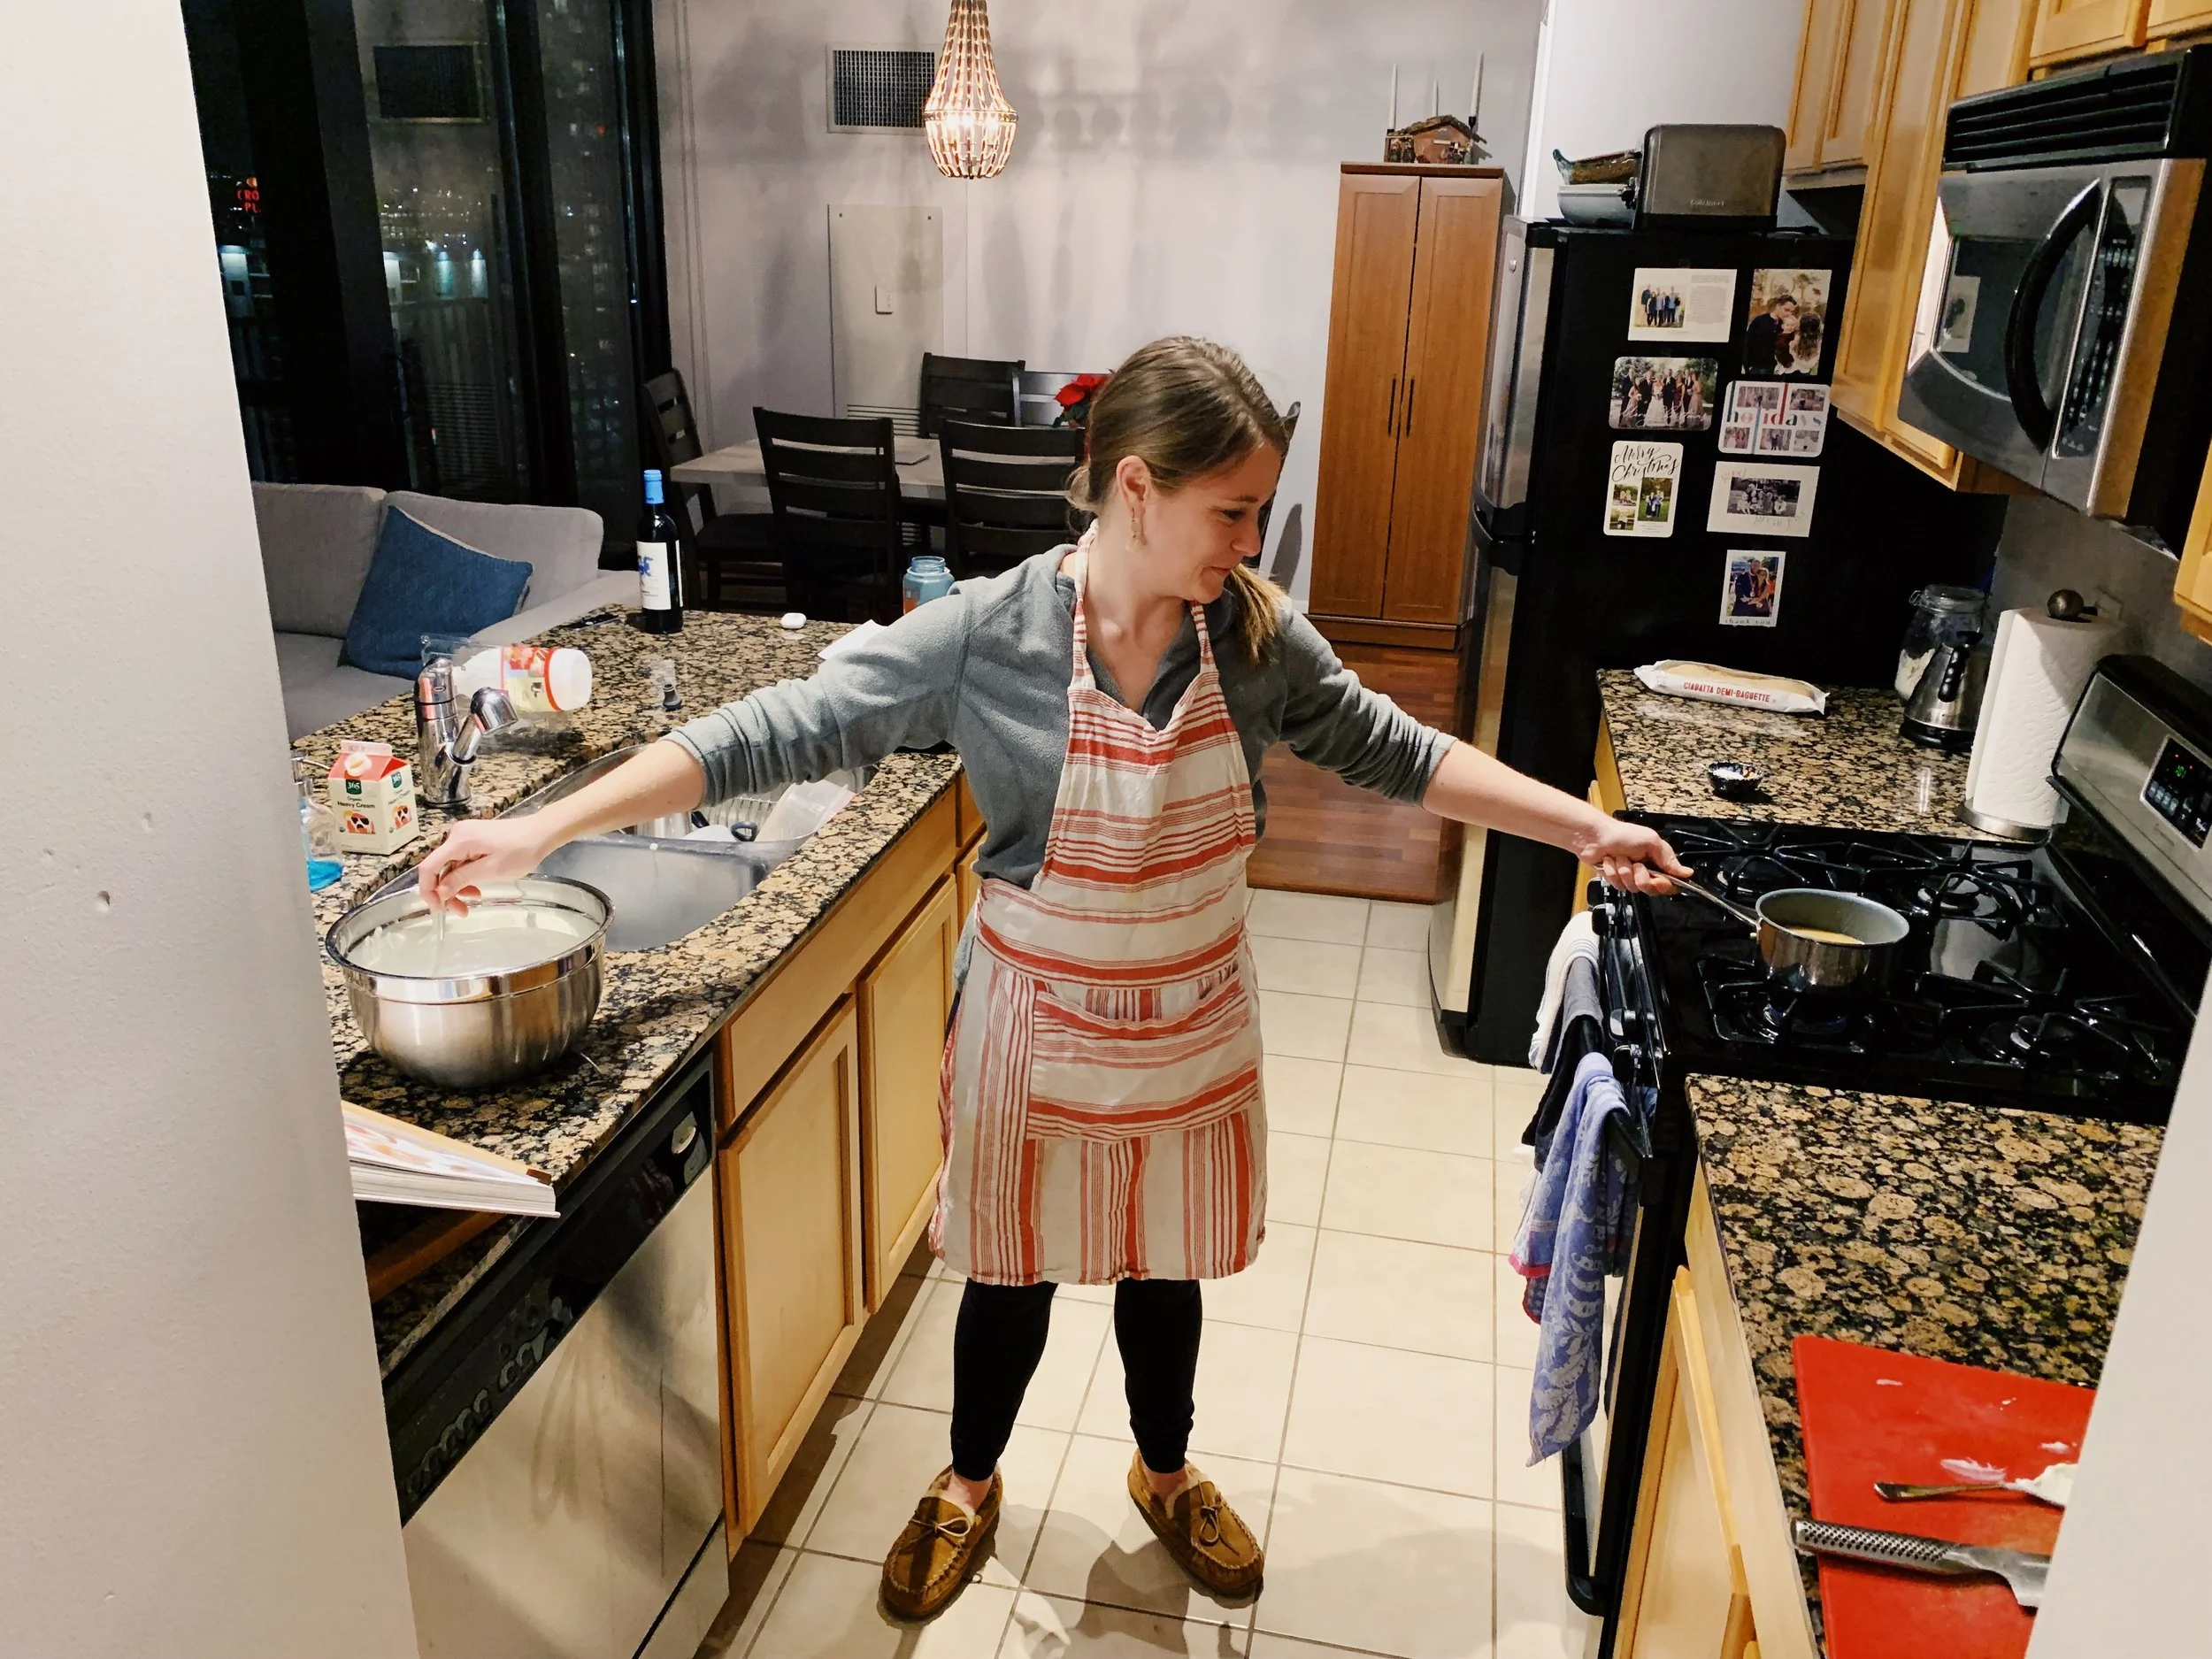
Making pudding from scratch is far different from making pudding from a box (duh). Pudding from scratch happens in multiple steps and with lots and lots of whisking by hand. The first step is to whisk egg yolks, cornstarch, and sugar together until pale and fluffy. After just three or so minutes of whisking, my arm already felt tired. Thankfully Jordan stepped in to get the egg yolks to that dull yellow color and speckled with tiny air bubbles. 

Now it’s time to simultaneously heat and continuously whisk the dairy, which is where I spent most of my time, and made my grand mistake. I poured heavy cream, sugar, coconut milk, a tiny dash of ground turmeric (for color, I think), and vanilla extract into a pot, and stirred everything slowly until it came to a light simmer. Stirring helps prevent any cream from curdling. In order to warm the egg mixture before pouring it all into the hot cream, Alison instructs us to pour half of the cream into the eggs and mix them first. We want to avoid the eggs going into shock and scrambling when they hit the heat, so we need to gradually get them warmed up. Kind of like dipping your toe in the jacuzzi to adjust, before submerging yourself all the way. Once warm, then I poured all of that creamy, eggy stuff back into the pot on the stove over medium heat. 

Now here’s where the confusion began. Here’s what the cookbook says: 

“Stir the warmed egg yolk mixture into the pot with the cream and, whisking constantly, cook until it thickens and starts to bubble up and look like something that is so hot it could hurt you if it touched your skin (it can, so be careful!!!), 3 to 5 minutes.” 

So I’m waiting for it to “thicken” and look “hot” and start to ”bubble up…” Not the most helpful visual cues to watch for, but fine, I’ll roll with it. The 3 minute mark hits. Then the 5. There’s steam coming off the top and some tiny bubbles rising to the surface. Is that what she means by hot and bubble up? I’ll let it go a minute longer…. 7 minute mark hits, and still more steam and tiny bubbles. The liquid is a bit thicker than when I started. Now, I’m well past the time limit, so I figured the pudding must be ready. I removed the pot from the heat, and per the instructions, poured the mixture into a 9x13 baking dish and stuck it into the fridge to chill “for at least one hour.”

An hour goes by, and the pudding, or should I say, slightly thickened liquid, is still warm. Another hour goes by, and the slightly thickened liquid is room temperature. A third hour goes by, and though the liquid is cold, there’s still one major problem…. It’s liquid. Wasn’t it supposed to thicken up and feel like pudding by now? I did what I always do in situations like this: I called Margaret.

Margaret, knower of most things cooking. Experienced cook, baker, and thankfully, pudding maker. I told Margaret all about my dilemma. How I followed the instructions, how I thought the pudding looked ready for chilling based on the book’s description, and how I still had a baking dish filled with cold liquid in my refrigerator. “Ah,” she said, “you just didn’t cook it long enough.” But I cooked it 2 minutes longer than what Alison said? “It always takes longer than they tell you it will.” Margaret, of all people, would know this. Then she told me what to look for beyond heat and bubbles. 

I hung up the phone, poured all of the liquid back into the pot, and turned the burner dial to medium heat. It took about 10 minutes of heat and constant stirring to get the mixture back to the temperature it was before I chilled it. At this point, I applied Margaret’s tips. It took another 13 minutes before I had a viable “pudding.”

For those of you who plan to make this pudding recipe, here are some helpful (for me, at least) details to add to Alison’s instructions. 

  • Once the egg/cream mixture is poured back in the pot, it could take anywhere from 8 to 15 minutes of constant stirring to achieve the right consistency. 

  • Beyond heat and bubbles, you’ll know the pudding is ready when:

    • You drag your whisk across the liquid and it creates a ribbon pattern on the surface. 

    • Your whisk meets resistance as it stirs. 

    • The pudding can coat the back of a spoon

    • The pudding feels mostly like pudding. It’ll thicken up a bit more as it chills, but you want to achieve most of the pudding consistency while over the stove. 

My second attempt was successful. But by that point, I didn’t have enough time to let it chill and assemble the dessert layers before going to a NYE gathering. So I left the pudding to chill for the night and assembled everything the next afternoon. 

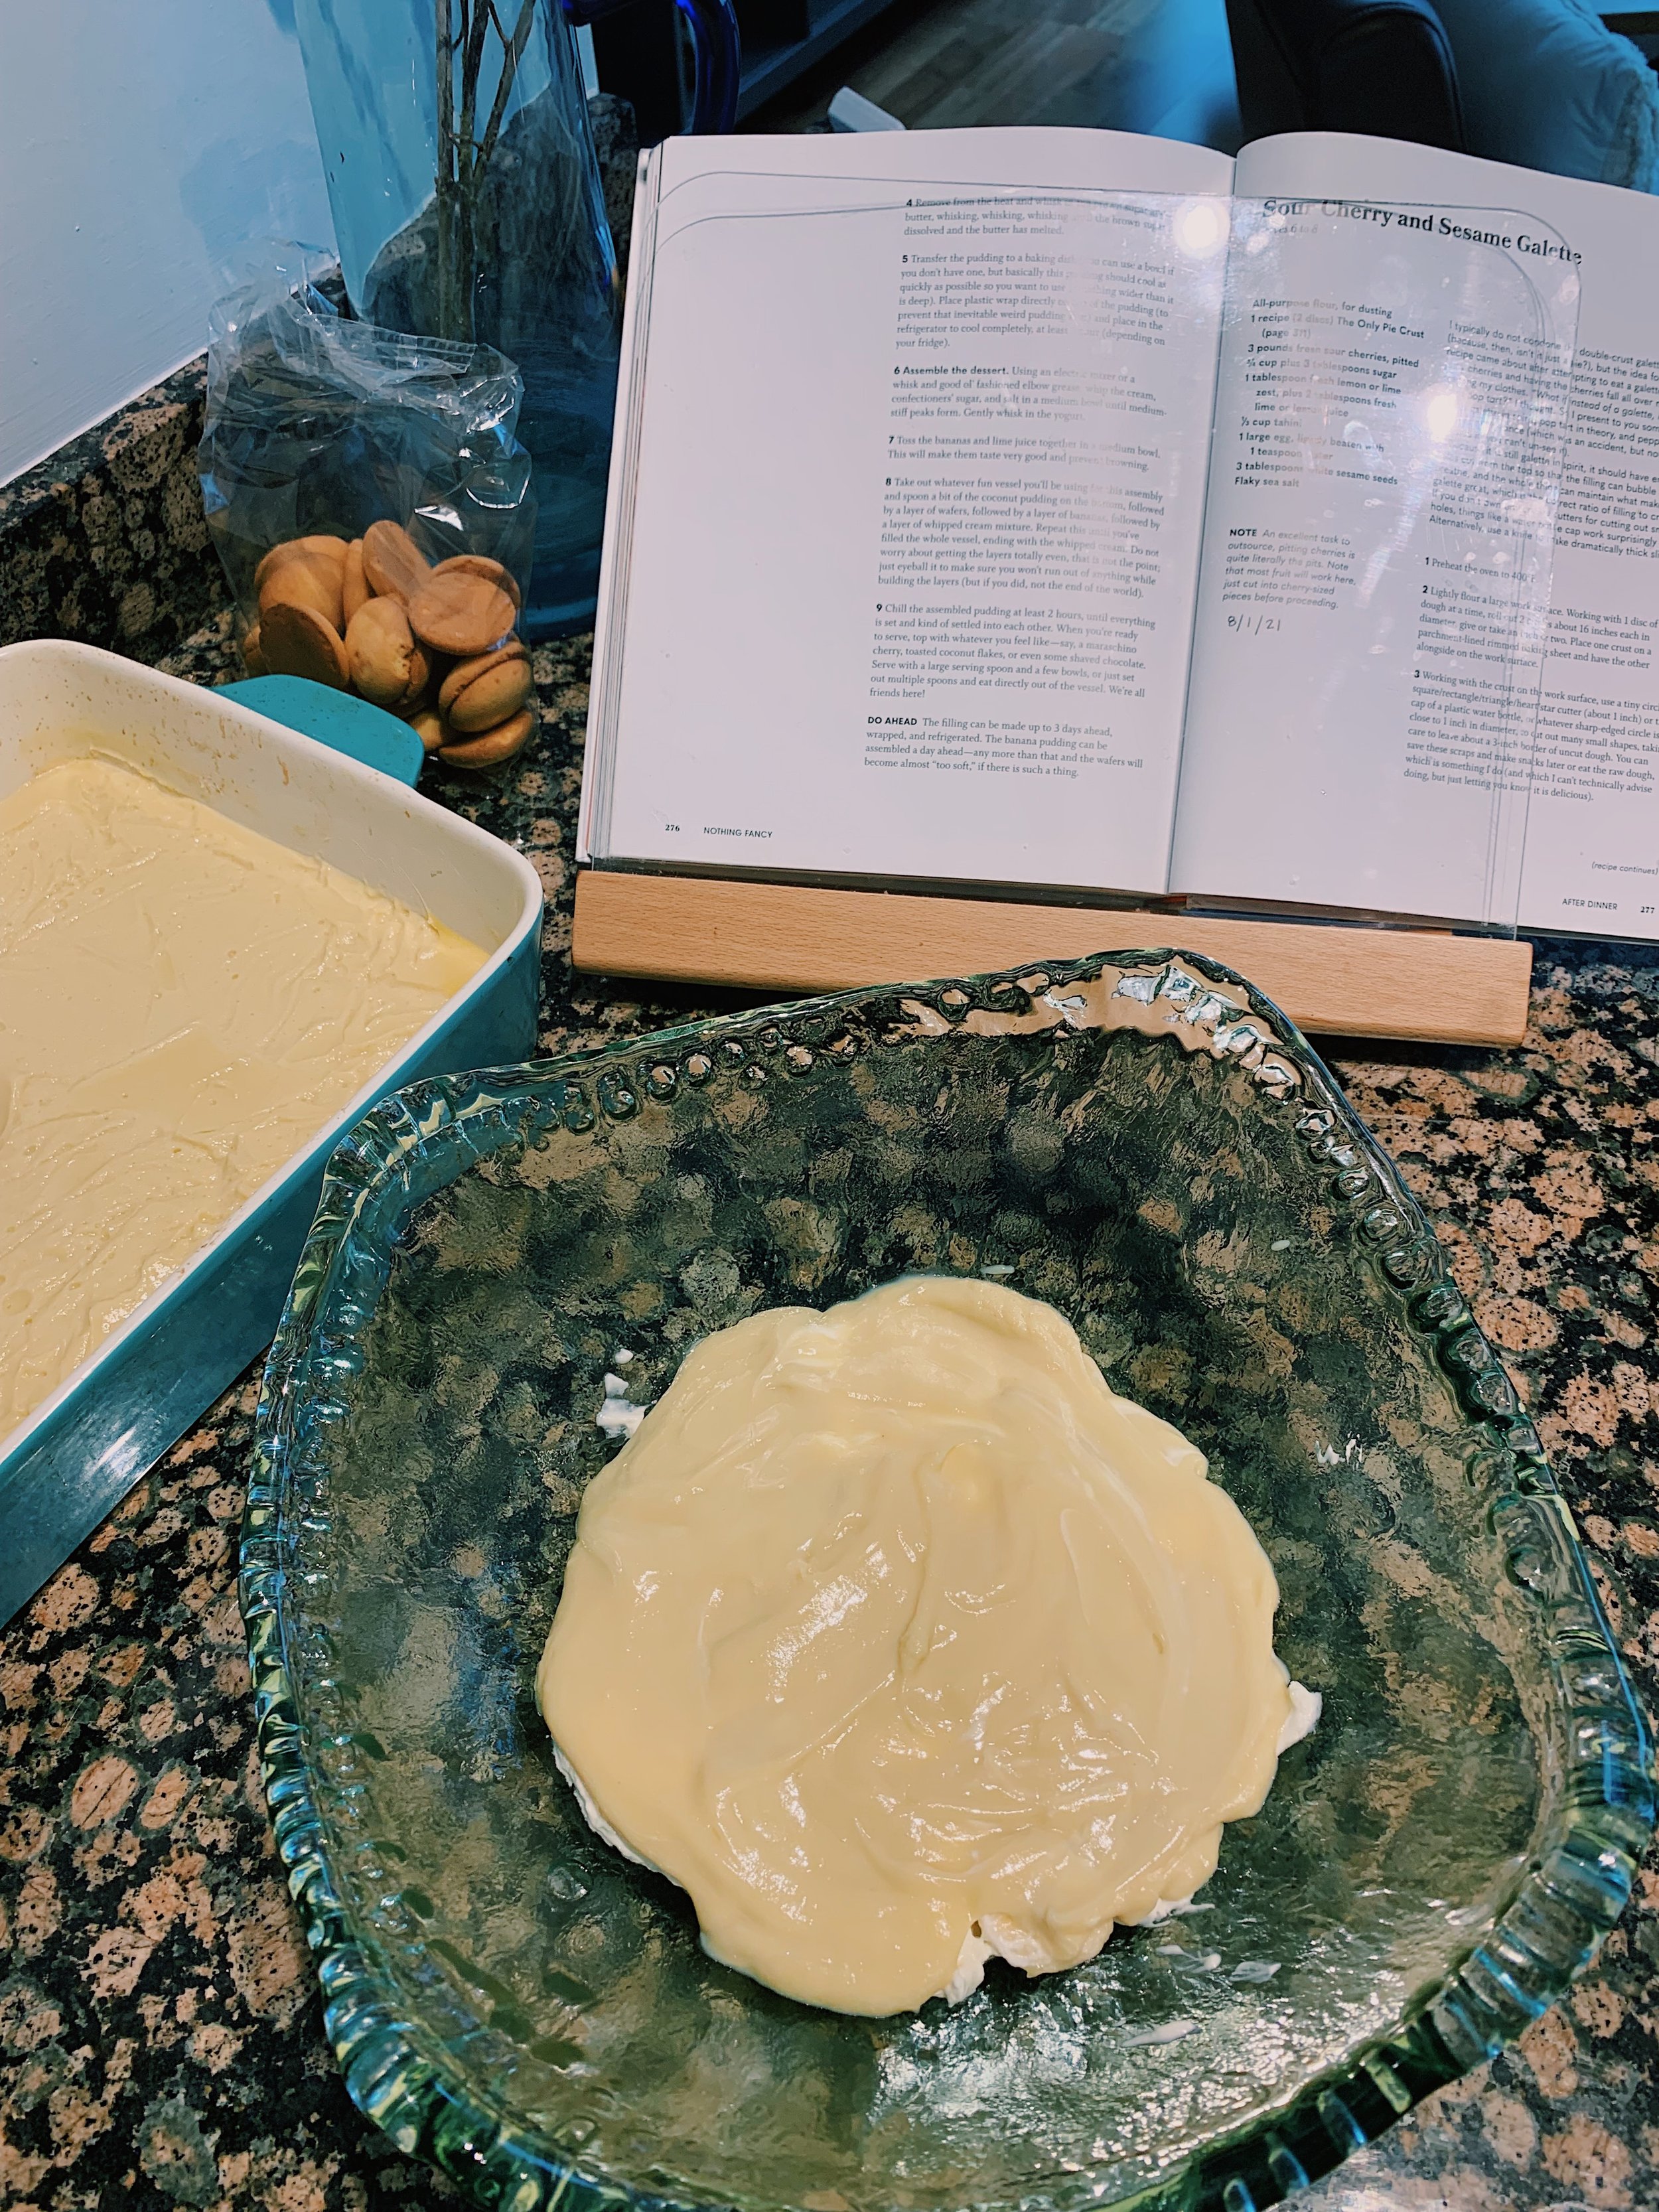
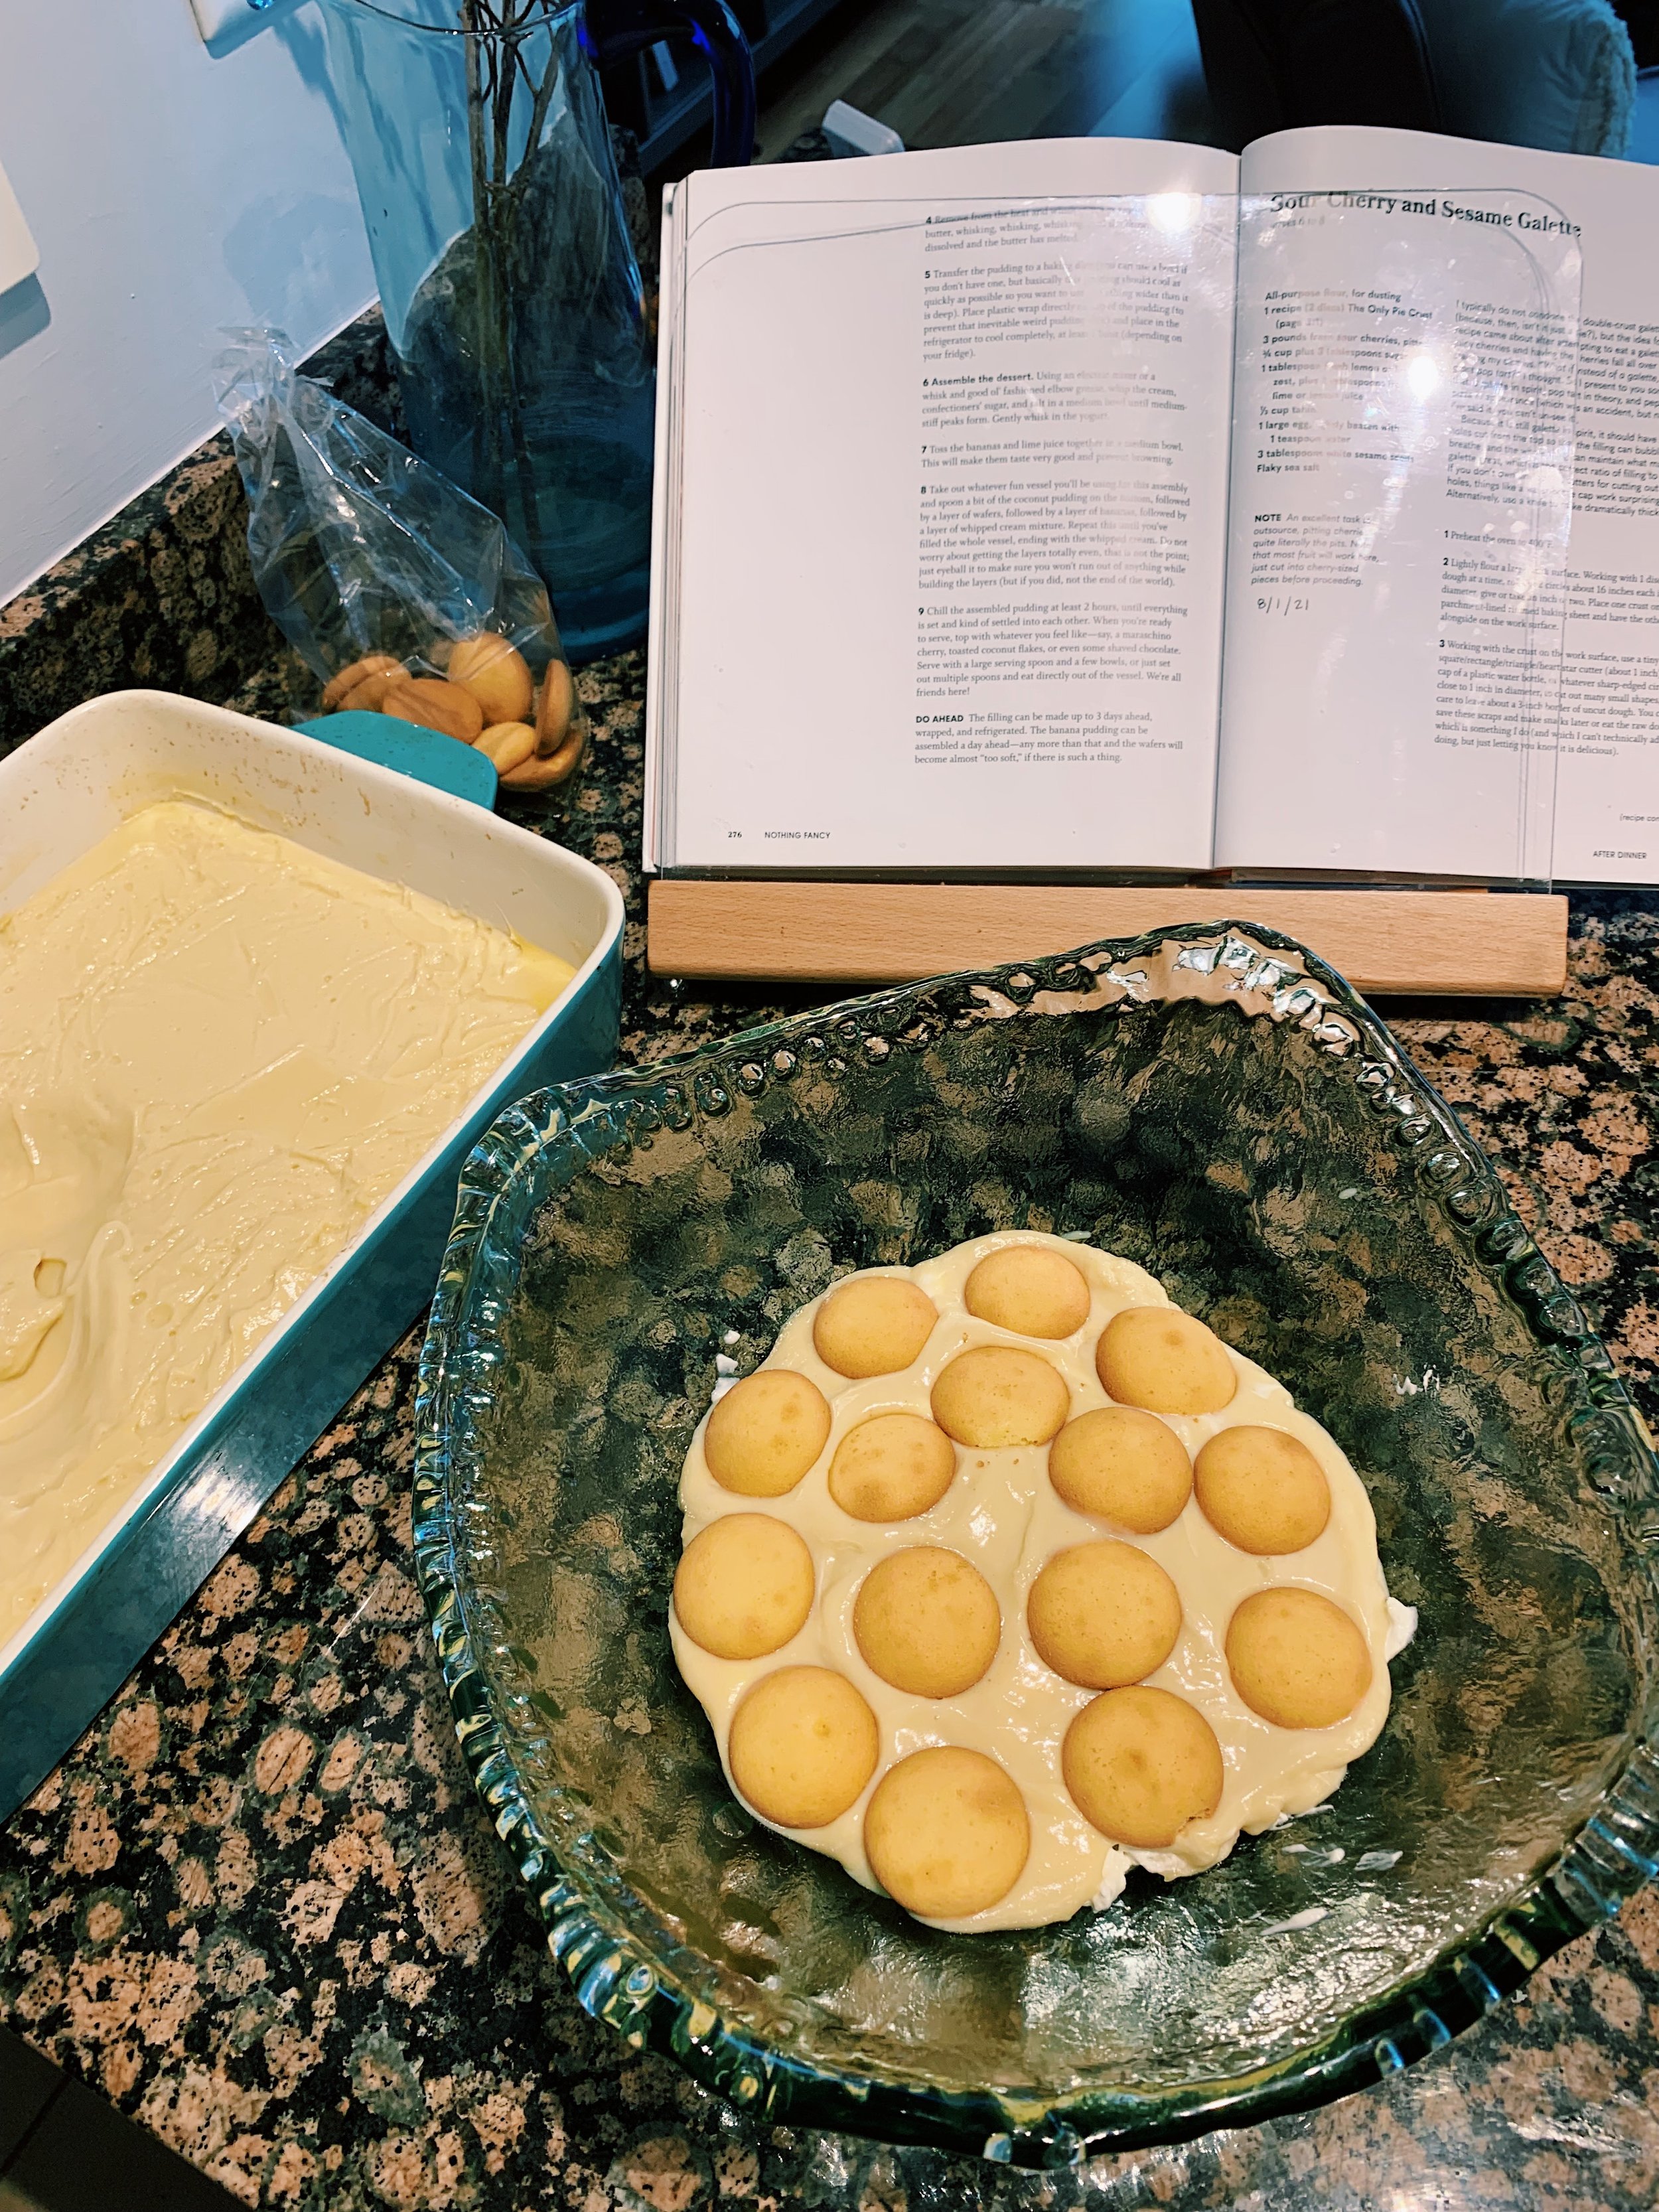
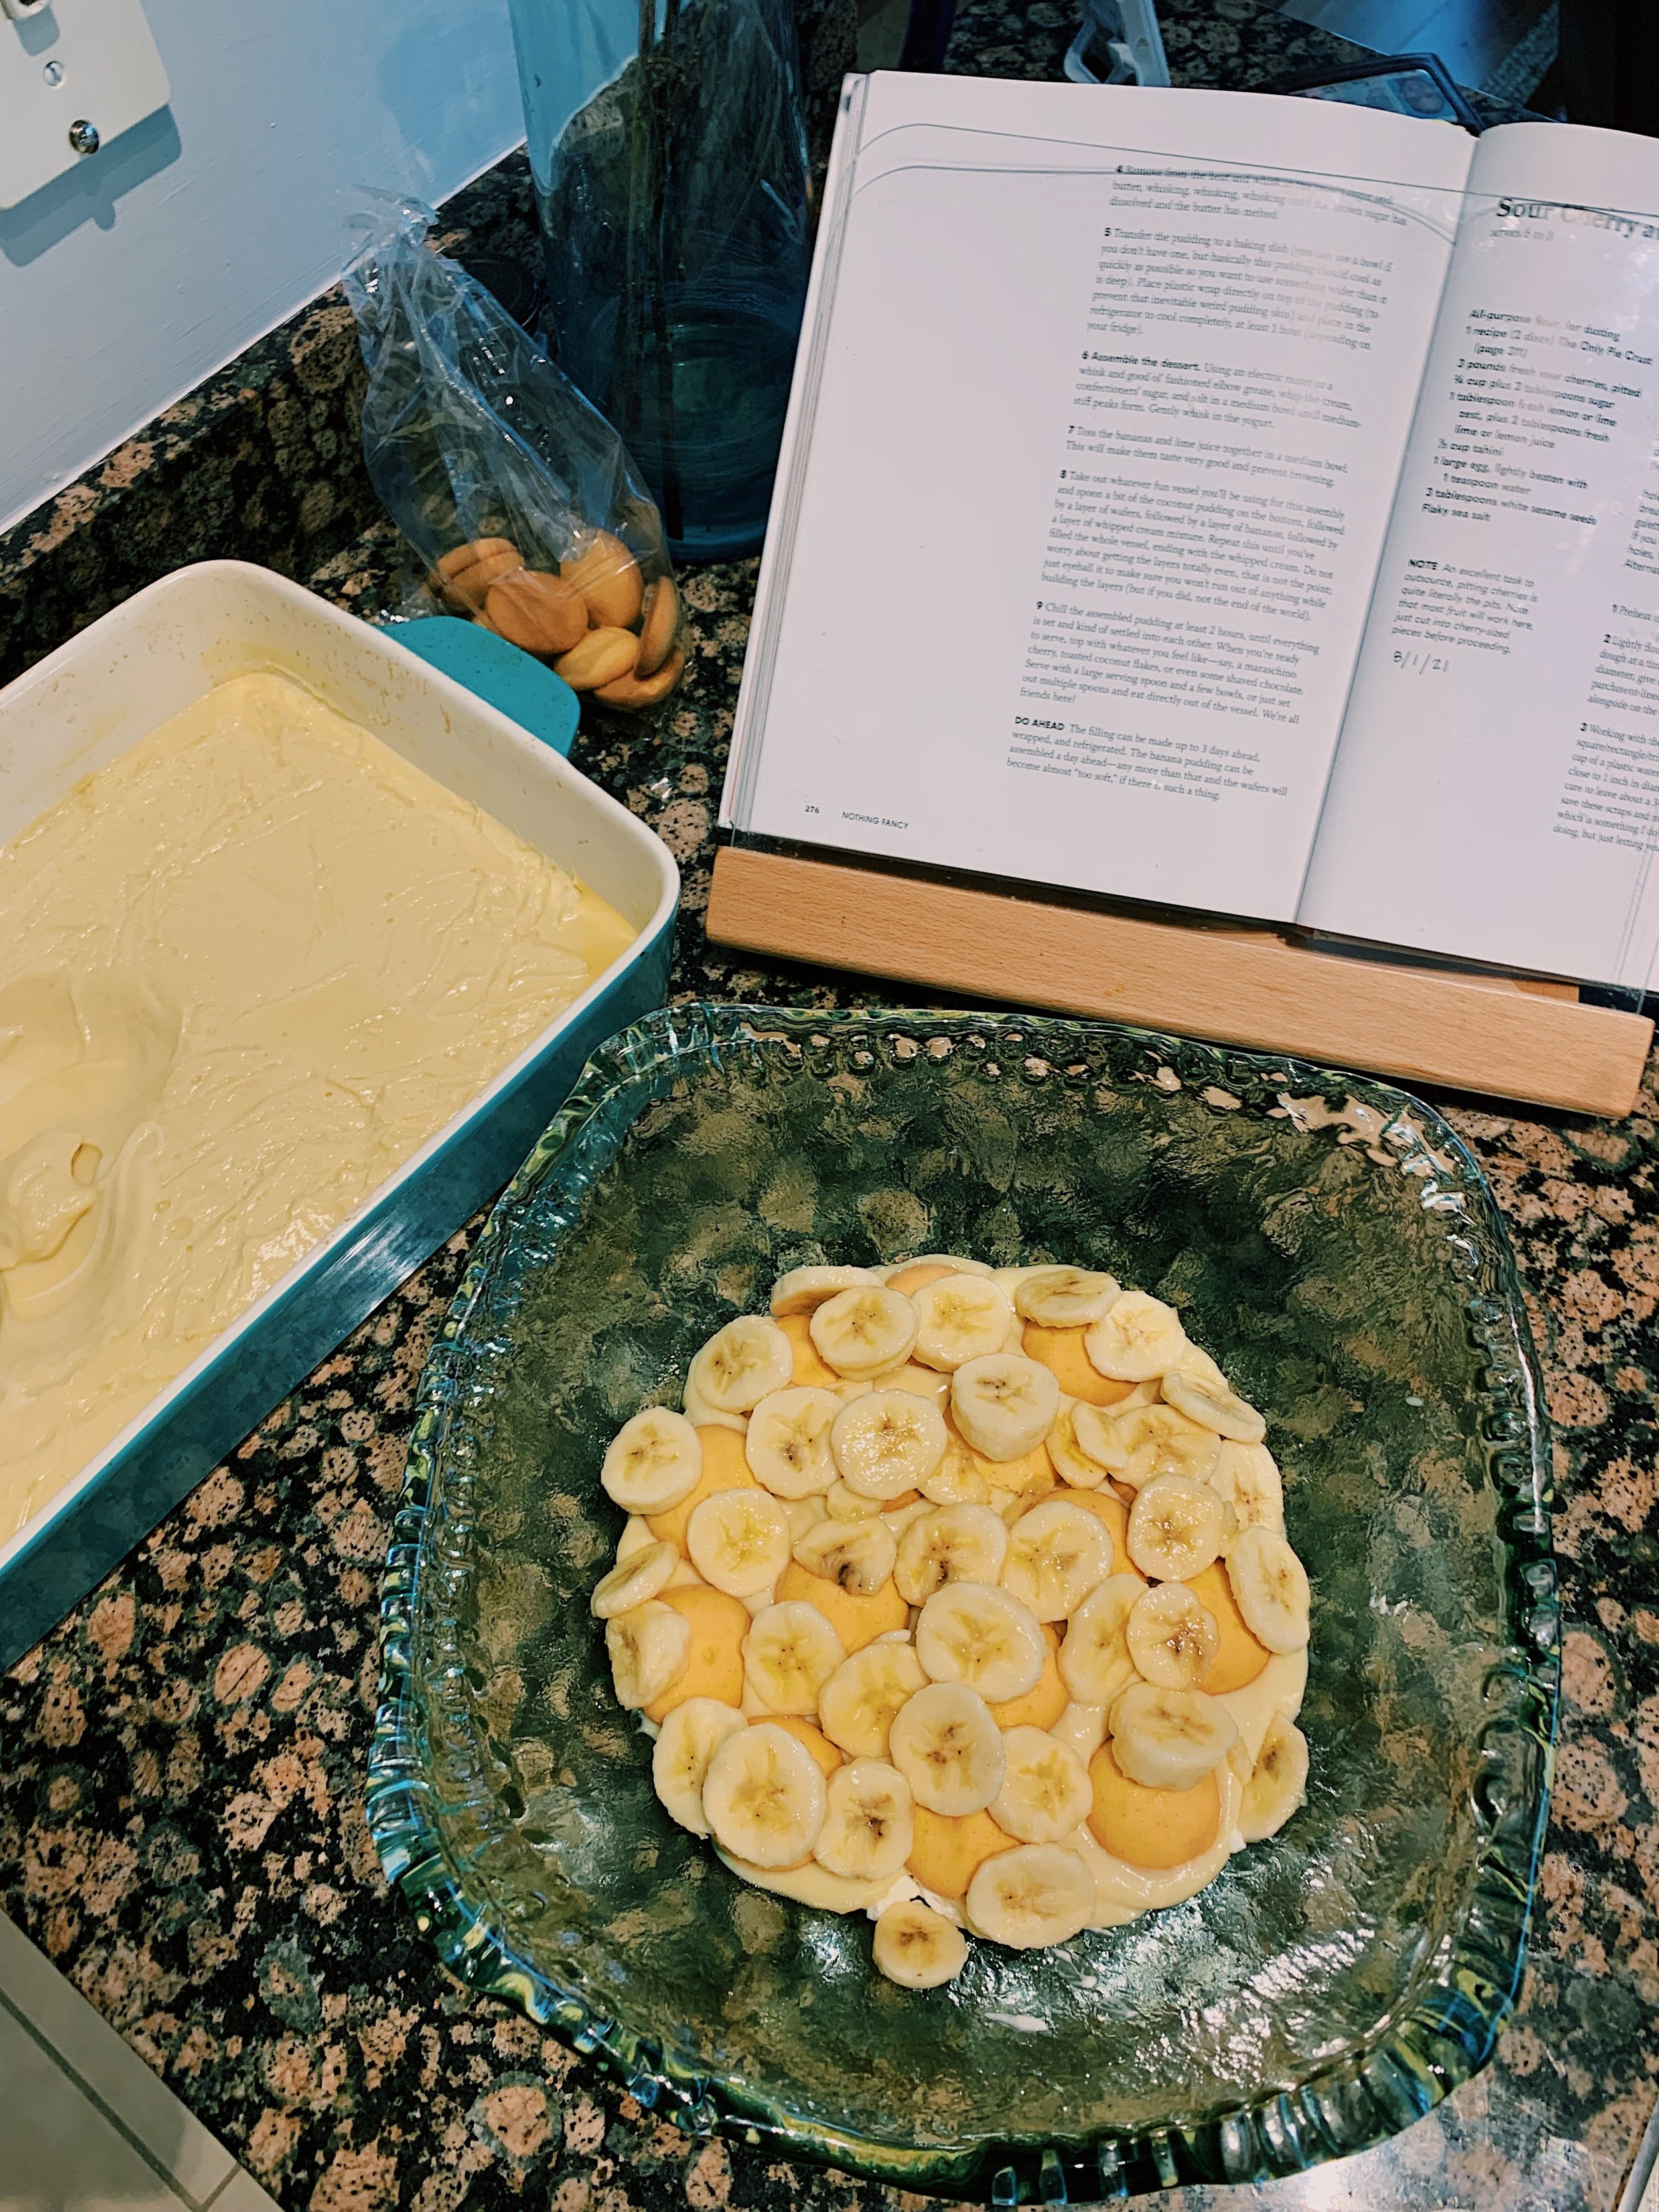
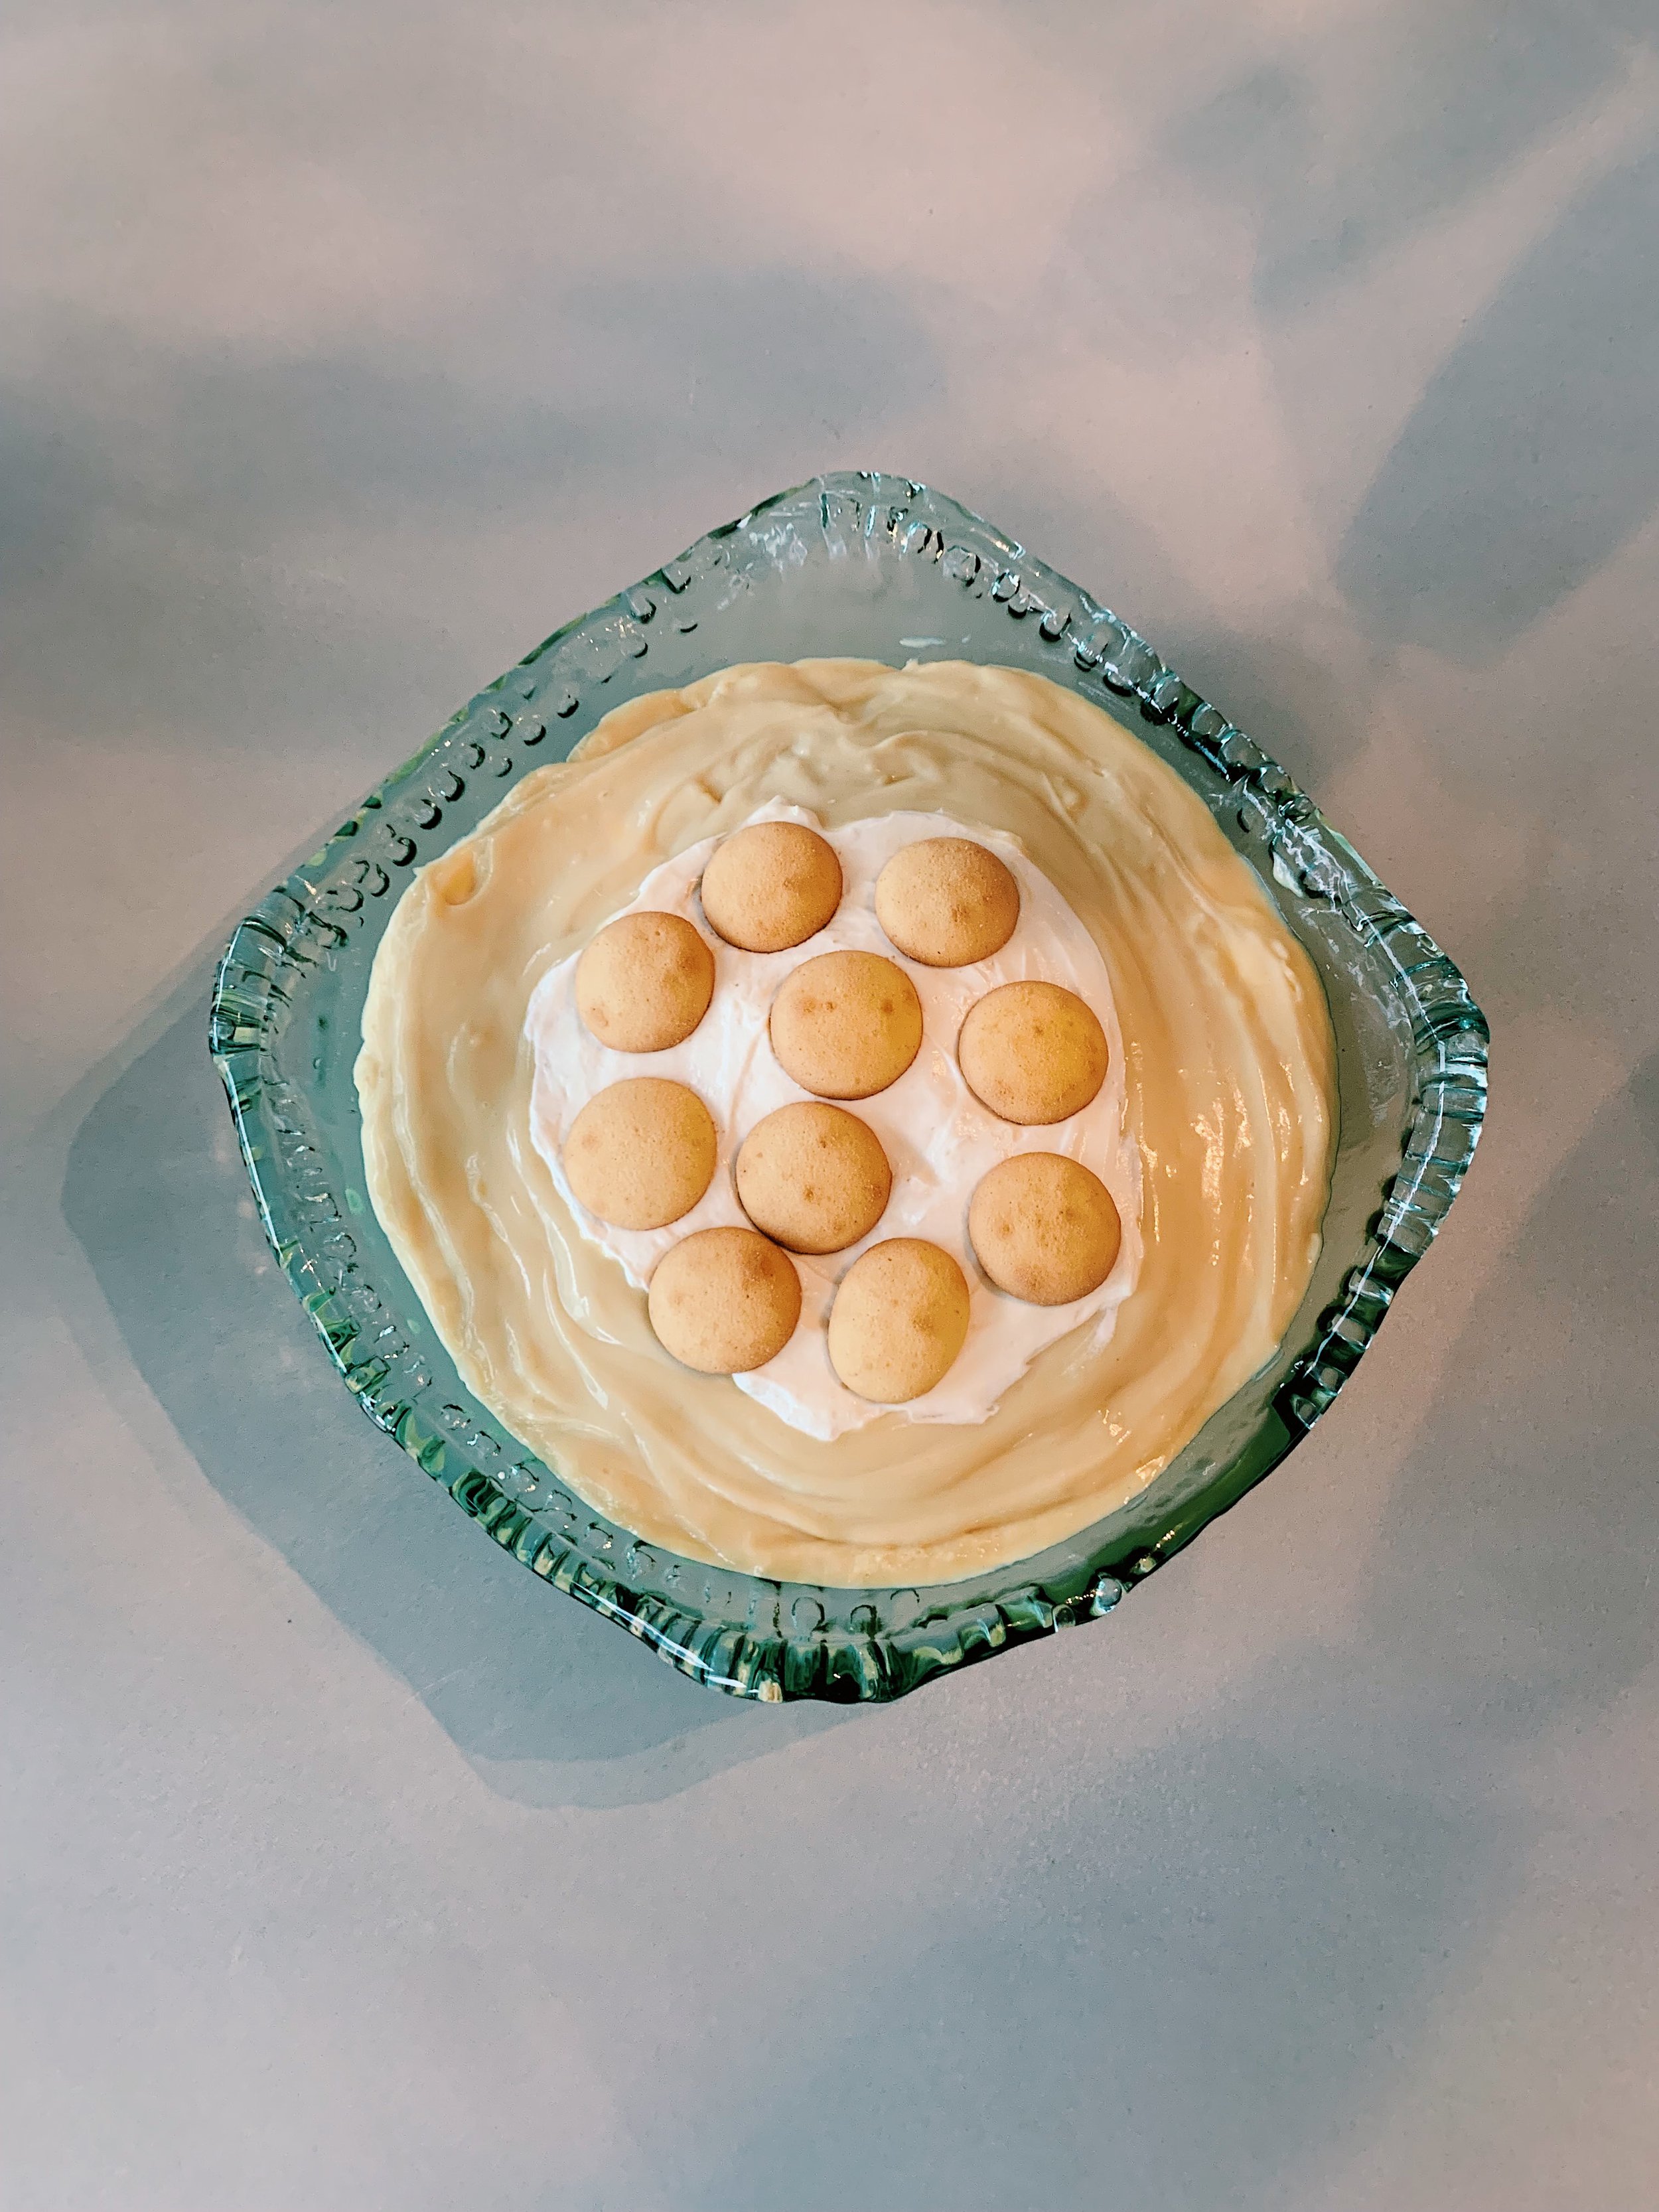
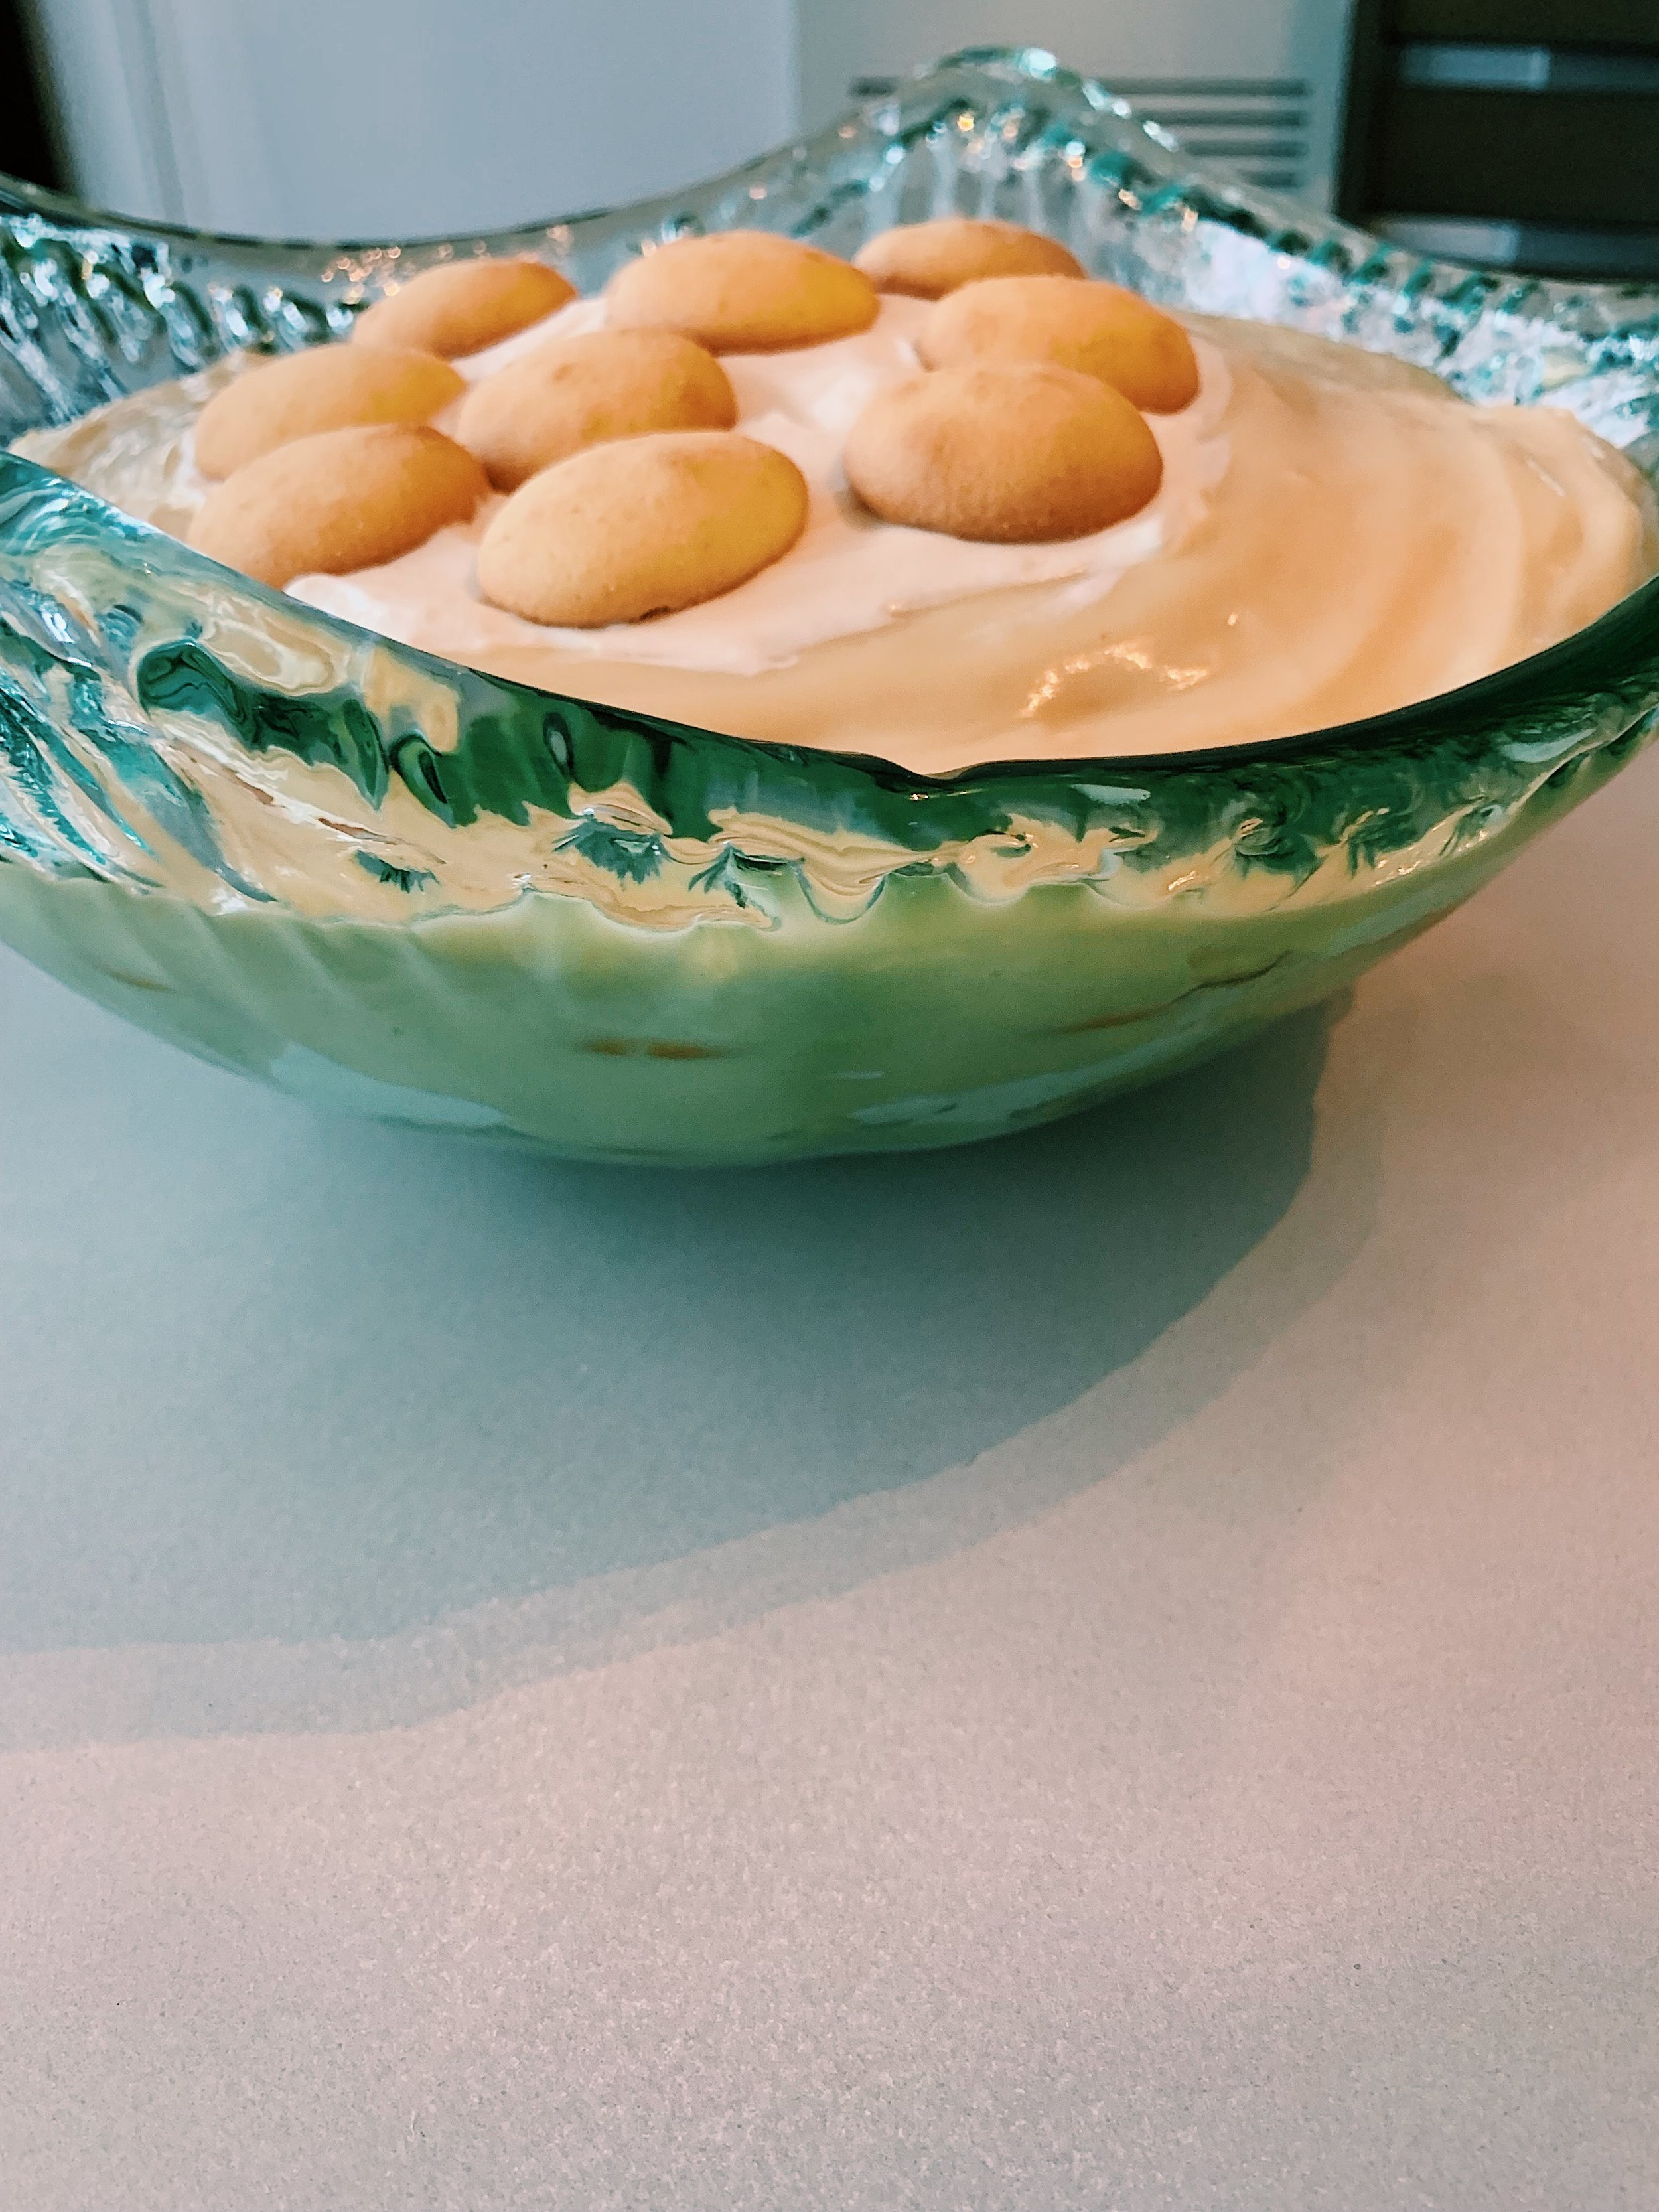
I managed to fit four layers of: pudding, vanilla wafers (I used GF wafers found at Whole Foods), banana slices tossed in lime juice (to prevent browning), and whipped cream, in my serving bowl. I sliced all 6 bananas per the instructions, but ended up using about four and a half. I served the pudding as dessert with Alison’s Pizza Night, and the leftovers the next evening with Alison’s Ricotta-Stuffed Shells (post to come). 

Despite the hullabaloo, this dessert is delicious. And addicting. 

Pro tip: If banana flavor isn’t your favorite, just know that the longer the pudding sits in the fridge, the stronger the banana flavor becomes. I don’t mind that, but some will. Also, lime juice truly does prevent bananas from browning. Who knew?

204 recipes cooked, 21 to go.

Salted Honey Panna Cotta with Raspberries

I feel like I’m writing a minor, yet continuous confessional. As I blog about these final 40 recipes, I feel led to confess why I waited to cook them until the end. For some, it was unintentional. Others don’t spike my appetite. And others, like this panna cotta, are just plain intimidating. Or so I thought. 

I was on my drive home from work and talking to my friend Margaret on the phone about all I planned for dinner. Slow-roasted chicken, garlic bread, arugula salad, and panna cotta for dessert. Off-handedly Margaret commented, “well at least panna cotta’s really easy.” “Right, yeah, definitely,” I replied. I still spent the rest of the drive home trying to mentally gear up for the tasks ahead. 

Thankfully, Margaret was right. Panna cotta is on the easy side, it just requires patience. Step one, hydrate the gelatin packet in water. Alison tells us to sprinkle the gelatin over the water and let it soak. No mention of stirring. Given the gloopy look of things, I had the impulse to stir, but held back. Next, I combined buttermilk, honey, and heavy cream in a small pot and dumped in the clumpy gelatin mixture. Over low heat, I tried to dissolve the gelatin completely without letting the mixture rise to a simmer. This requires very frequent stirring and time. Alison doesn’t specify how long this takes, so if it helps, it took me about 20 minutes. Maybe it could have gone a tiny bit faster, but I was very conscious about not letting things simmer to avoid curdling. I didn’t feel like starting all over again. 

In the meantime, I combined the rest of the ingredients - a dash of salt, more buttermilk, more heavy cream, and sour cream. Alison instructs us to lightly whisk them together so there are no clumps, but also no air bubbles. That’s a tall order, in my opinion. Especially as the sour cream wanted nothing more than to sink to the bottom and remain its clumpy self. I found myself with a fork, digging for bits of sour cream and trying to separate them against the side of the bowl. I think I got most of the clumps out? 

Once the gelatin totally dissolved, I poured that mixture slowly into the bowl of many dairies and stirred to combine. I portioned them out in seven glasses and stuck them in the fridge. Alison says they need at least 1 hour in the cold. But I can say from experience that the longer they sat in the fridge, the firmer, and more panna-cotta like, they became. If you’re looking for an authentically firm panna cotta, without a more liquidy bottom, let them spend at least 4 hours in the fridge. I covered the ones we didn’t eat that night with saran wrap and enjoyed one even more the next day. 

Finally, the raspberries. A truly great add. I would not skip them. Crushed raspberries mixed with a bit of honey and apple cider vinegar. That tiny bit of acid and sweetness were just what the gelatin needed to really pop. I love that the panna cotta has a subtle sweetness - recipes calls for only a half cup of honey. So the raspberries really bring the sweetness home. 
189 recipes cooked, 36 to go.

Casual Apple Tart with Caramelized Buttermilk by Alison Roman

I grew up feeling rather ambivalent about apples. Apples and peanut butter, apples and caramel, or even just a plain apple - I wasn’t jazzed about apples. I did love to sing about them, though. My sweet grandmother who is now 92 years old, used to write original songs for her grandchildren to teach us important things. For example, she wrote a song about my home address and phone number so I could remember where I lived. She wrote a song about tomatoes and how delicious they are, which I credit as the main reason I’ve loved all things tomato from a very early age. She also wrote a song about how “an apple a day keeps the doctor away,” and yeah, I believed it. So I ate my apples, despite my lack of desire for them. 

When I came to college in the Midwest, I was exposed to the wonder that is the Honeycrisp apple. Which changed everything. Sophomore year, I started dating a boy (who is now a man and also my husband) from Minnesota. He wanted me to know that scientists at the University of Minnesota actually created the first Honeycrisp apple. He raved about them, like all proud Minnesotans do, and convinced me to not only eat apples, but to enjoy them. You see, a Honeycrisp is the perfect, and I mean perfect, balance of tart and sweet. It’s the juiciest of all the apples. It has the prettiest color. It is, no doubt, the most superior apple. 

Honeycrisps are the reason I was so excited to make this tart. Finally, an Alison dessert that could feature this most excellent fruit. Not to mention, it was another opportunity to try my hand at pie crust. Making pie crust is a true art form, and I find that I get better at it every time I do it. While I’m sure Alison’s “The Only Pie Crust” adds an even butterier element to this lovely tart, I chose to stick with King Arthur’s gluten-free pie crust recipe for personal reasons. I must also note that this was by far my most successful time making pie crust. The butter was the right amount of cold when I rolled the dough out, and none of it stuck to my rolling pin. A true win. 

A few more notes on the tart… This apple dessert - drizzled with butter, sugar, cinnamon, and ground ginger - was like an apple pie, but differently shaped and less fussy. I left it in the oven a touch too long, so the apples were nicely softened but the crust got a little too browned. I think the buttermilk coating on the crust added a nice touch (but it didn’t make or break the dessert). I sliced two pounds of apples, per Alison’s instructions, but could only fit 1 pound on the dough. I squeezed lemon juice over the unused slices, and ate them at work throughout the rest of the week. Finally, when Alison instructs you to sprinkle the tart with flaky salt and pepper, just do it. I hesitated, particularly over the pepper, but I admit it added a subtle, smoky nuance that only enhanced the final flavor. 

165 recipes cooked, 60 to go.

Salted Butter and Chocolate Chunk Shortbread, or Why Would I Make Another Chocolate Chip Cookie Ever Again? by Alison Roman

(^That right there, folks, is the longest recipe title known to humankind.)

Everyone has an opinion on what makes for the best chocolate chip cookie. Be it chewiness, sweetness, saltiness, thickness, thinness, just out of the oven or next-day. I believe every human has the inalienable right to personal cookie preferences, so I won’t claim a universally accepted premiere chocolate chip cookie quality. However, I will tell you what I think makes the best chocolate chip cookie: a balanced ratio of sugar to salt. A cookie without salt is simply uninteresting to me. 

Because of this, I have a predisposition to not only love Alison’s shortbread chocolate chunk cookie, but to echo her question: why would I make another kind again? (My answer is: I’d make a different kind if I find myself craving a more layered, soft, but dense version of said cookie. But the shortbread will scratch the itch 9/10 times.) 

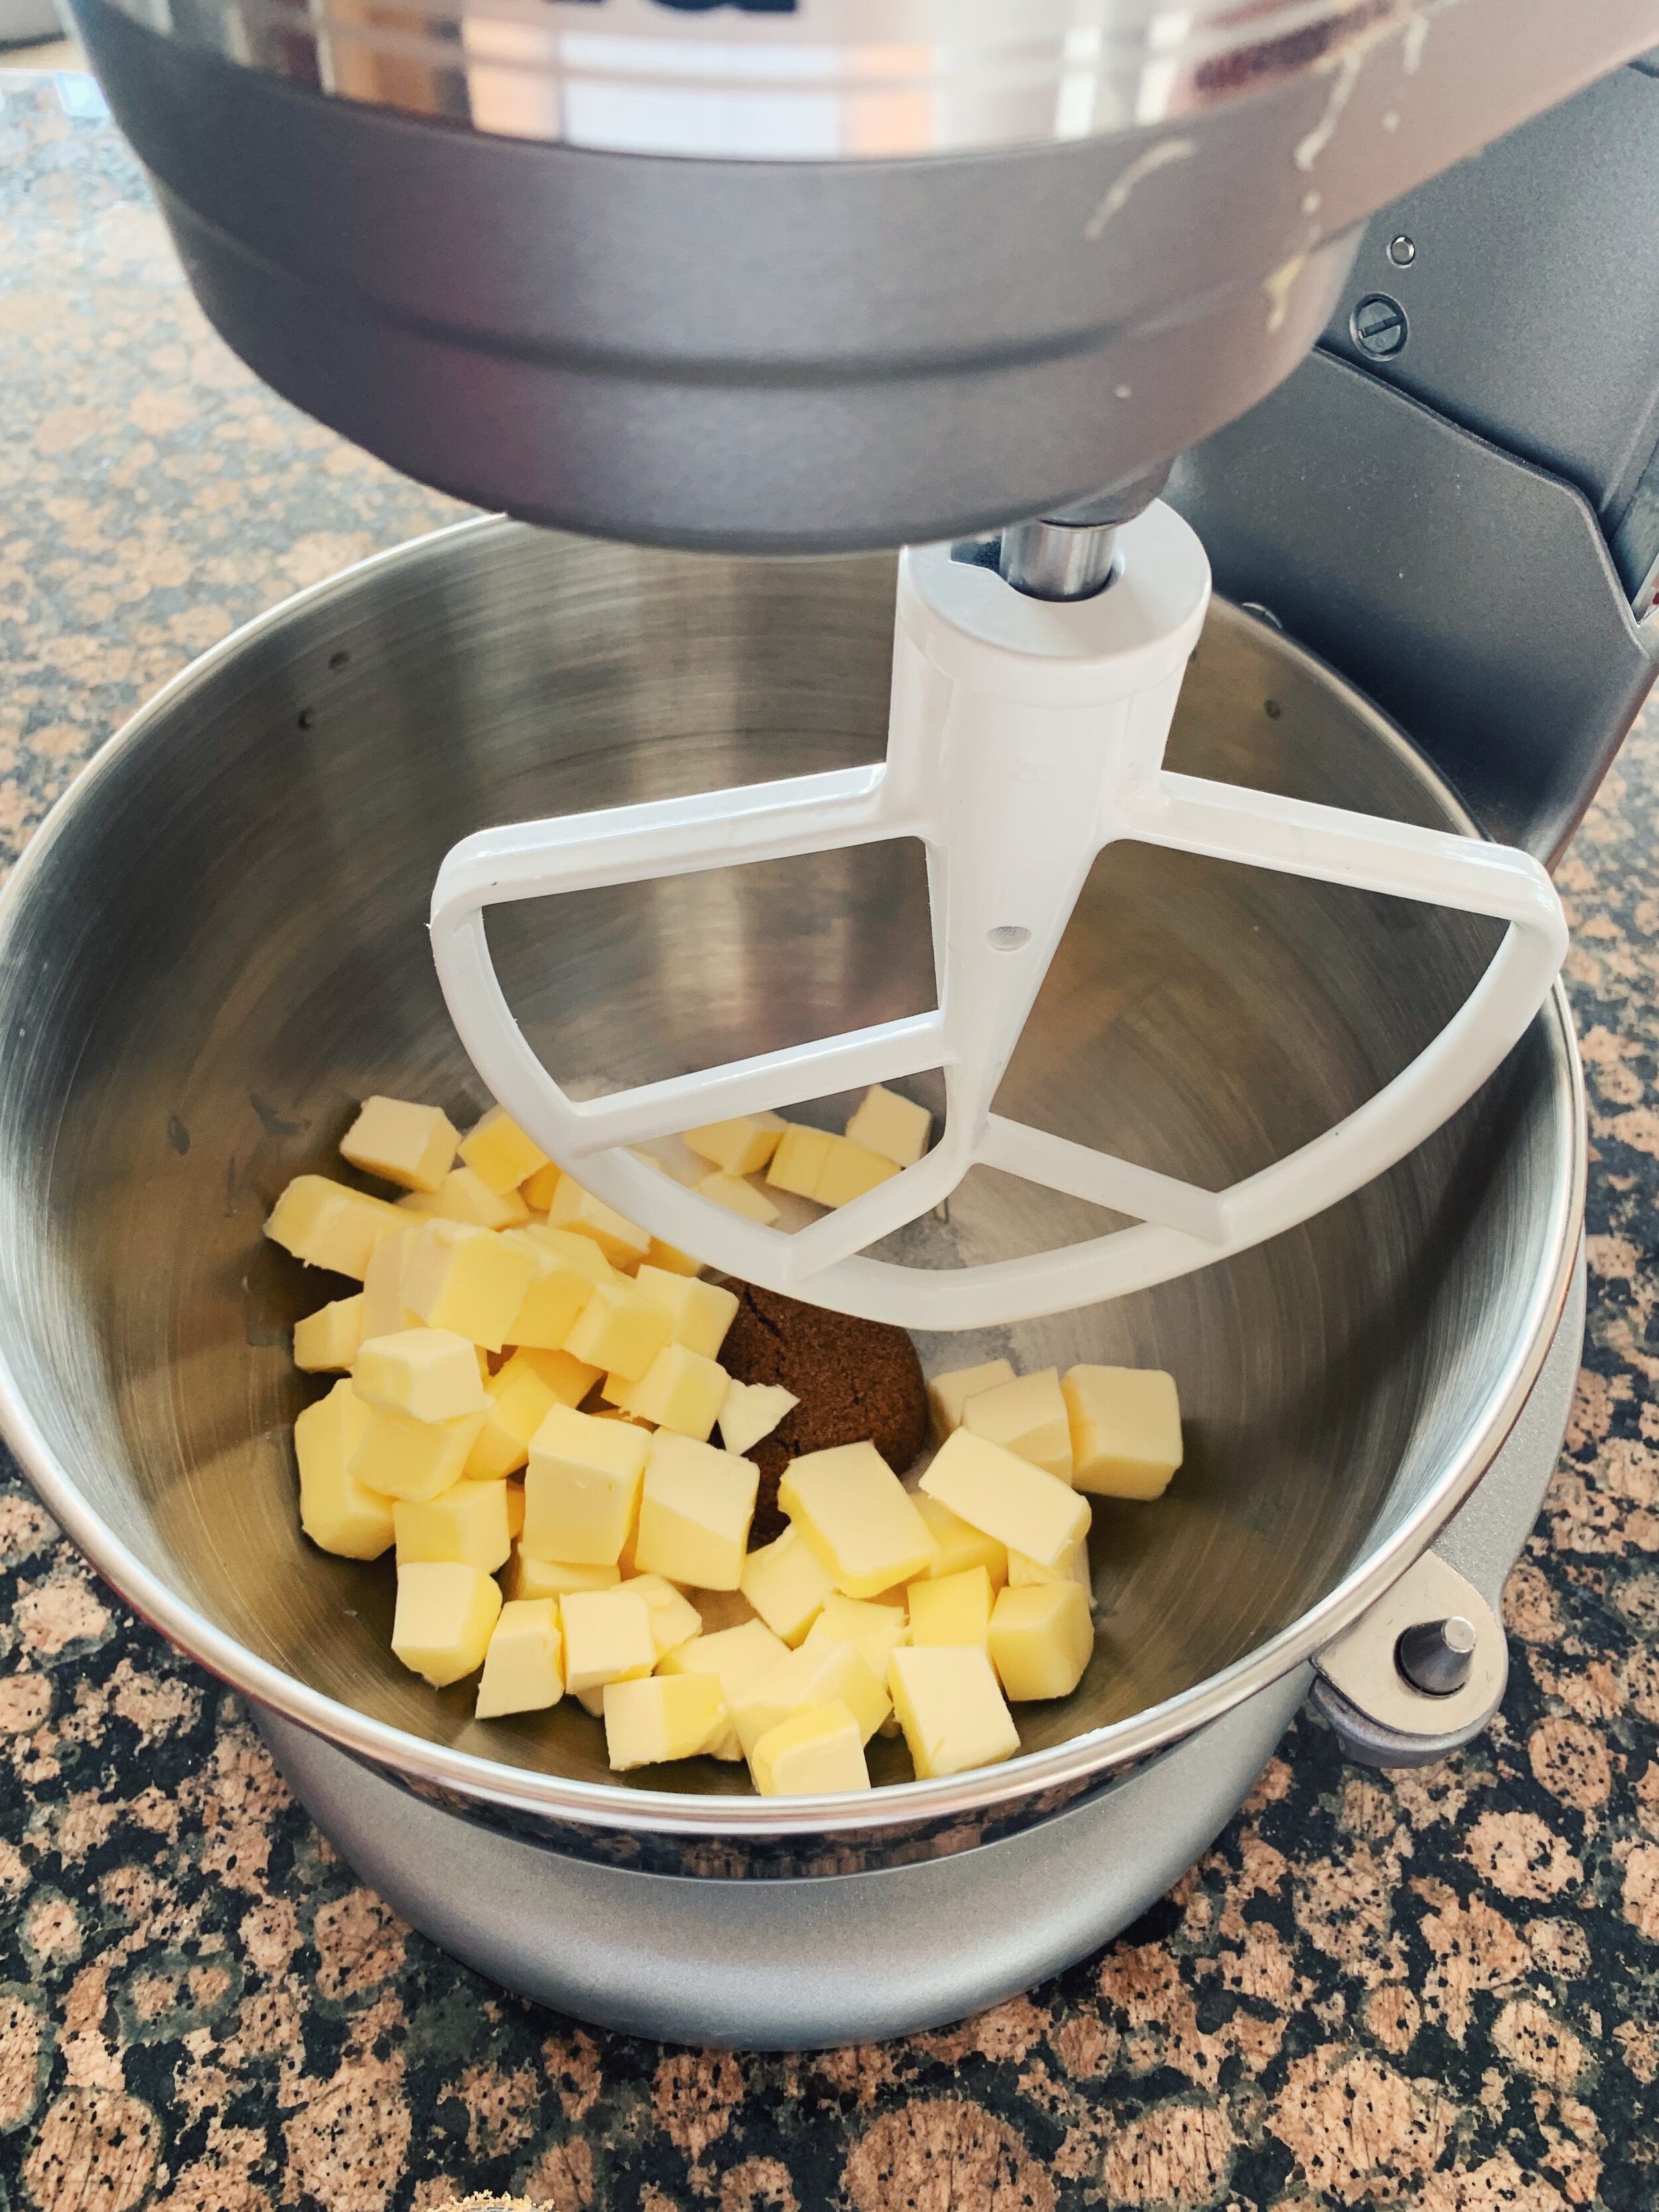
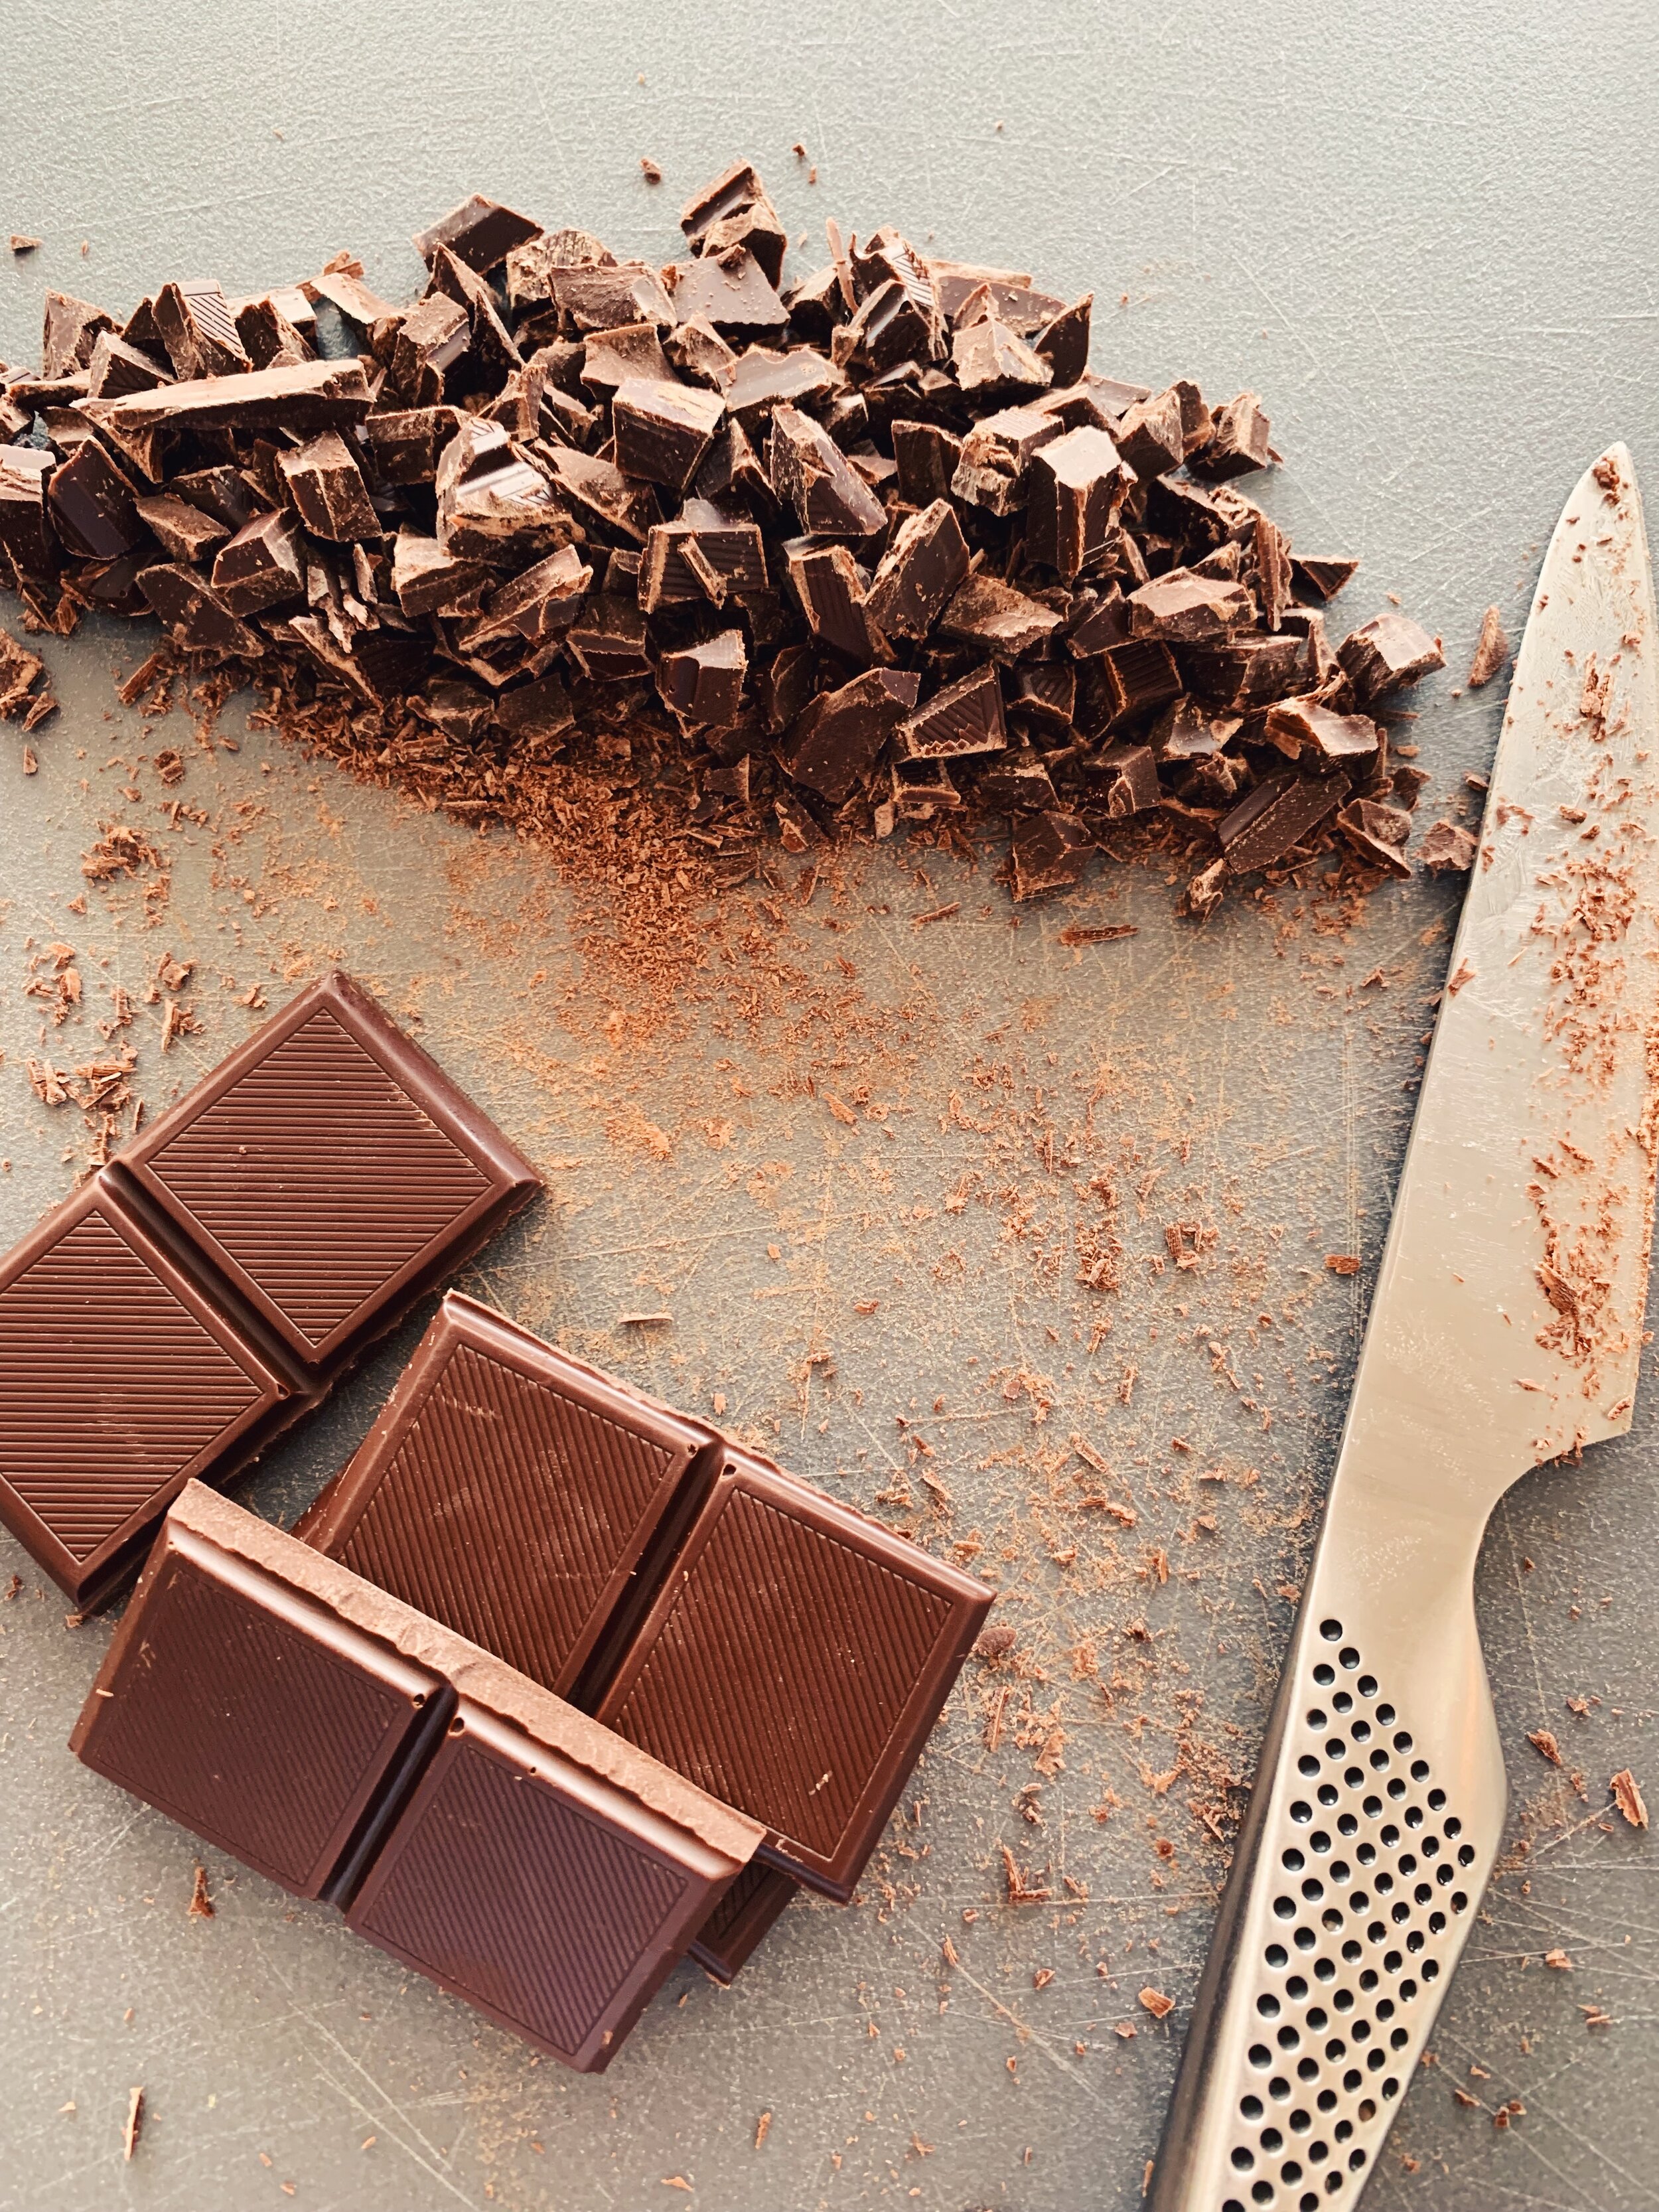
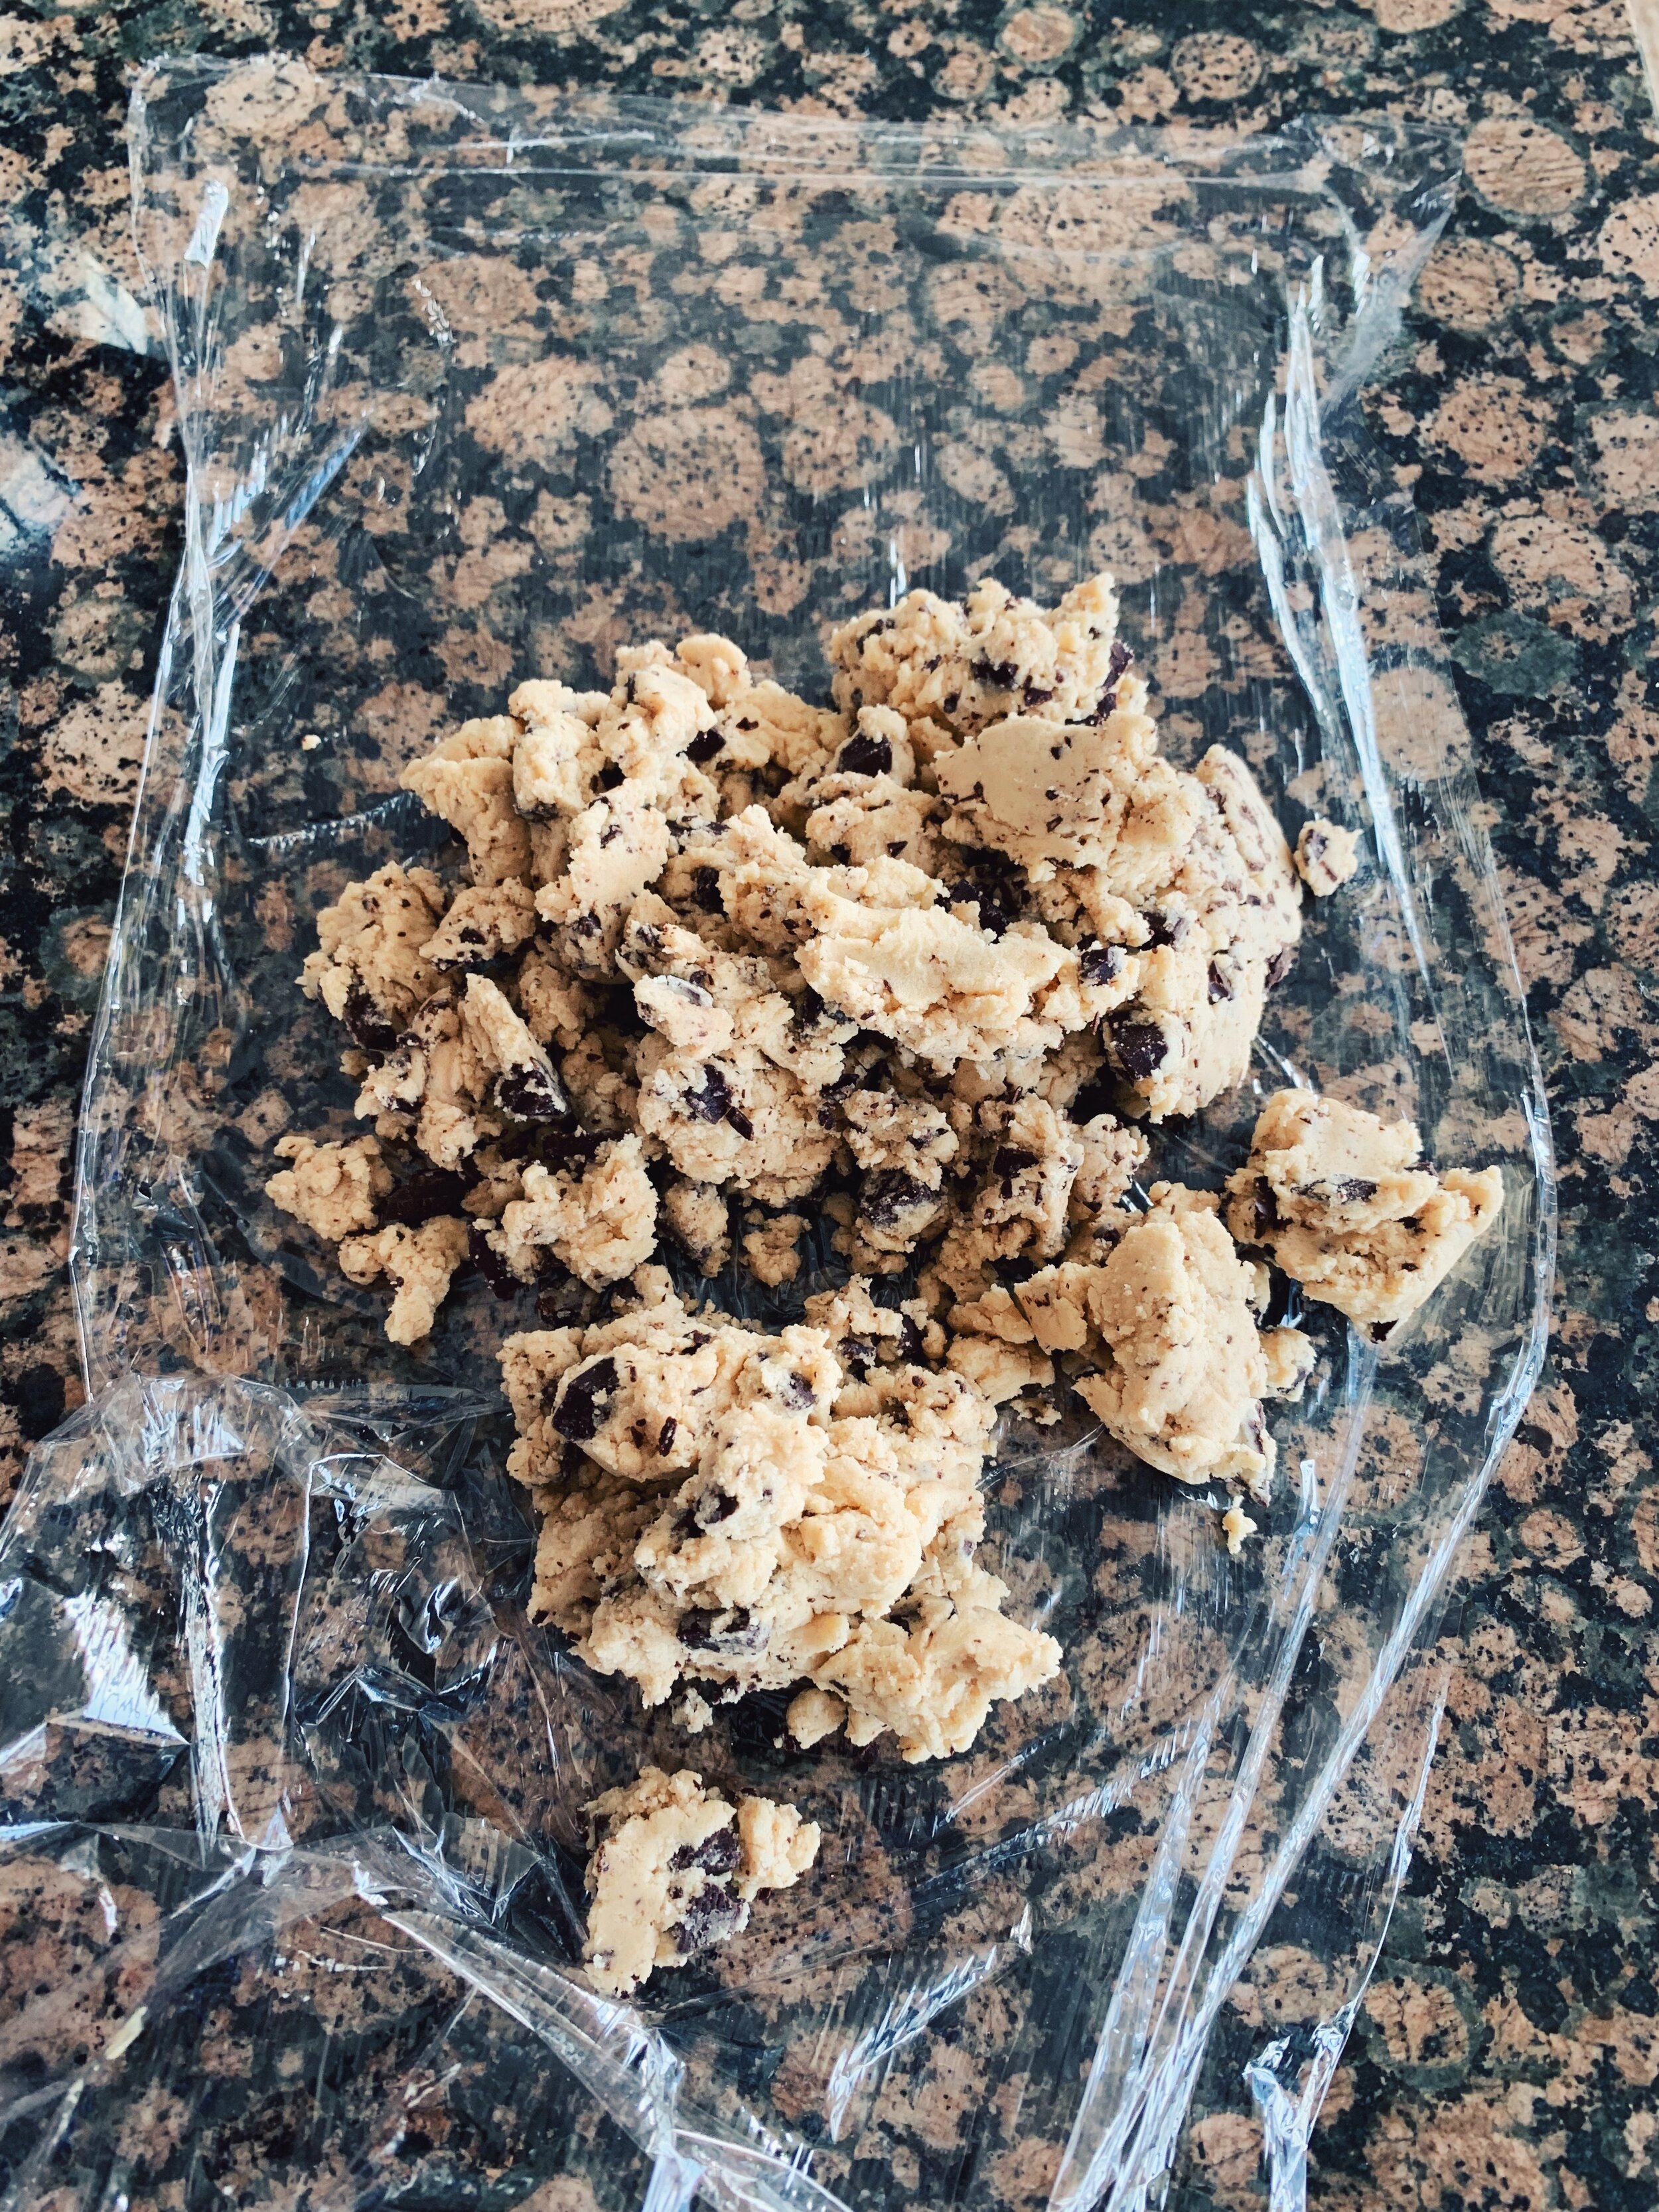
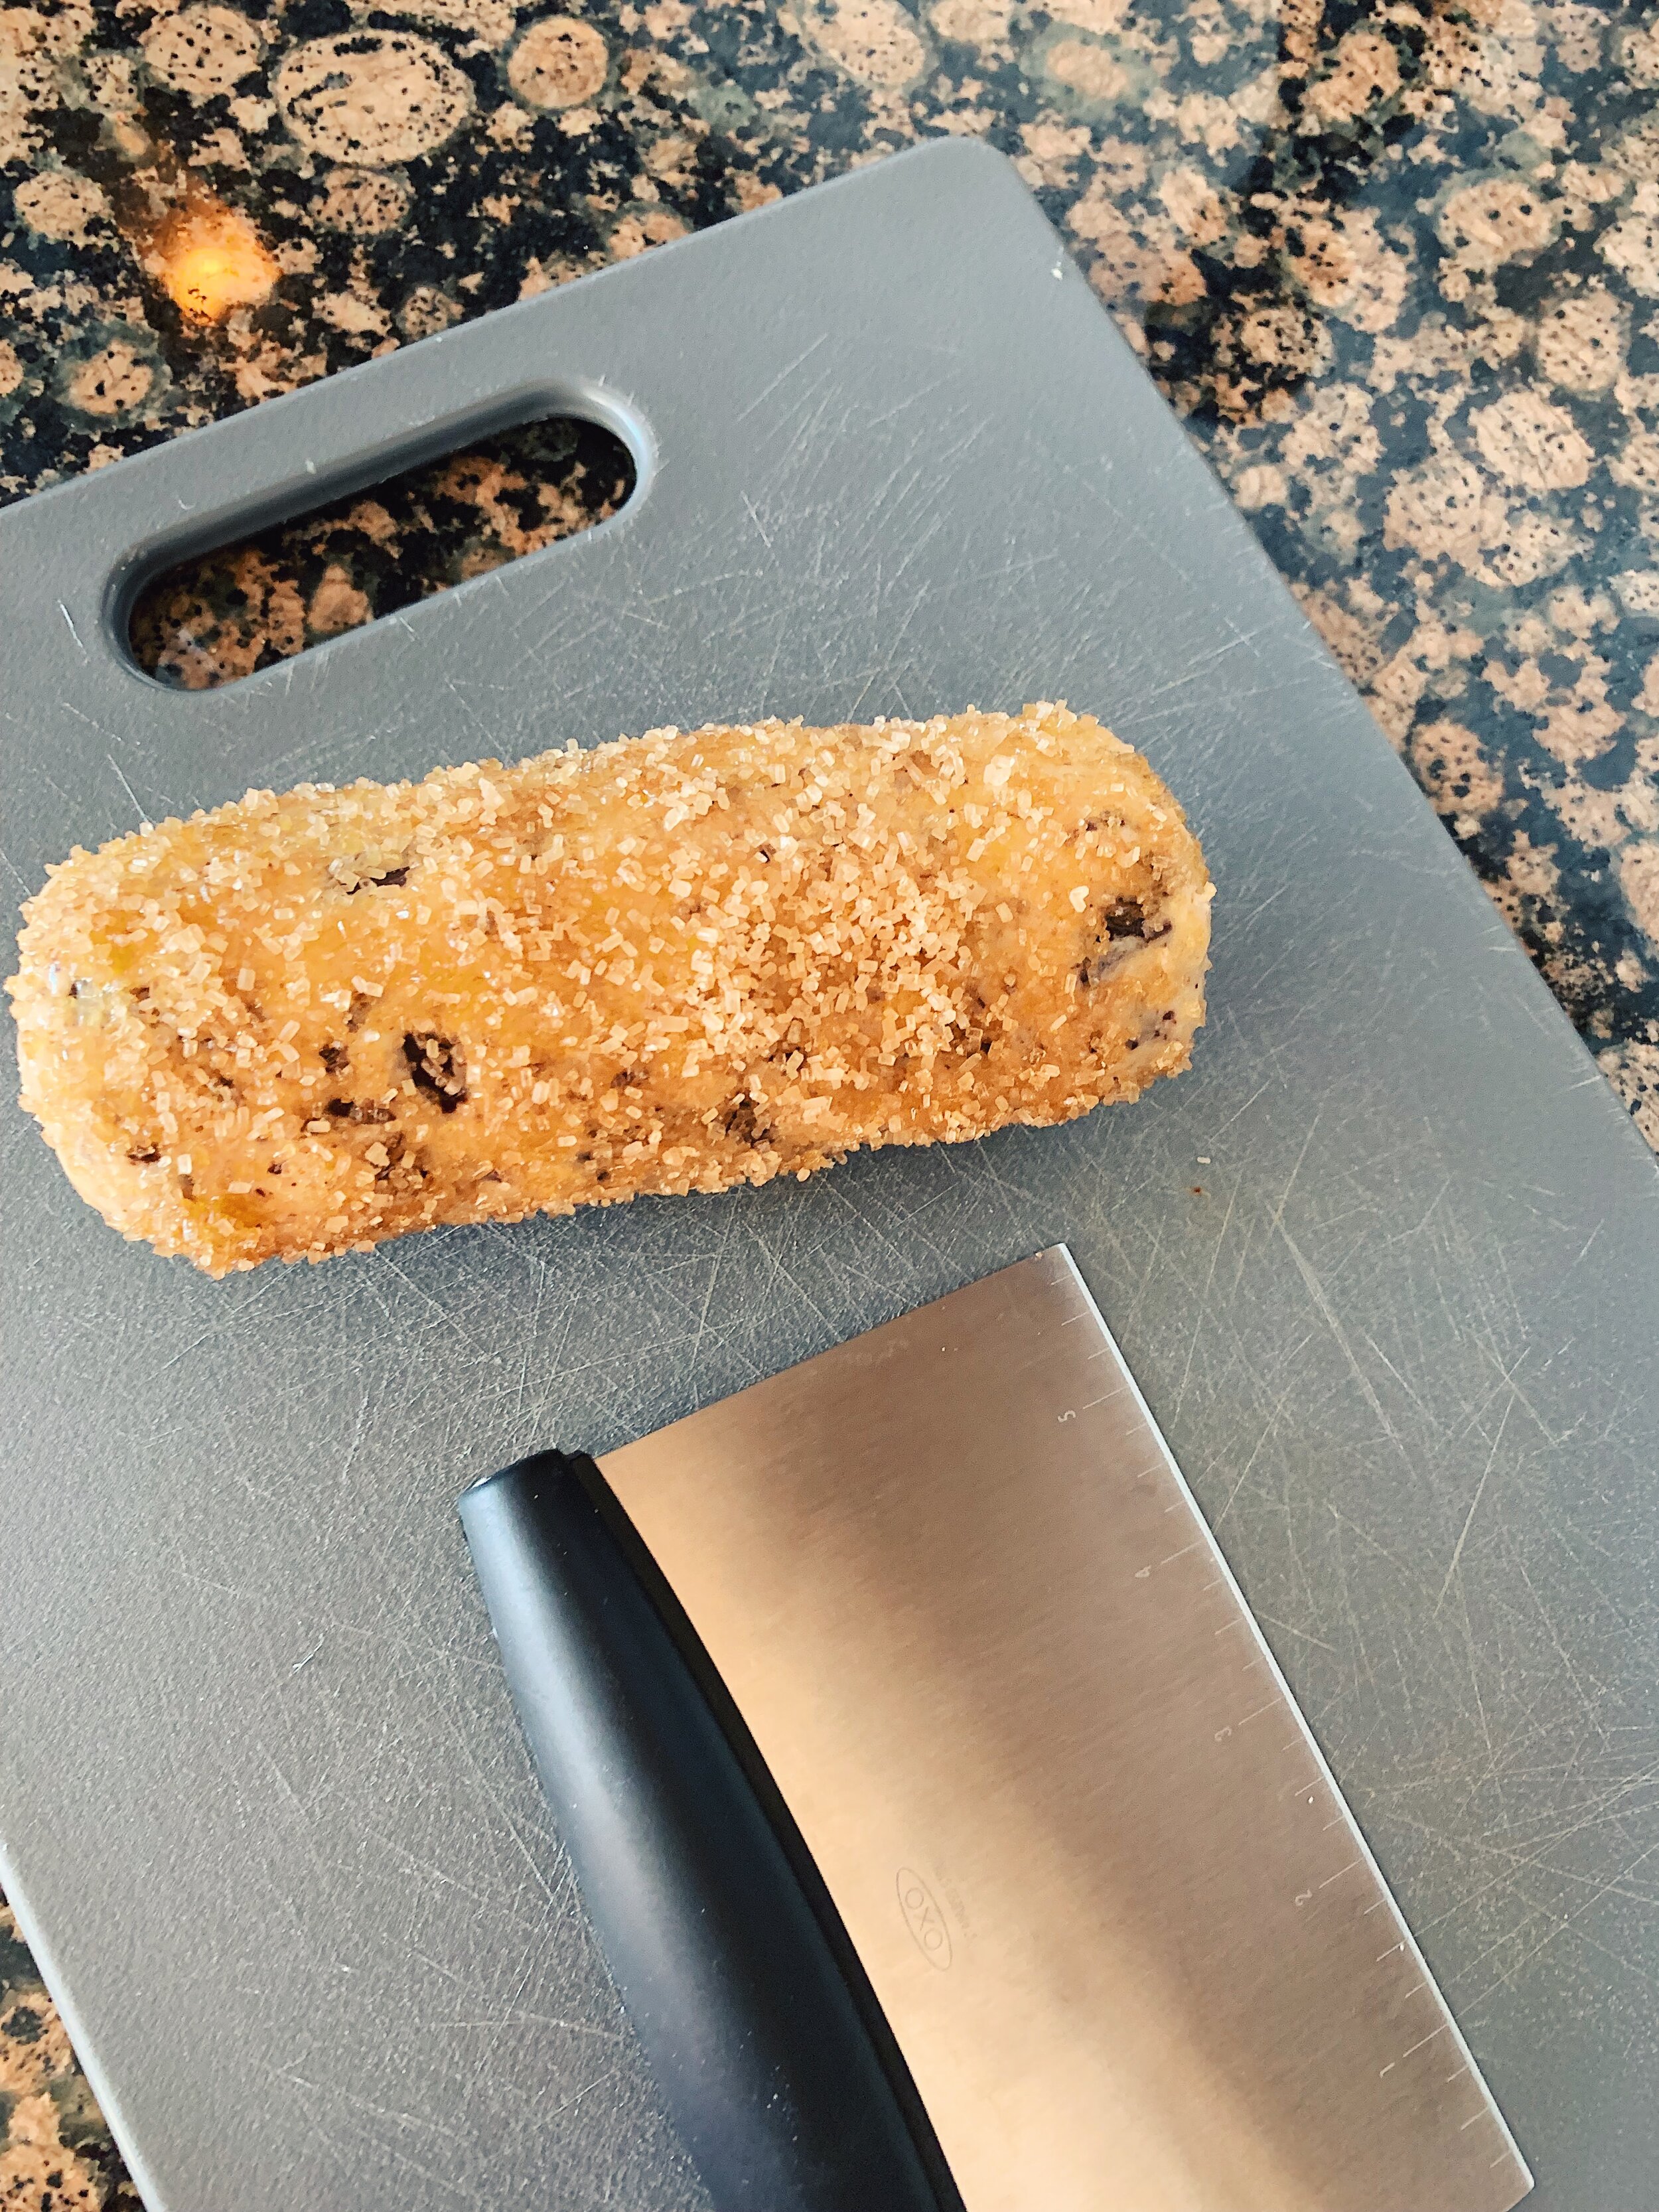
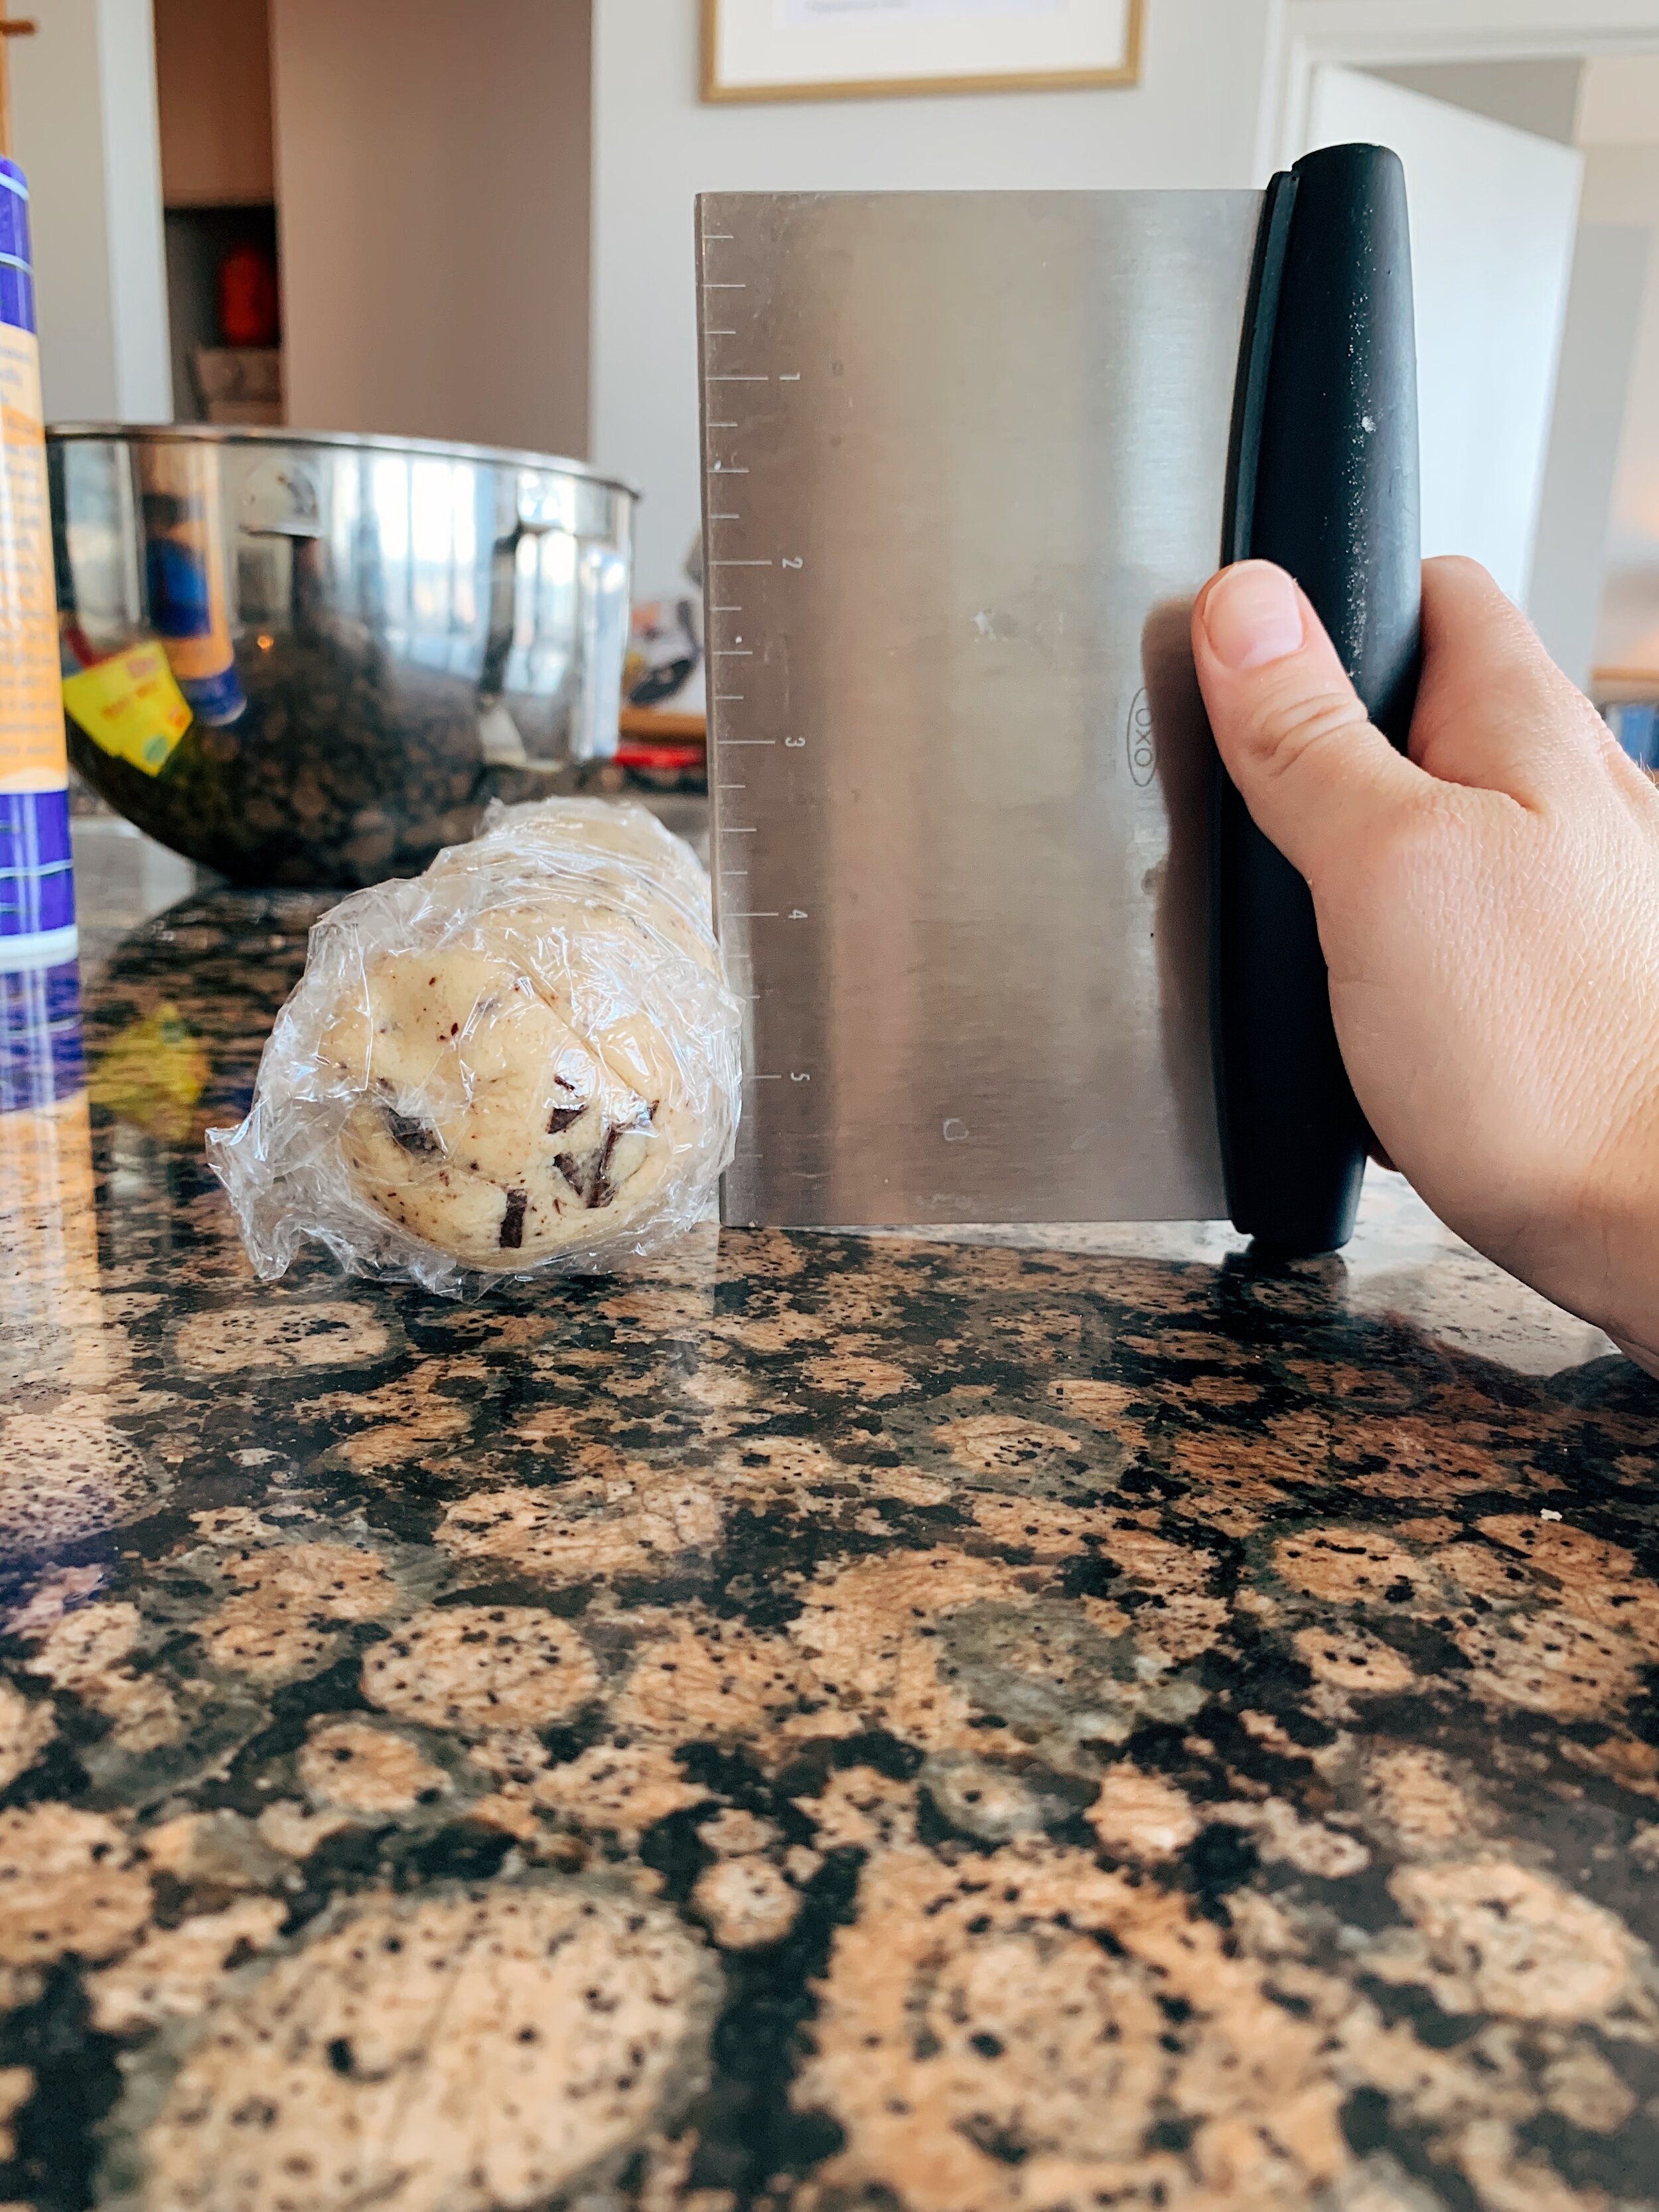
These cookies take some planning, requiring at least 2 hours of chill time in the fridge. The dough assembly, if you have a stand mixer to do the heavy-lifting, is easy. It starts with beating two and a quarter stick of butter with sugar until light and fluffy. Then slowly adding the flour and salt (if you use unsalted butter) and chocolate chunks (I chopped mine from some Whole Foods branded dark chocolate bars) until they’re all combined. I divided the dough onto two sheets of plastic wrap, and rolled them into logs that are 2.25 inches thick. Oftentimes, I wing this sort of thing. But when it comes to thinly sliced cookie dough, the last thing you want is for them to fall apart. It felt important to be exact in the circumference measurements for this reason. 

I prepared my dough on a Saturday afternoon, just before leaving for a party called The Great Midwestern Cornhole Tournament. And yes, it was exactly like it sounds. Great, full of midwestern experiences like college football, beer, and friendly people, and there was a verifiable cornhole tournament. Jordan and I placed 8th out of 16 teams, for those wondering. We’ll take it. 

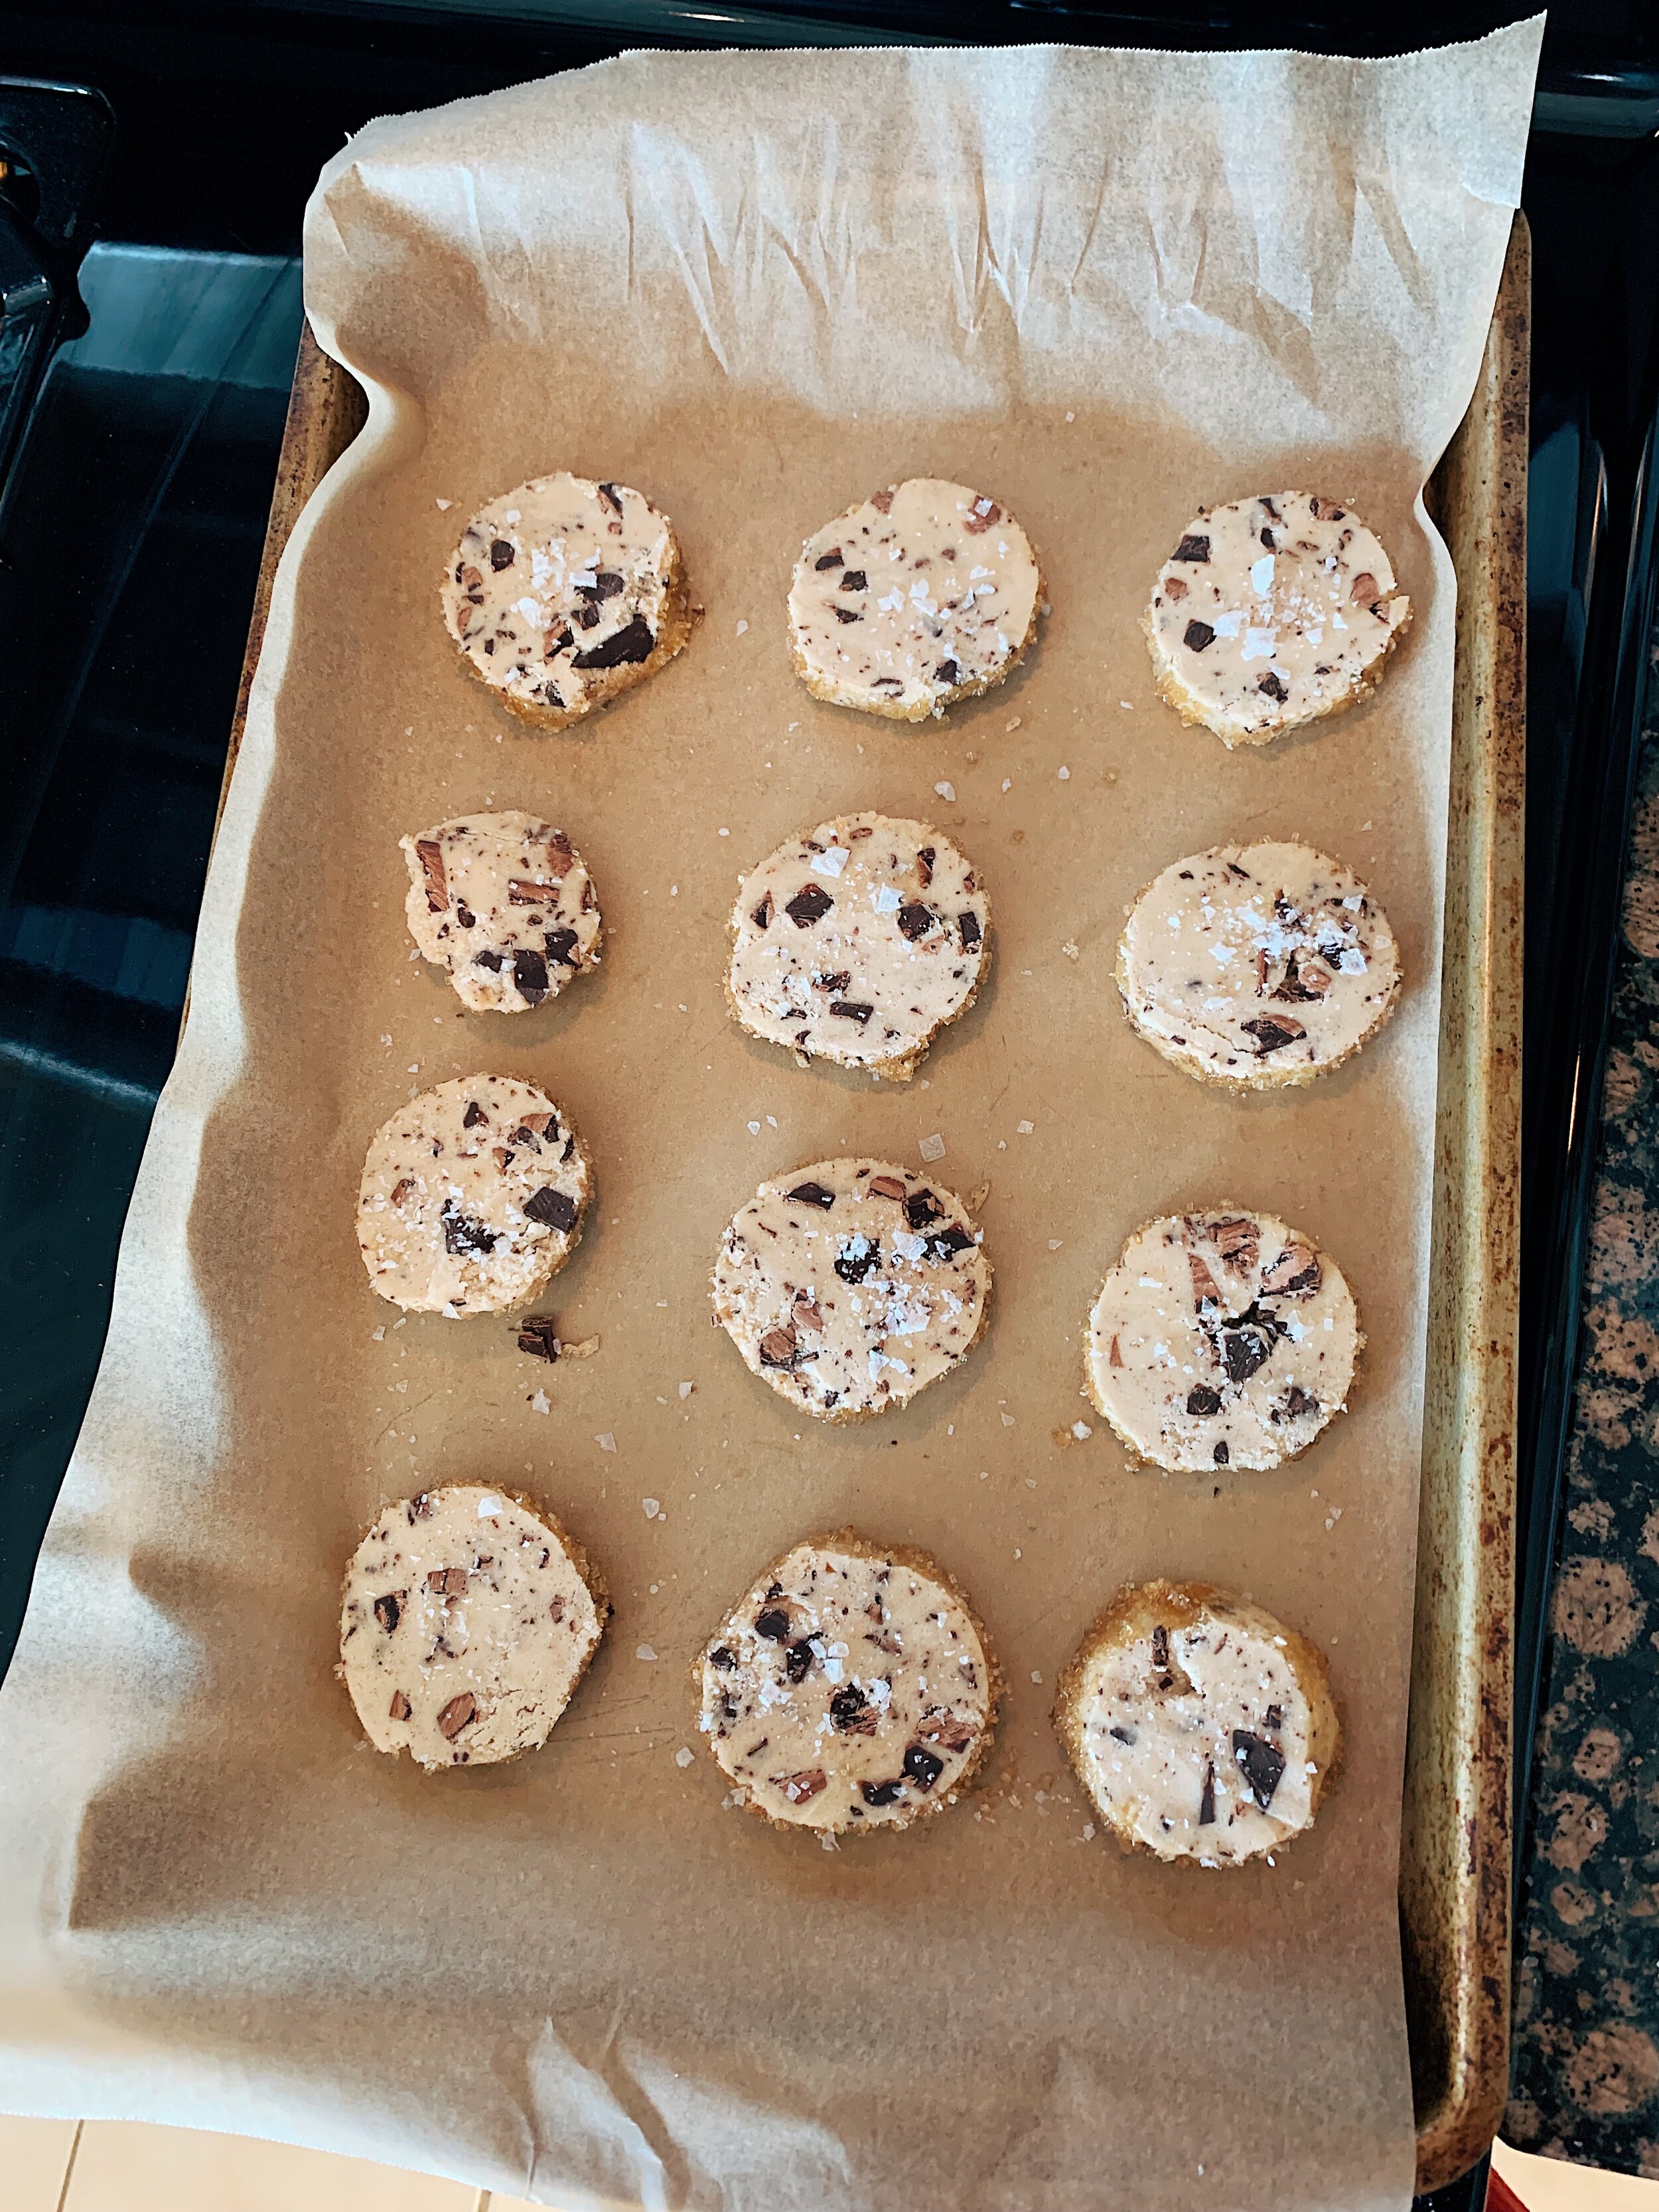
On Sunday I was ready to bake. I took out one log at a time -- painting it with egg and rolling it in Turbinado sugar, then slicing it into rounds and topping the cookies with flaky sea salt. The baking time averaged to 16 minutes for me. 

I’ve had plenty of shortbread cookies in the past, but what makes these stand out is the crunchy sugar on the edges. I brought the cookies to work on Monday, and by 2pm, they were all gone. The most frequent comment I heard, besides “those cookies were amazing,” was “the sugar on the edges - oh my!”  

145 recipes cooked, 80 to go.

salted-butter-chocolate-chunk-shortbread-cookies-alison-roman-plate.jpg

Sorbet in Grapefruit Cups by Alison Roman

If there’s one dessert I associate with childhood, it’s orange sherbet with chocolate chips. My mom bought this ice cream more than any other flavor. Not because it was any of our favorite’s, but because it was hers. Which delights me. 

On a recent trip home, my family asked me to make them an Alison Roman meal, which was a true treat. I love cooking for anyone and everyone, but especially my family. They’re a wonderful audience. And I had the especially special pleasure of cooking for an additional family guest, my Oma. In fact, I made the meal at her house. 

Our menu included: 

And for dessert: 

  • Sorbet in Grapefruit Cups

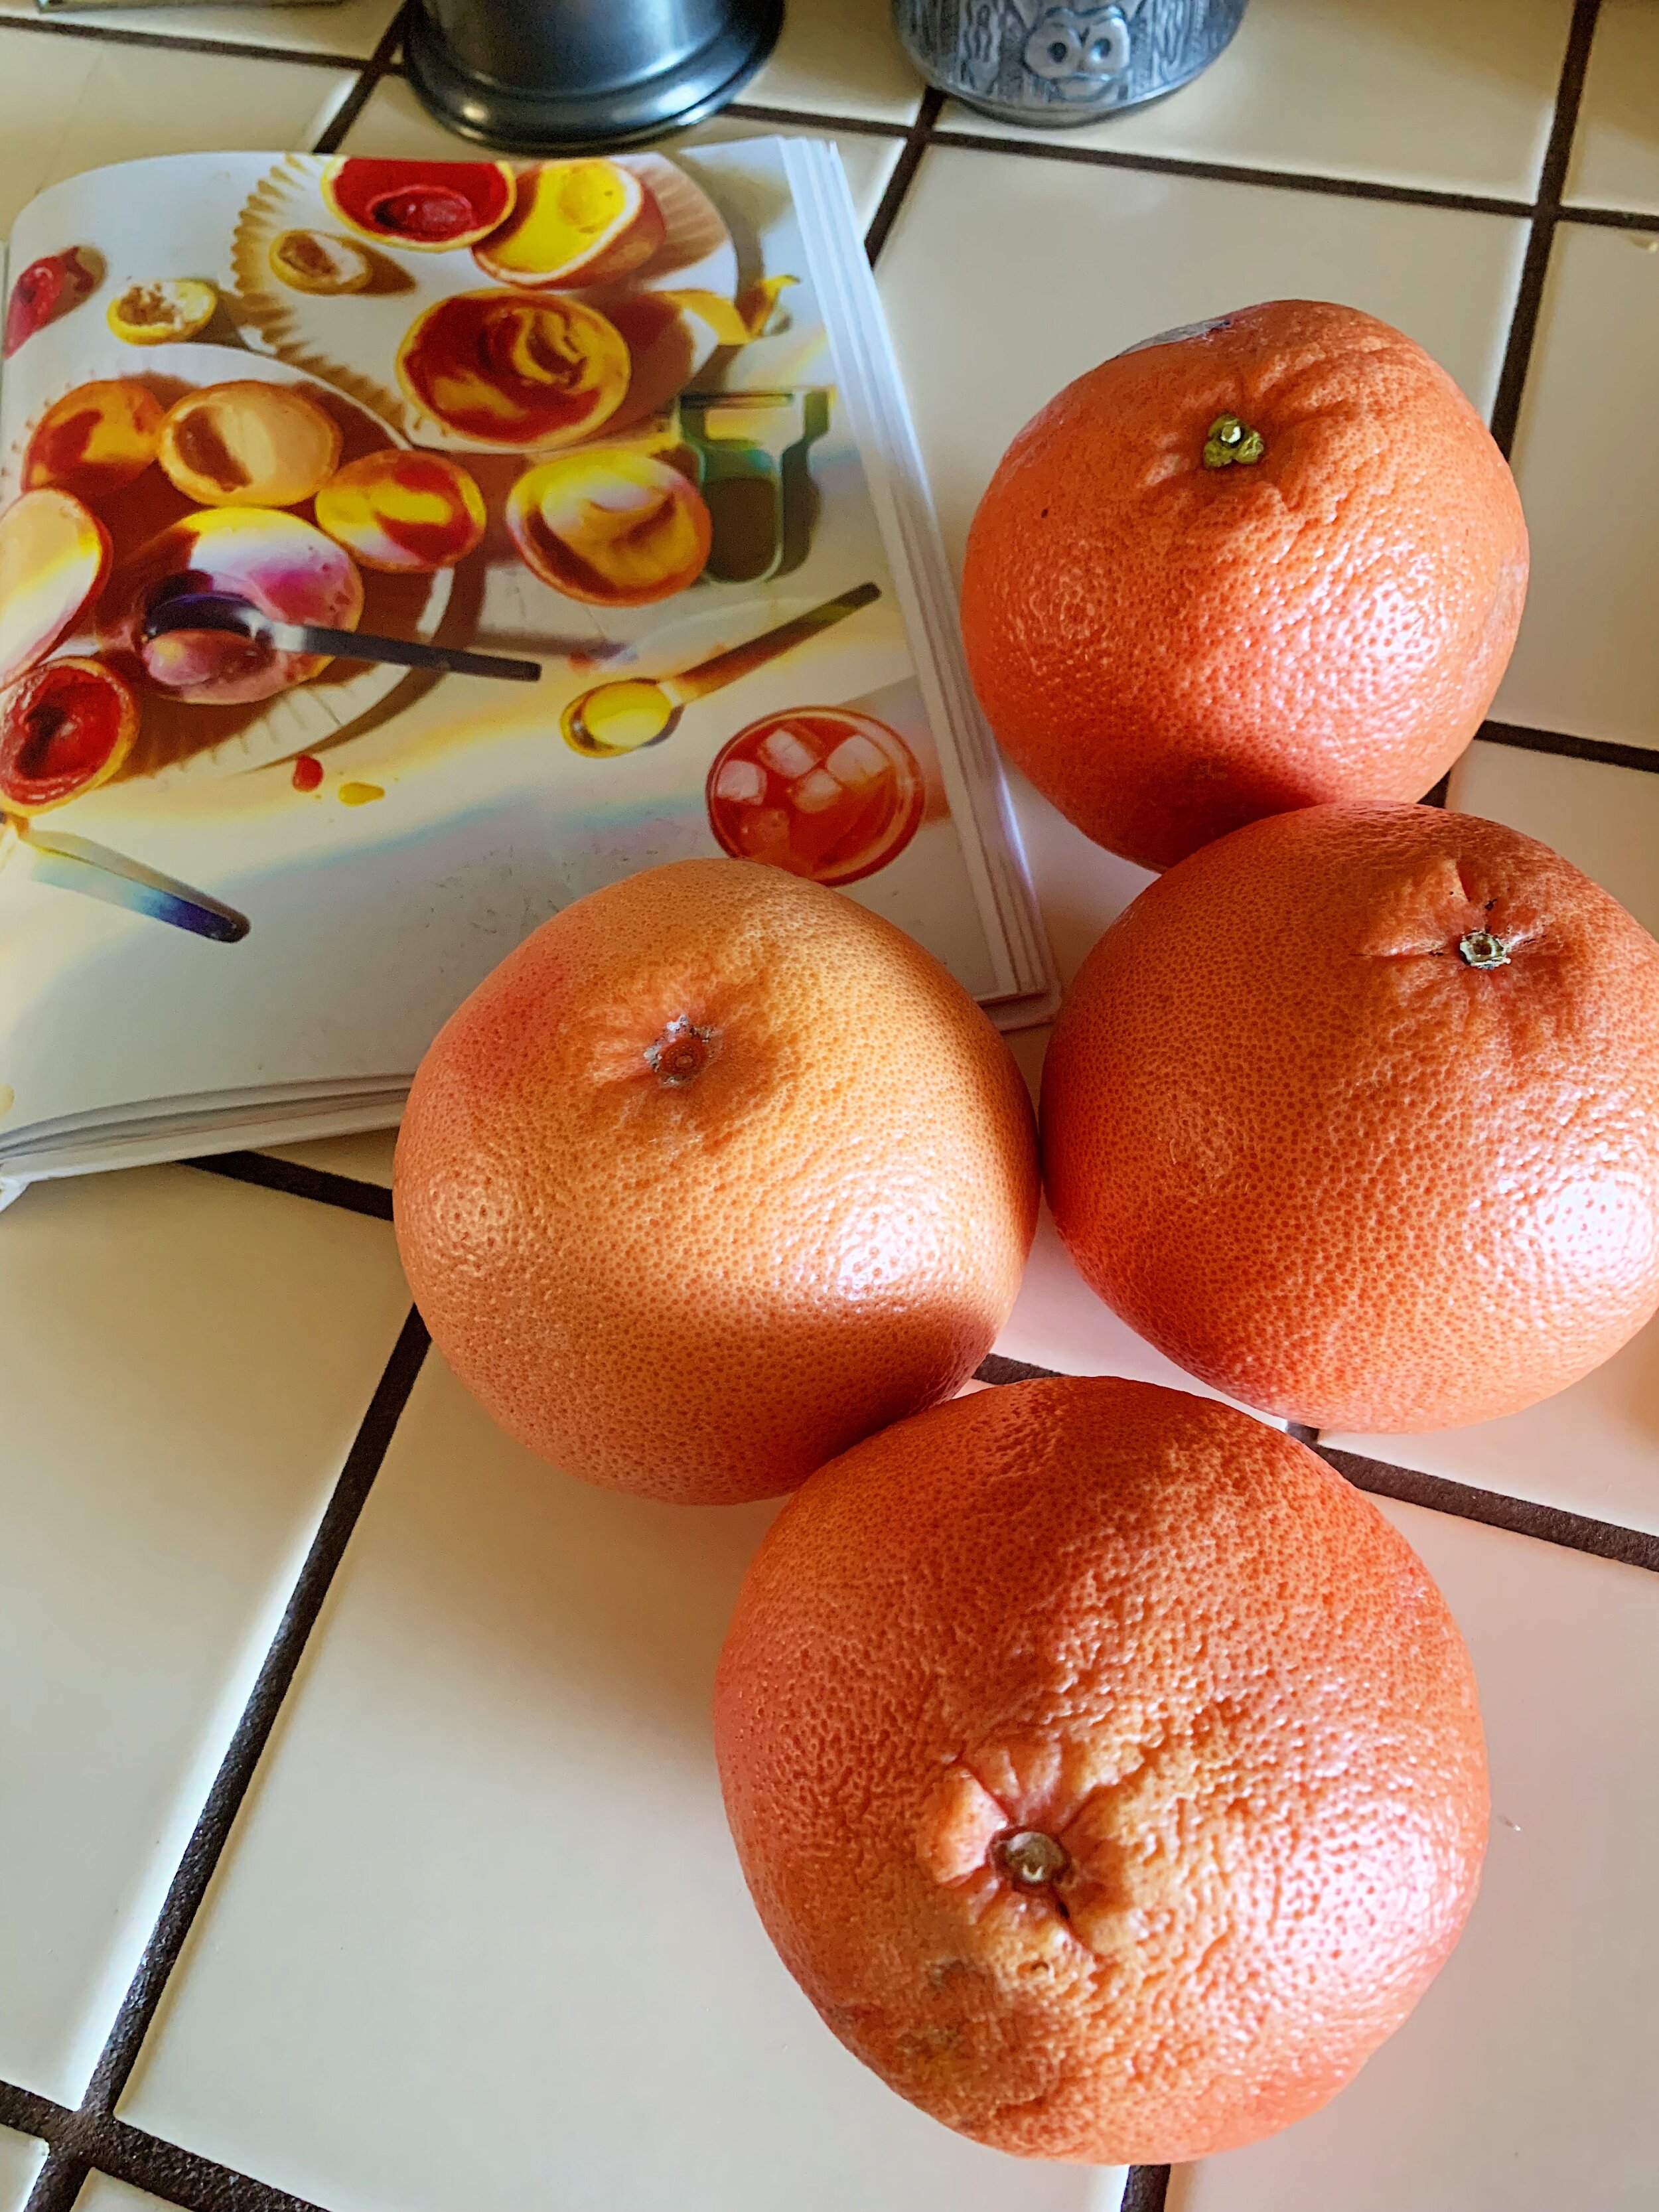
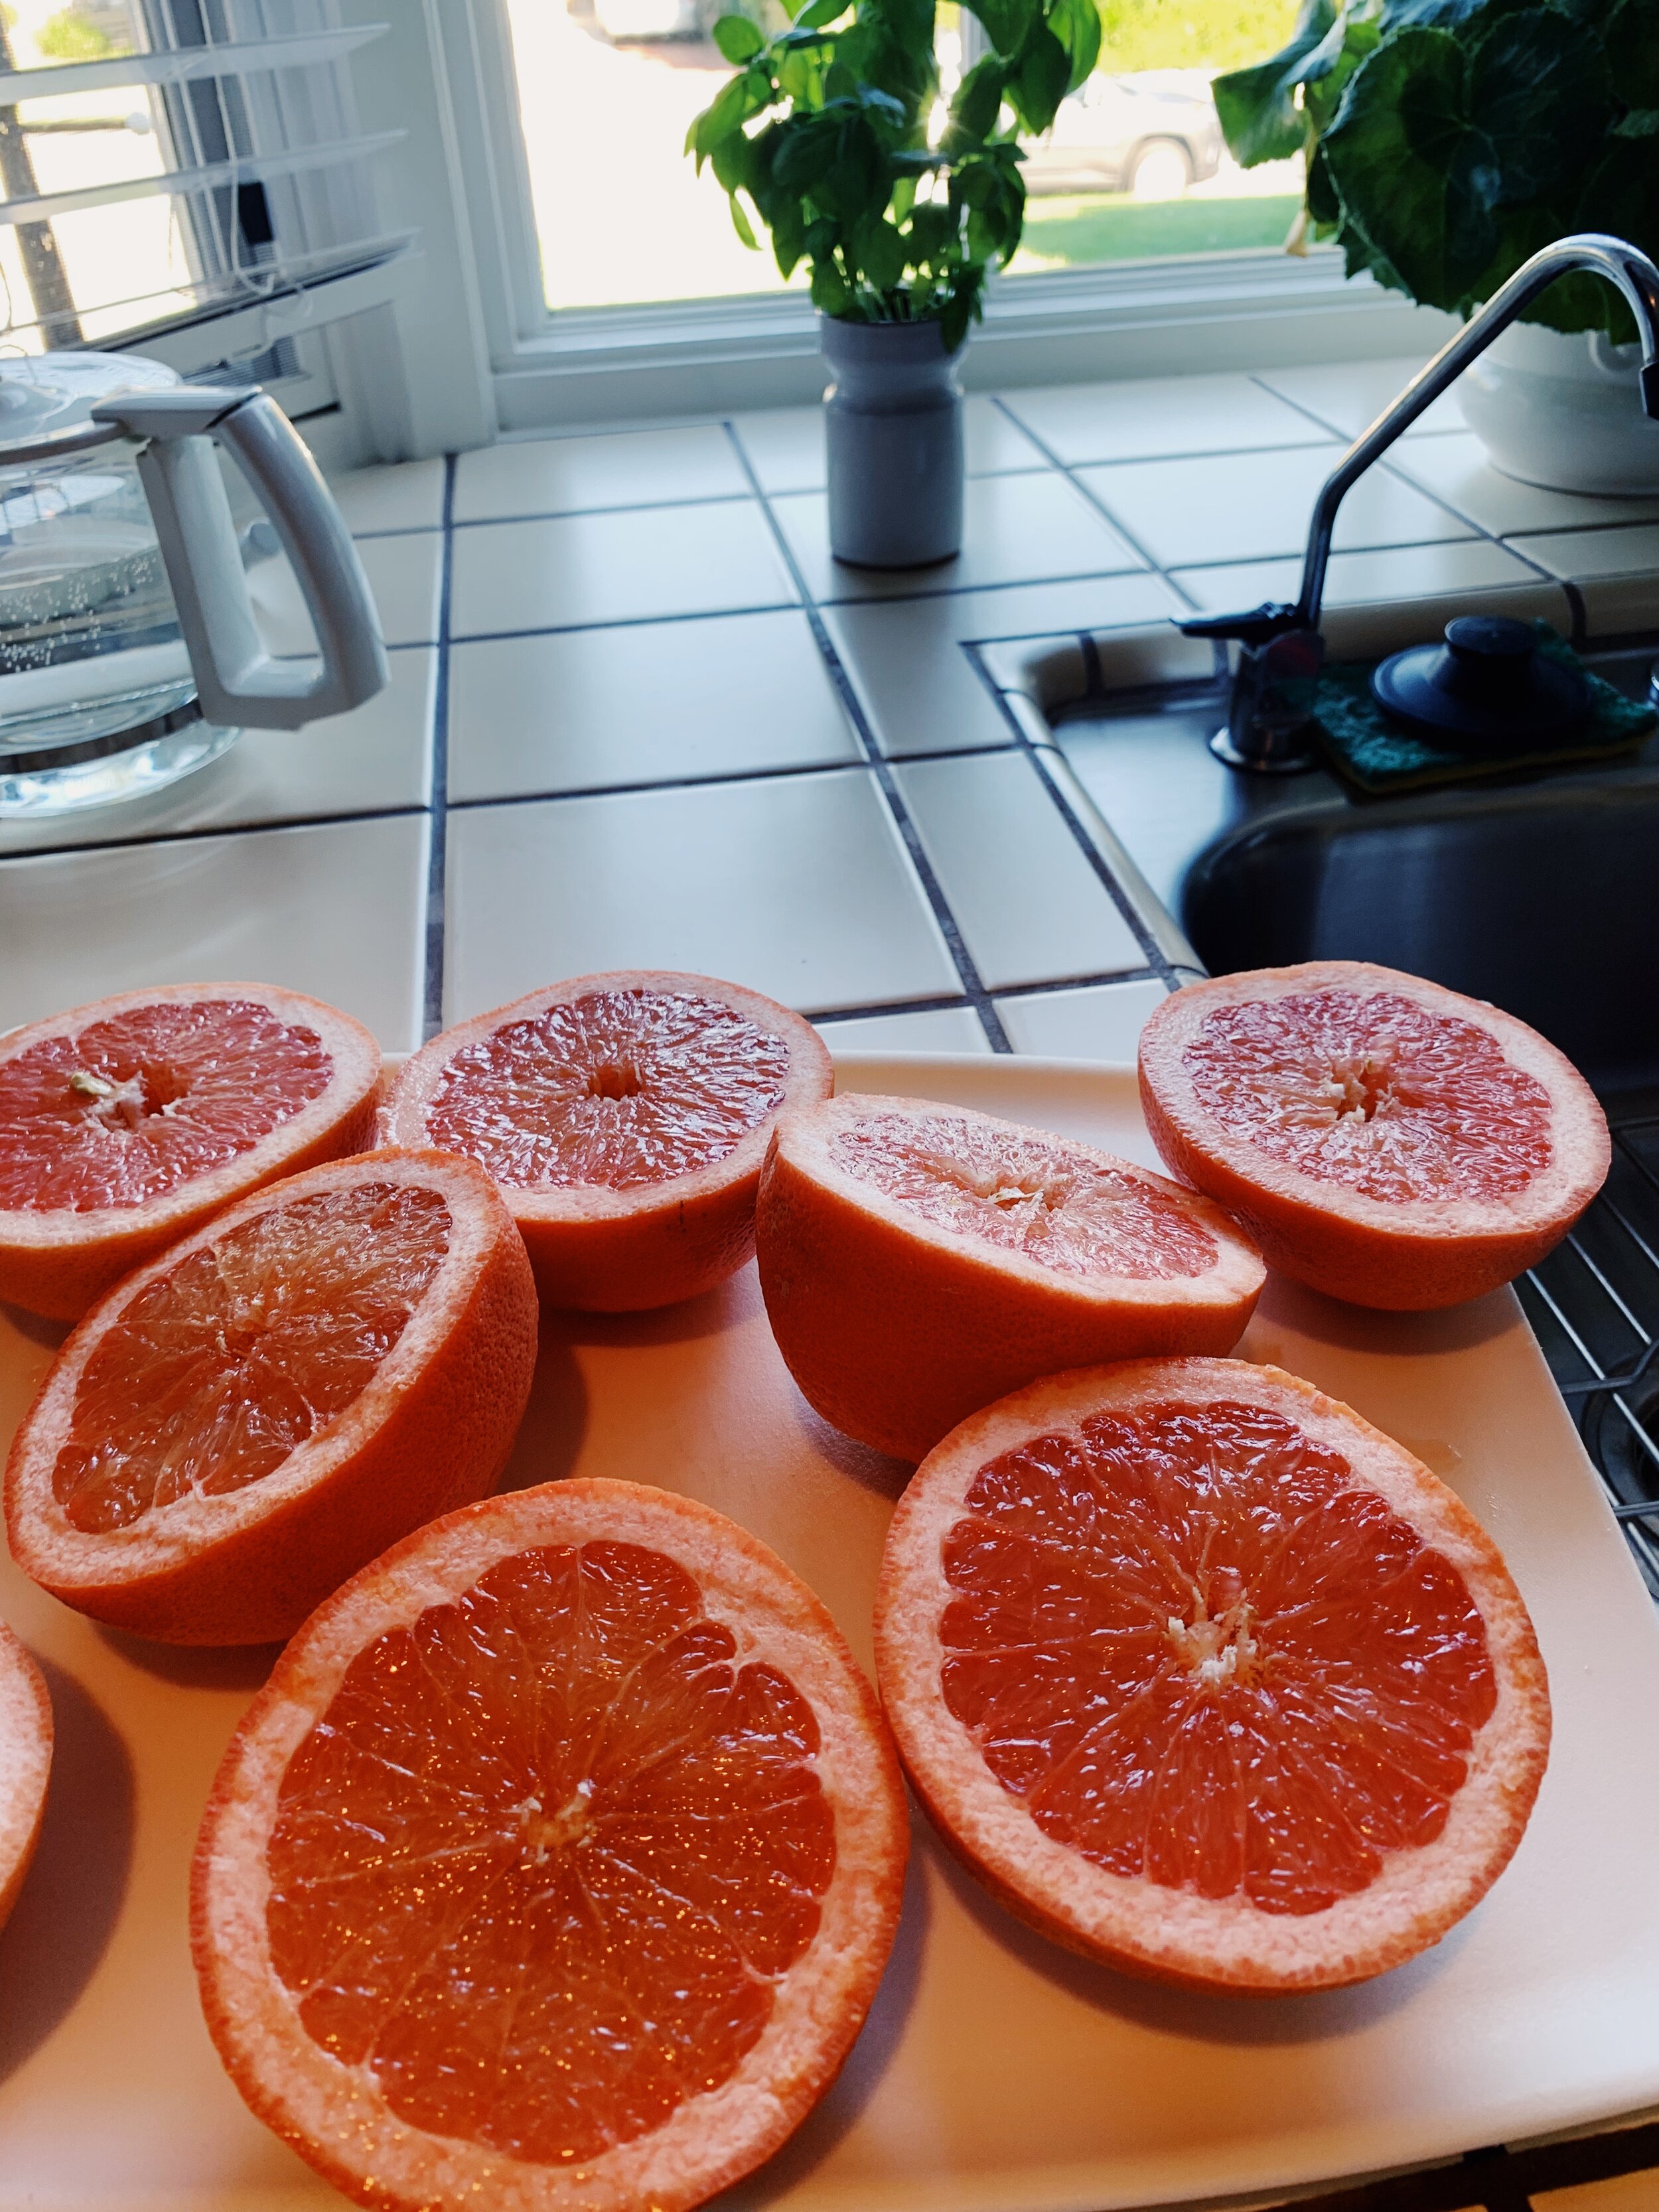
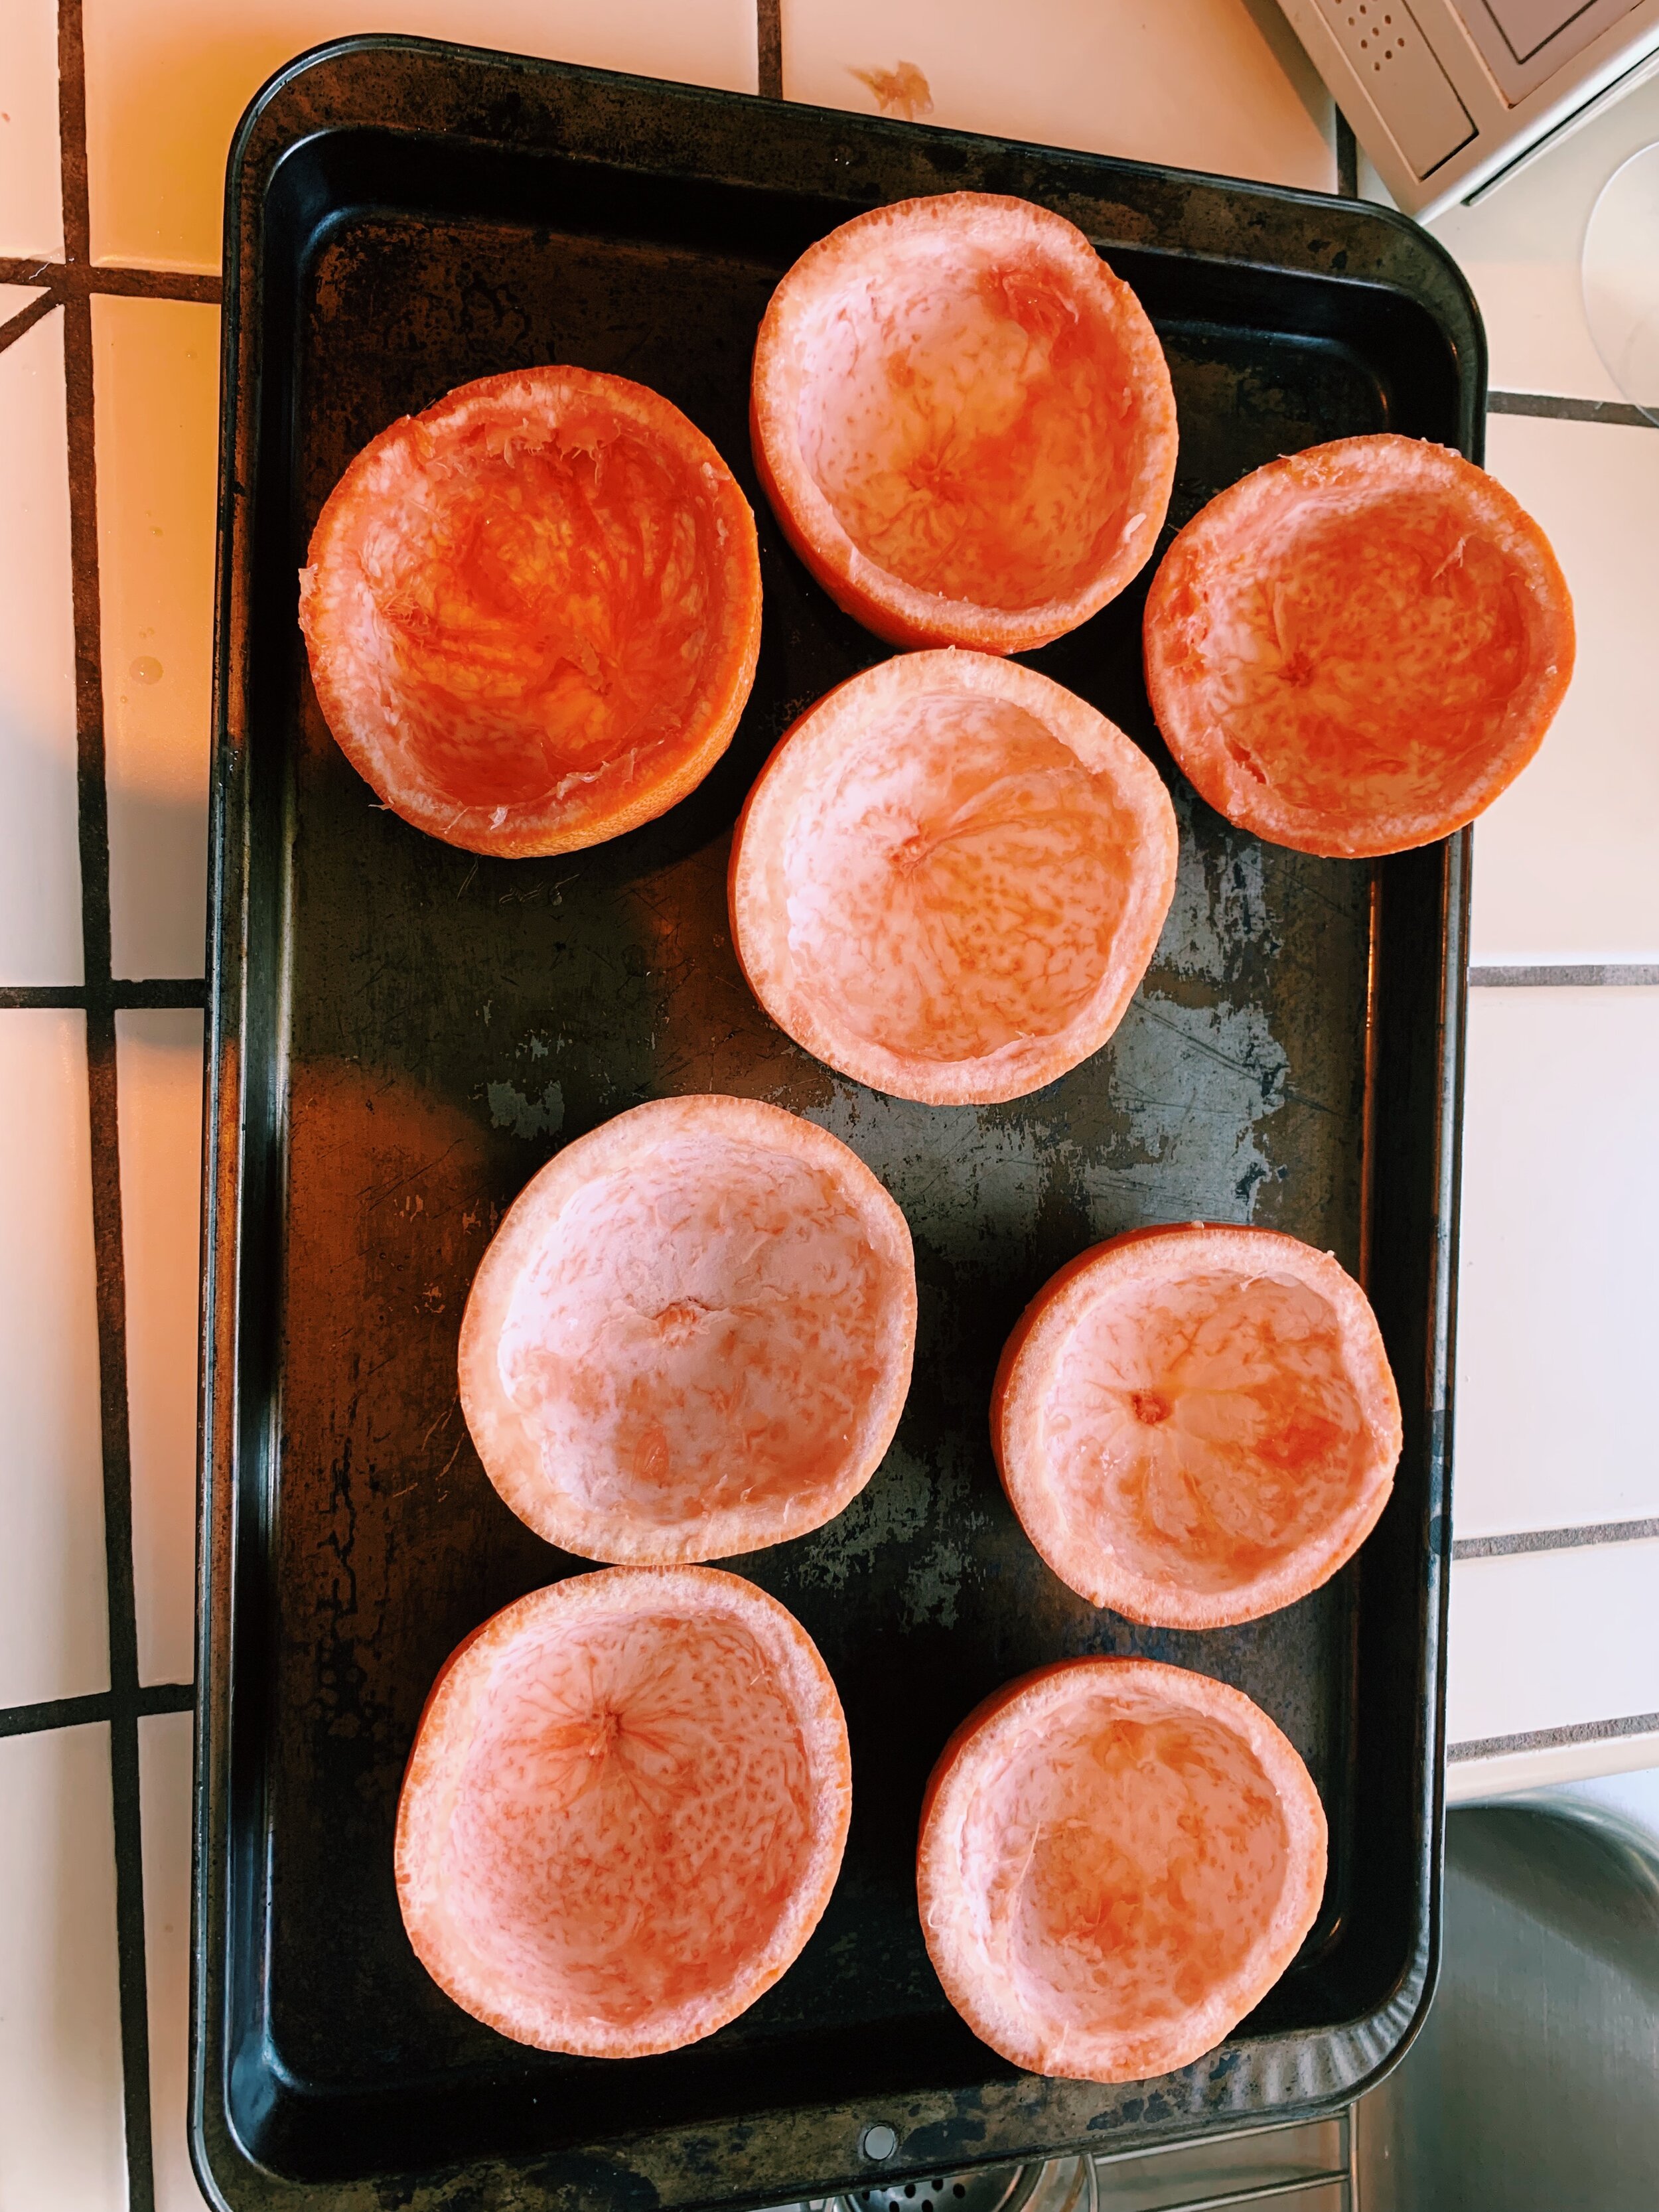
I prepared the grapefruit cups first, a few hours before dinnertime. Using a spoon, I gouged out the grapefruit halves, discarding the extra layers of pith but keeping the juices and meat of the fruit in a bowl. (If there’s one food I associate most with going to my Oma’s house, it’s fresh-squeezed orange juice. Very Southern California of her, I know. So I just had to save the grapefruits for her next morning’s breakfast.) 

Next, I divided two pints of Talenti sorbet, one mango and the other raspberry, into the cups. The sorbet softened on the counter for 15 minutes beforehand. Alison gives the option of adding fruit to the cups, like grapes, kumquats, or pomegranate seeds. Having none of these, I left it at sorbet. The cups spent roughly 2.5 hours in the freezer before serving. 

I could taste a very faint hint of grapefruit in each bite of sorbet. If I didn’t pay attention, I would have missed it. Otherwise it was just a bowl of sorbet. But it sure looked fun! And it made my family feel special. They all remarked how fun the idea was and how much they enjoyed it. So while the work to make this recipe outweighed any additional flavors or flairs, it was worth it just to say to my family, “I care about you!” 

So, if you like to go *above and beyond* for presentation, this one’s for you.

135 recipes cooked, 90 to go.

sorbet-in-grapefruit-cups-alison-roman-4.jpg