Blueberry Cake with Almond and Cinnamon by Alison Roman

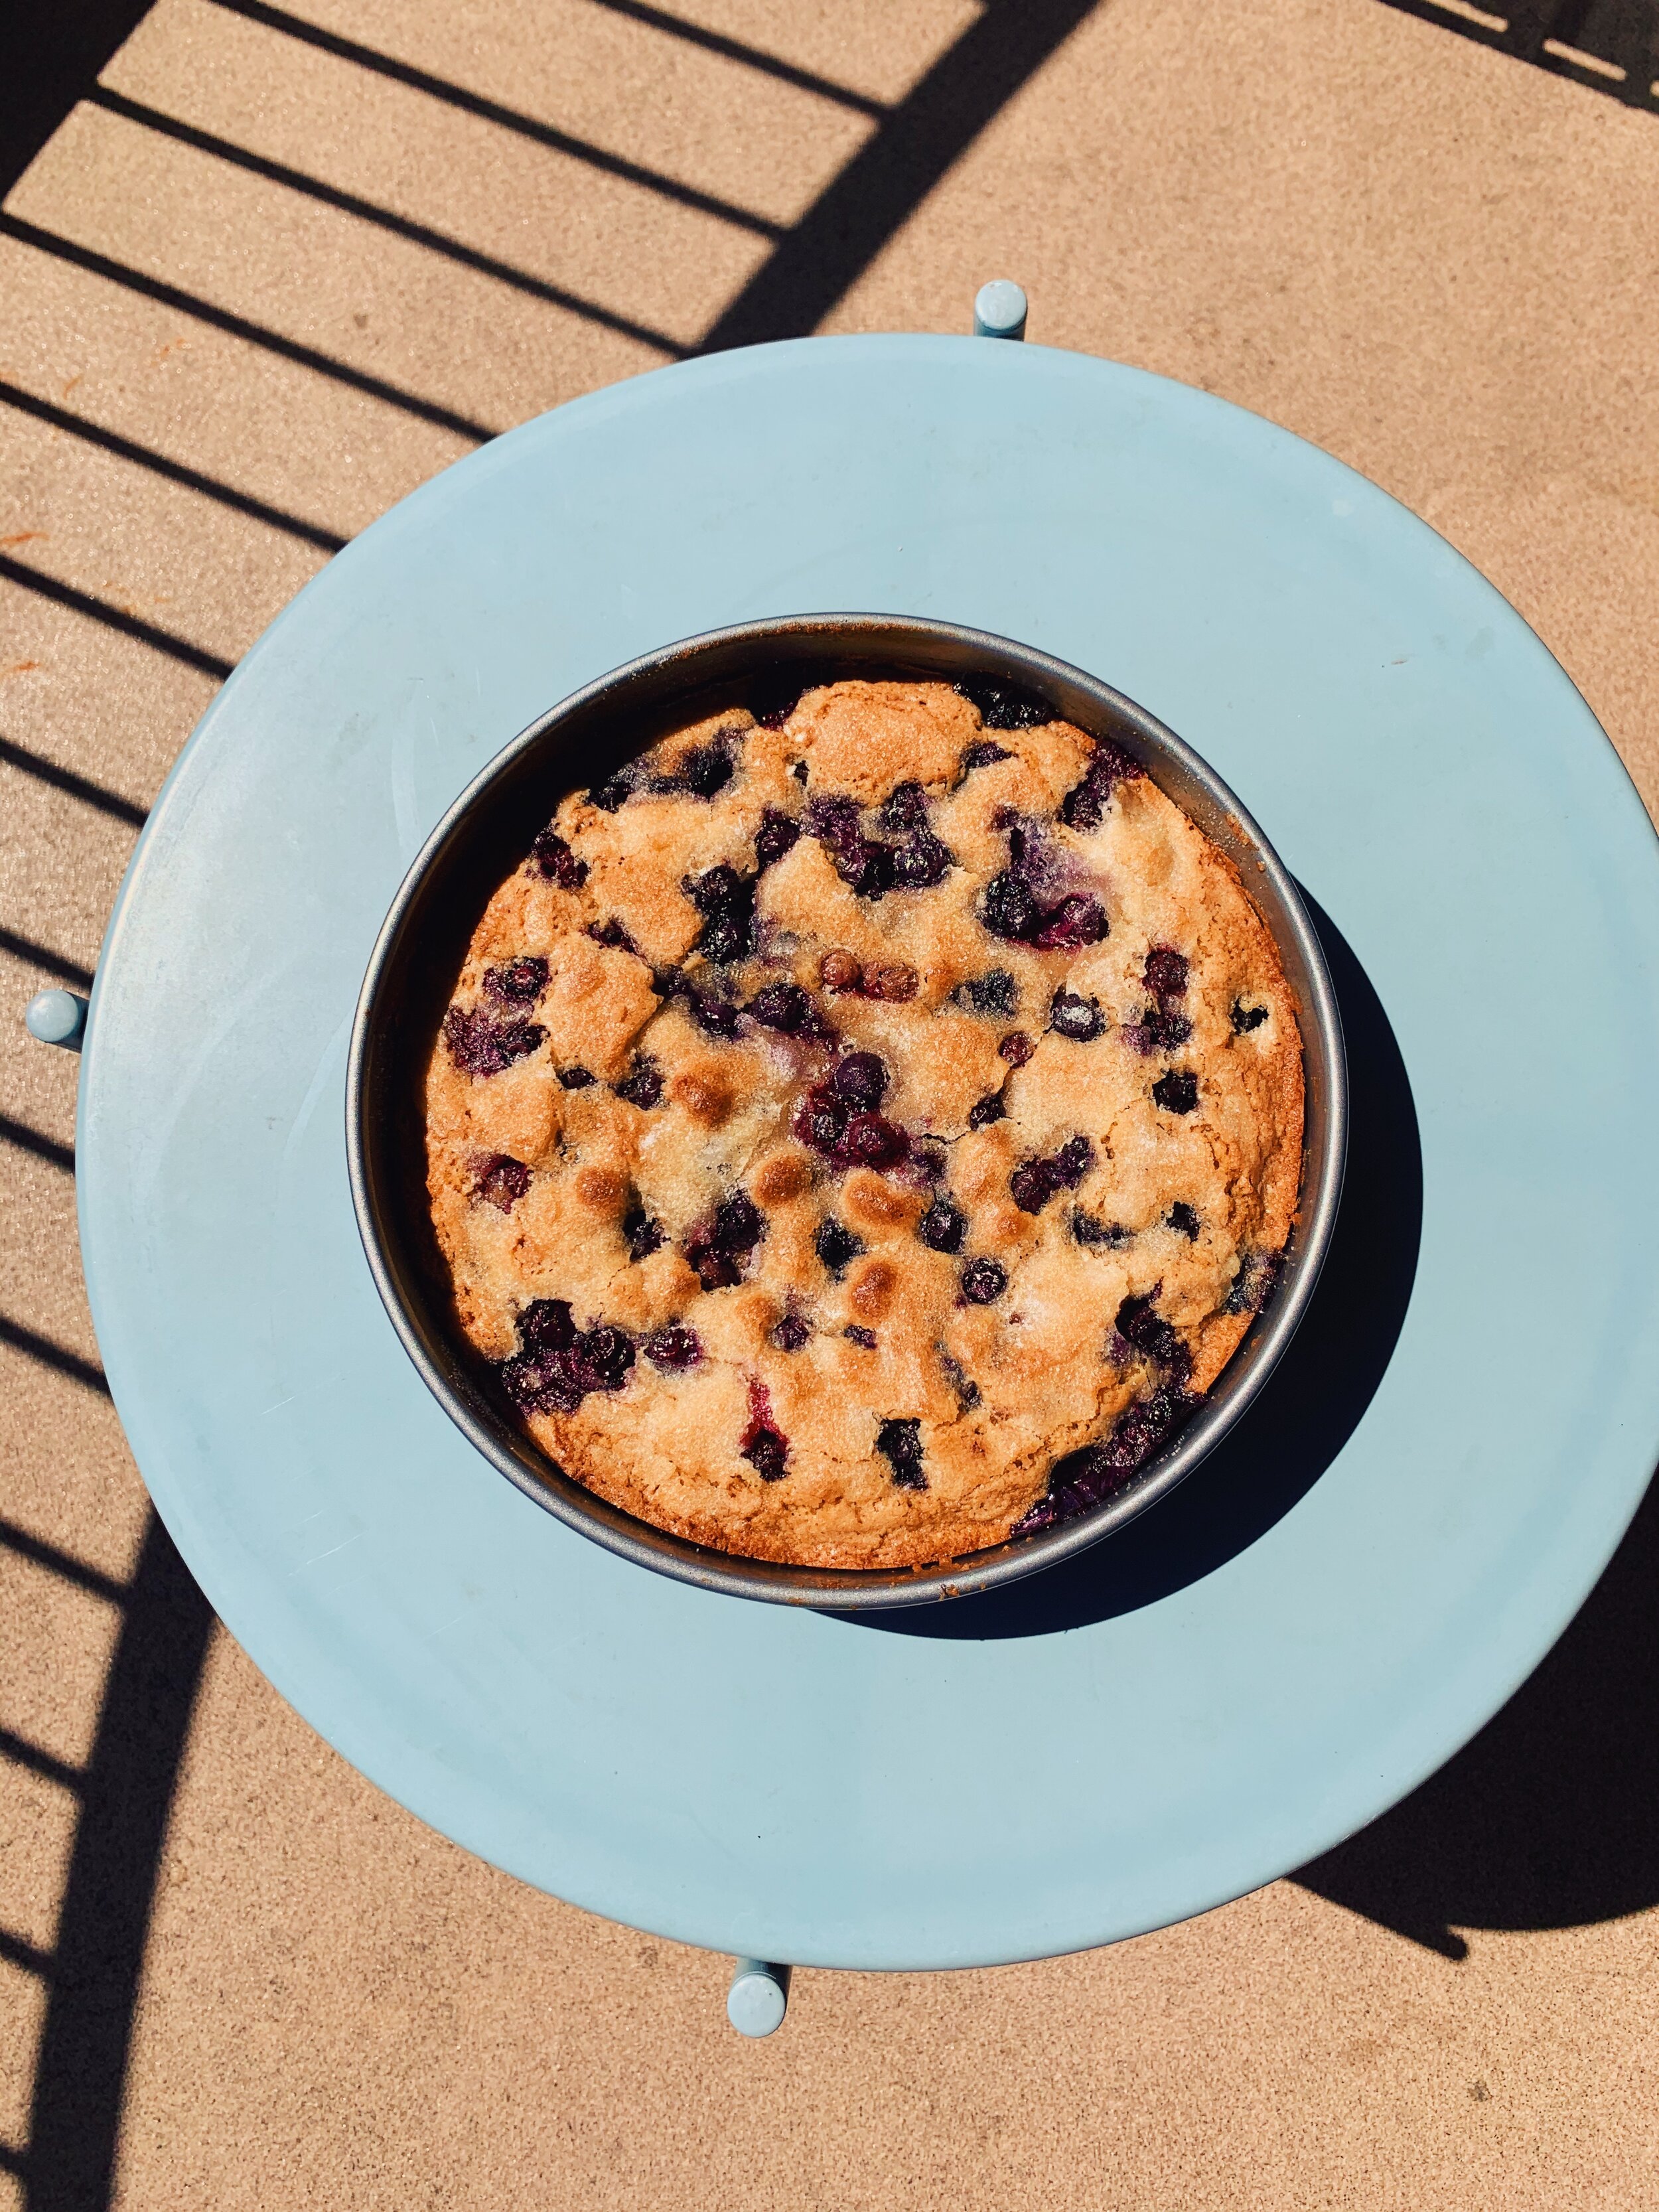
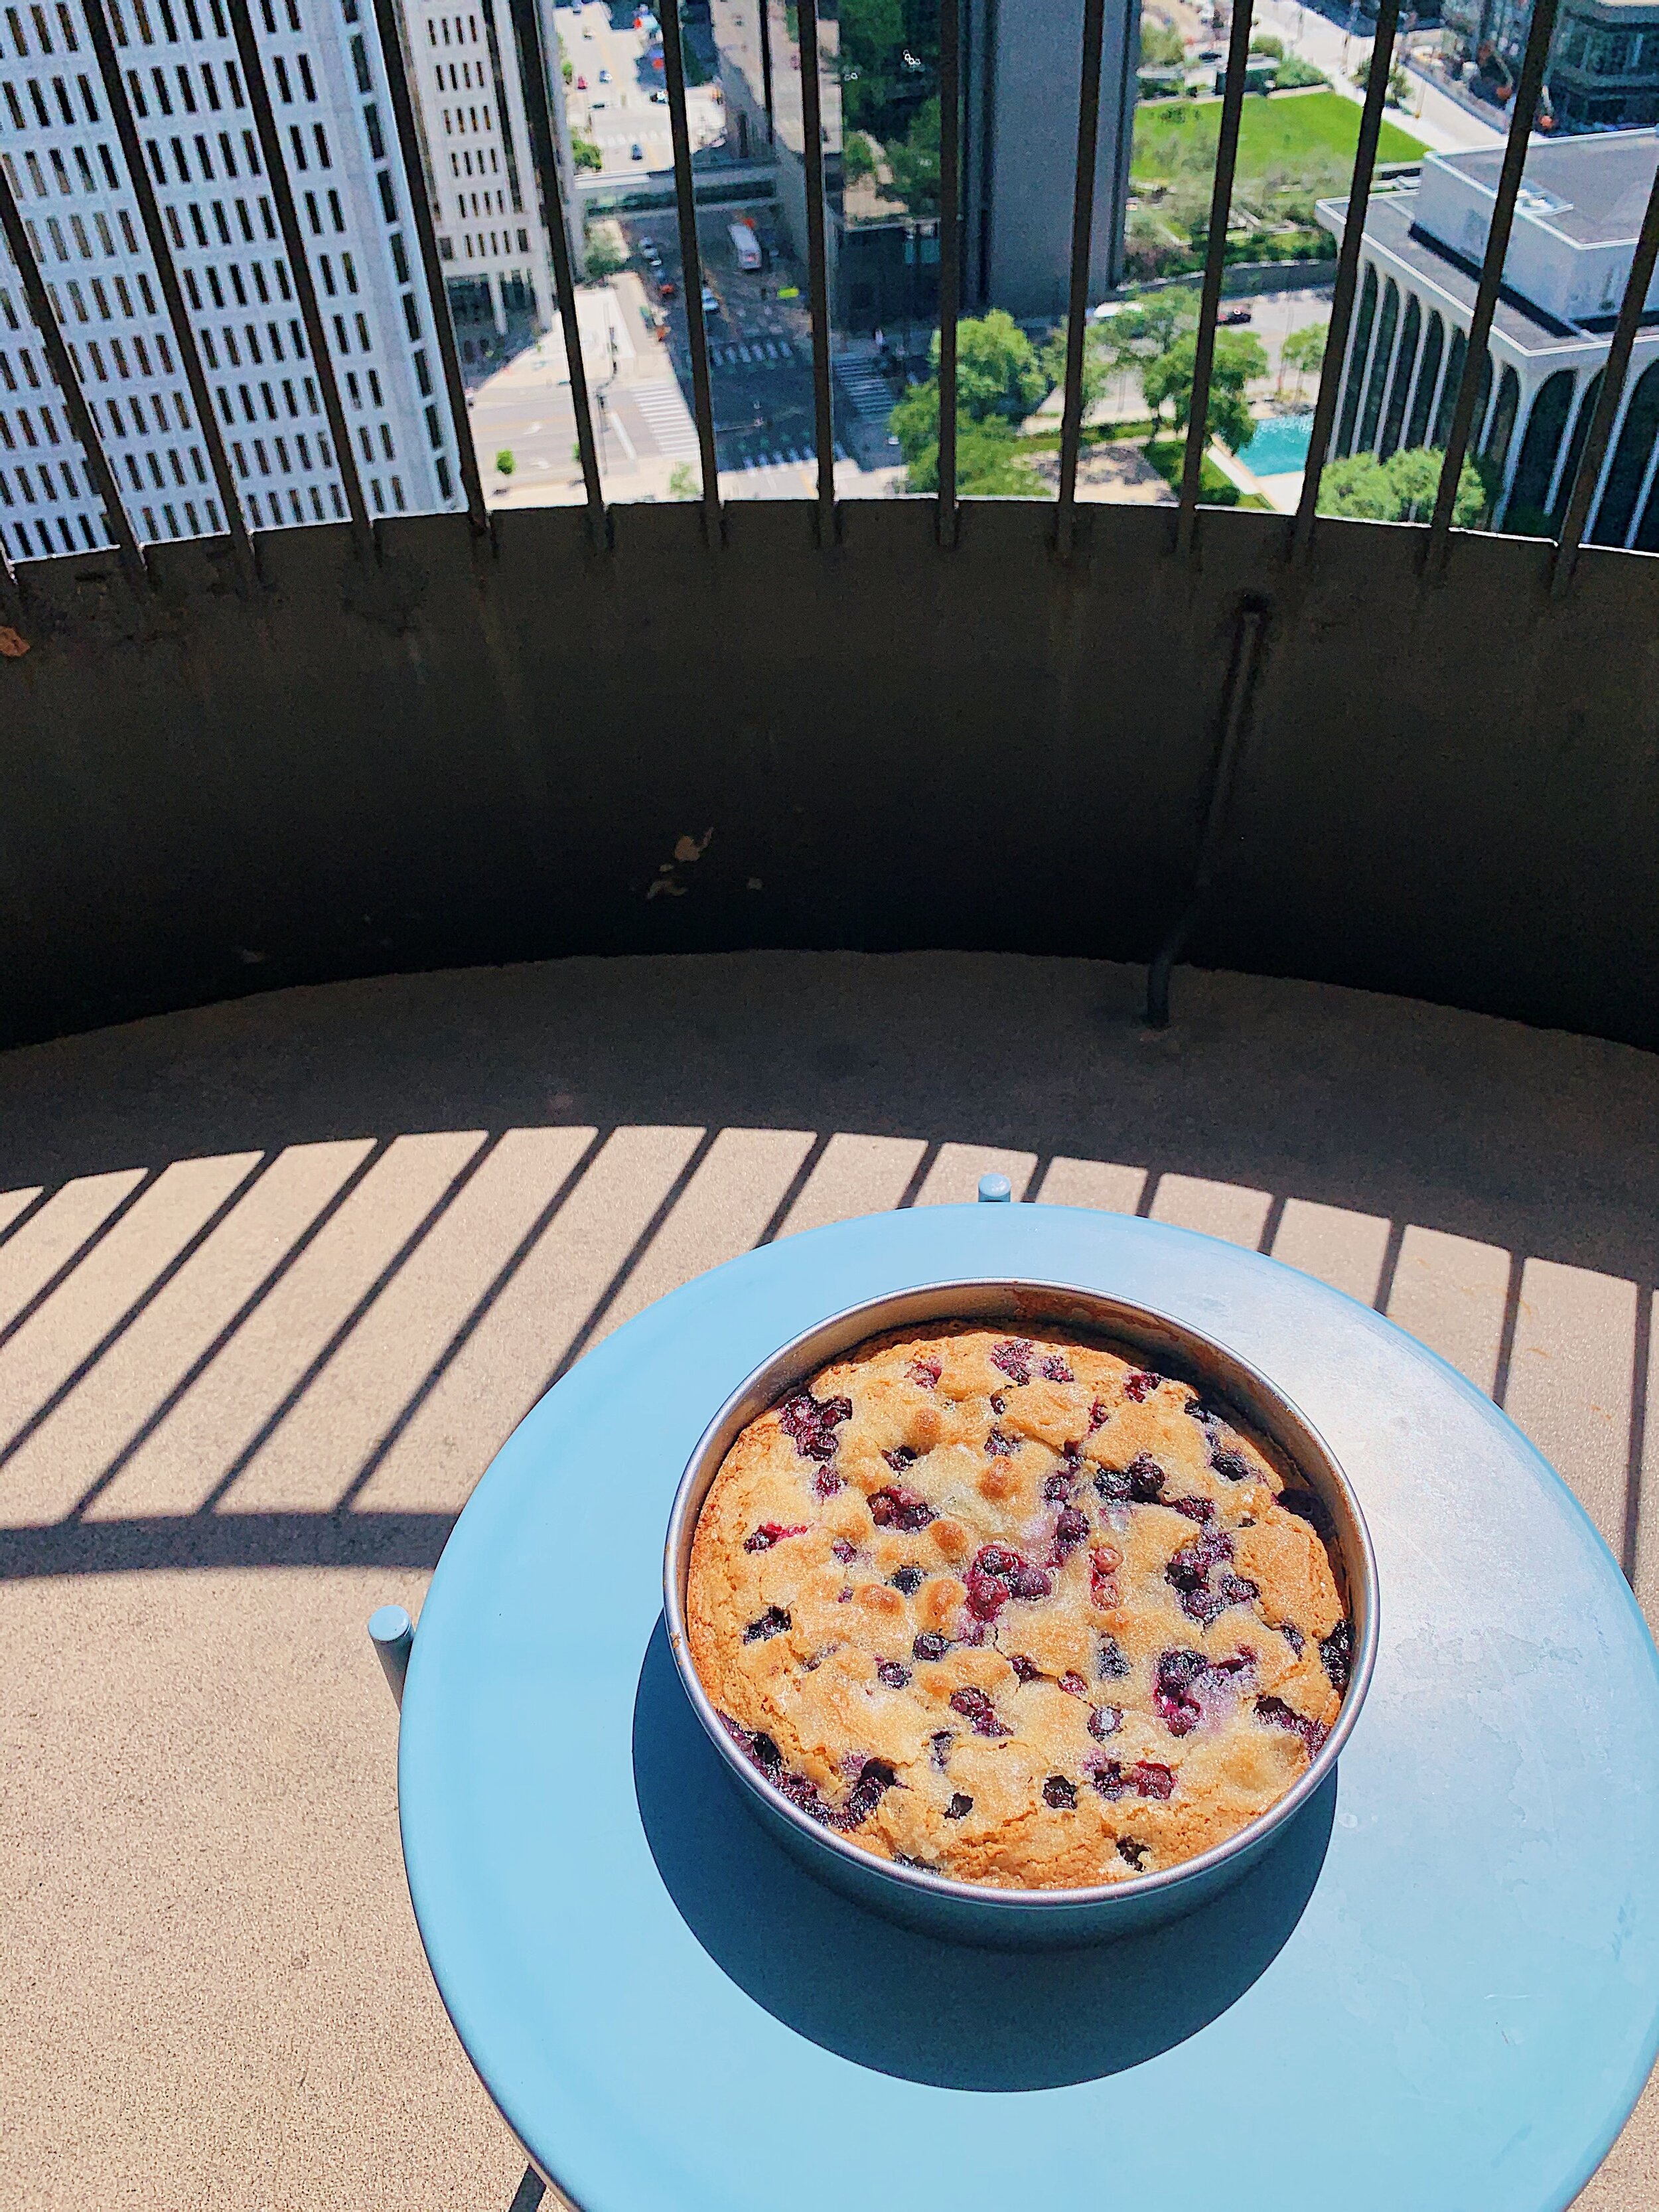
It’s softer than any coffee cake. It’s richer than any fruit crumble. It’s more nuanced than any other fruit cake. It takes the cake, because it is THE cake. This blueberry cake with almond and cinnamon is wonderful. 

Allow me to highlight the aspects of this cake that really set it apart: 

blueberry-cake-almond-cinnamon-alison-roman-berries.jpg
  1. Almond flour – The recipe utilizes a mixture of almond flour and regular all-purpose, which lends a nutty depth to the batter. Almond flour also makes the crumb slightly more dense than other breakfast cakes. And for those of you wondering, I did swap the all-purpose flour with gluten-free all-purpose flour. I also added an extra egg and a 1/4th tsp. of Xanthan gum. The conversion worked beautifully. 

  2. Cinnamon – When Madeline took her first bite, the next words out of her mouth were, “ooo the spices!” To which I responded, “it’s actually just cinnamon!” But I agreed with her – somehow this tasted like a nice blend of spices. Nutmeg and a dash of allspice, maybe? Perhaps it’s the almond flour that gave it the depth. No matter the cause, the cinnamon really transformed this cake from a straightforward berry cake to one with depth. 

  3. Amount of fresh blueberries – Two whole cups! Blueberries bursting in every bite. This helped keep the cake moist. There weren’t any real dry patches, save for a few tiny ones at the very edges of the cake. FYI, I think using frozen blueberries here are a real no-go, unless you’re willing to totally thaw and drain them first. 

  4. Sugar on top – To give it a crackly texture on top, Alison instructs you to sprinkle 3 tbsp. of granulated sugar over the cake’s surface before baking. The sugar hardens and forms cracks along the top, giving it a nice textural contrast and a punch of sweet in every bite. 

blueberry-cake-almond-cinnamon-alison-roman-batter.jpg

I loved this cake. I can especially see this coming in handy when I need to contribute to a breakfast or brunch of some kind. It’s a crowdpleaser. But I’m also just as willing to make it for myself on a random Wednesday. I’ll have no problem eating it on my own.

80 recipes cooked, 145 to go.

Lemon Shaker Tart by Alison Roman

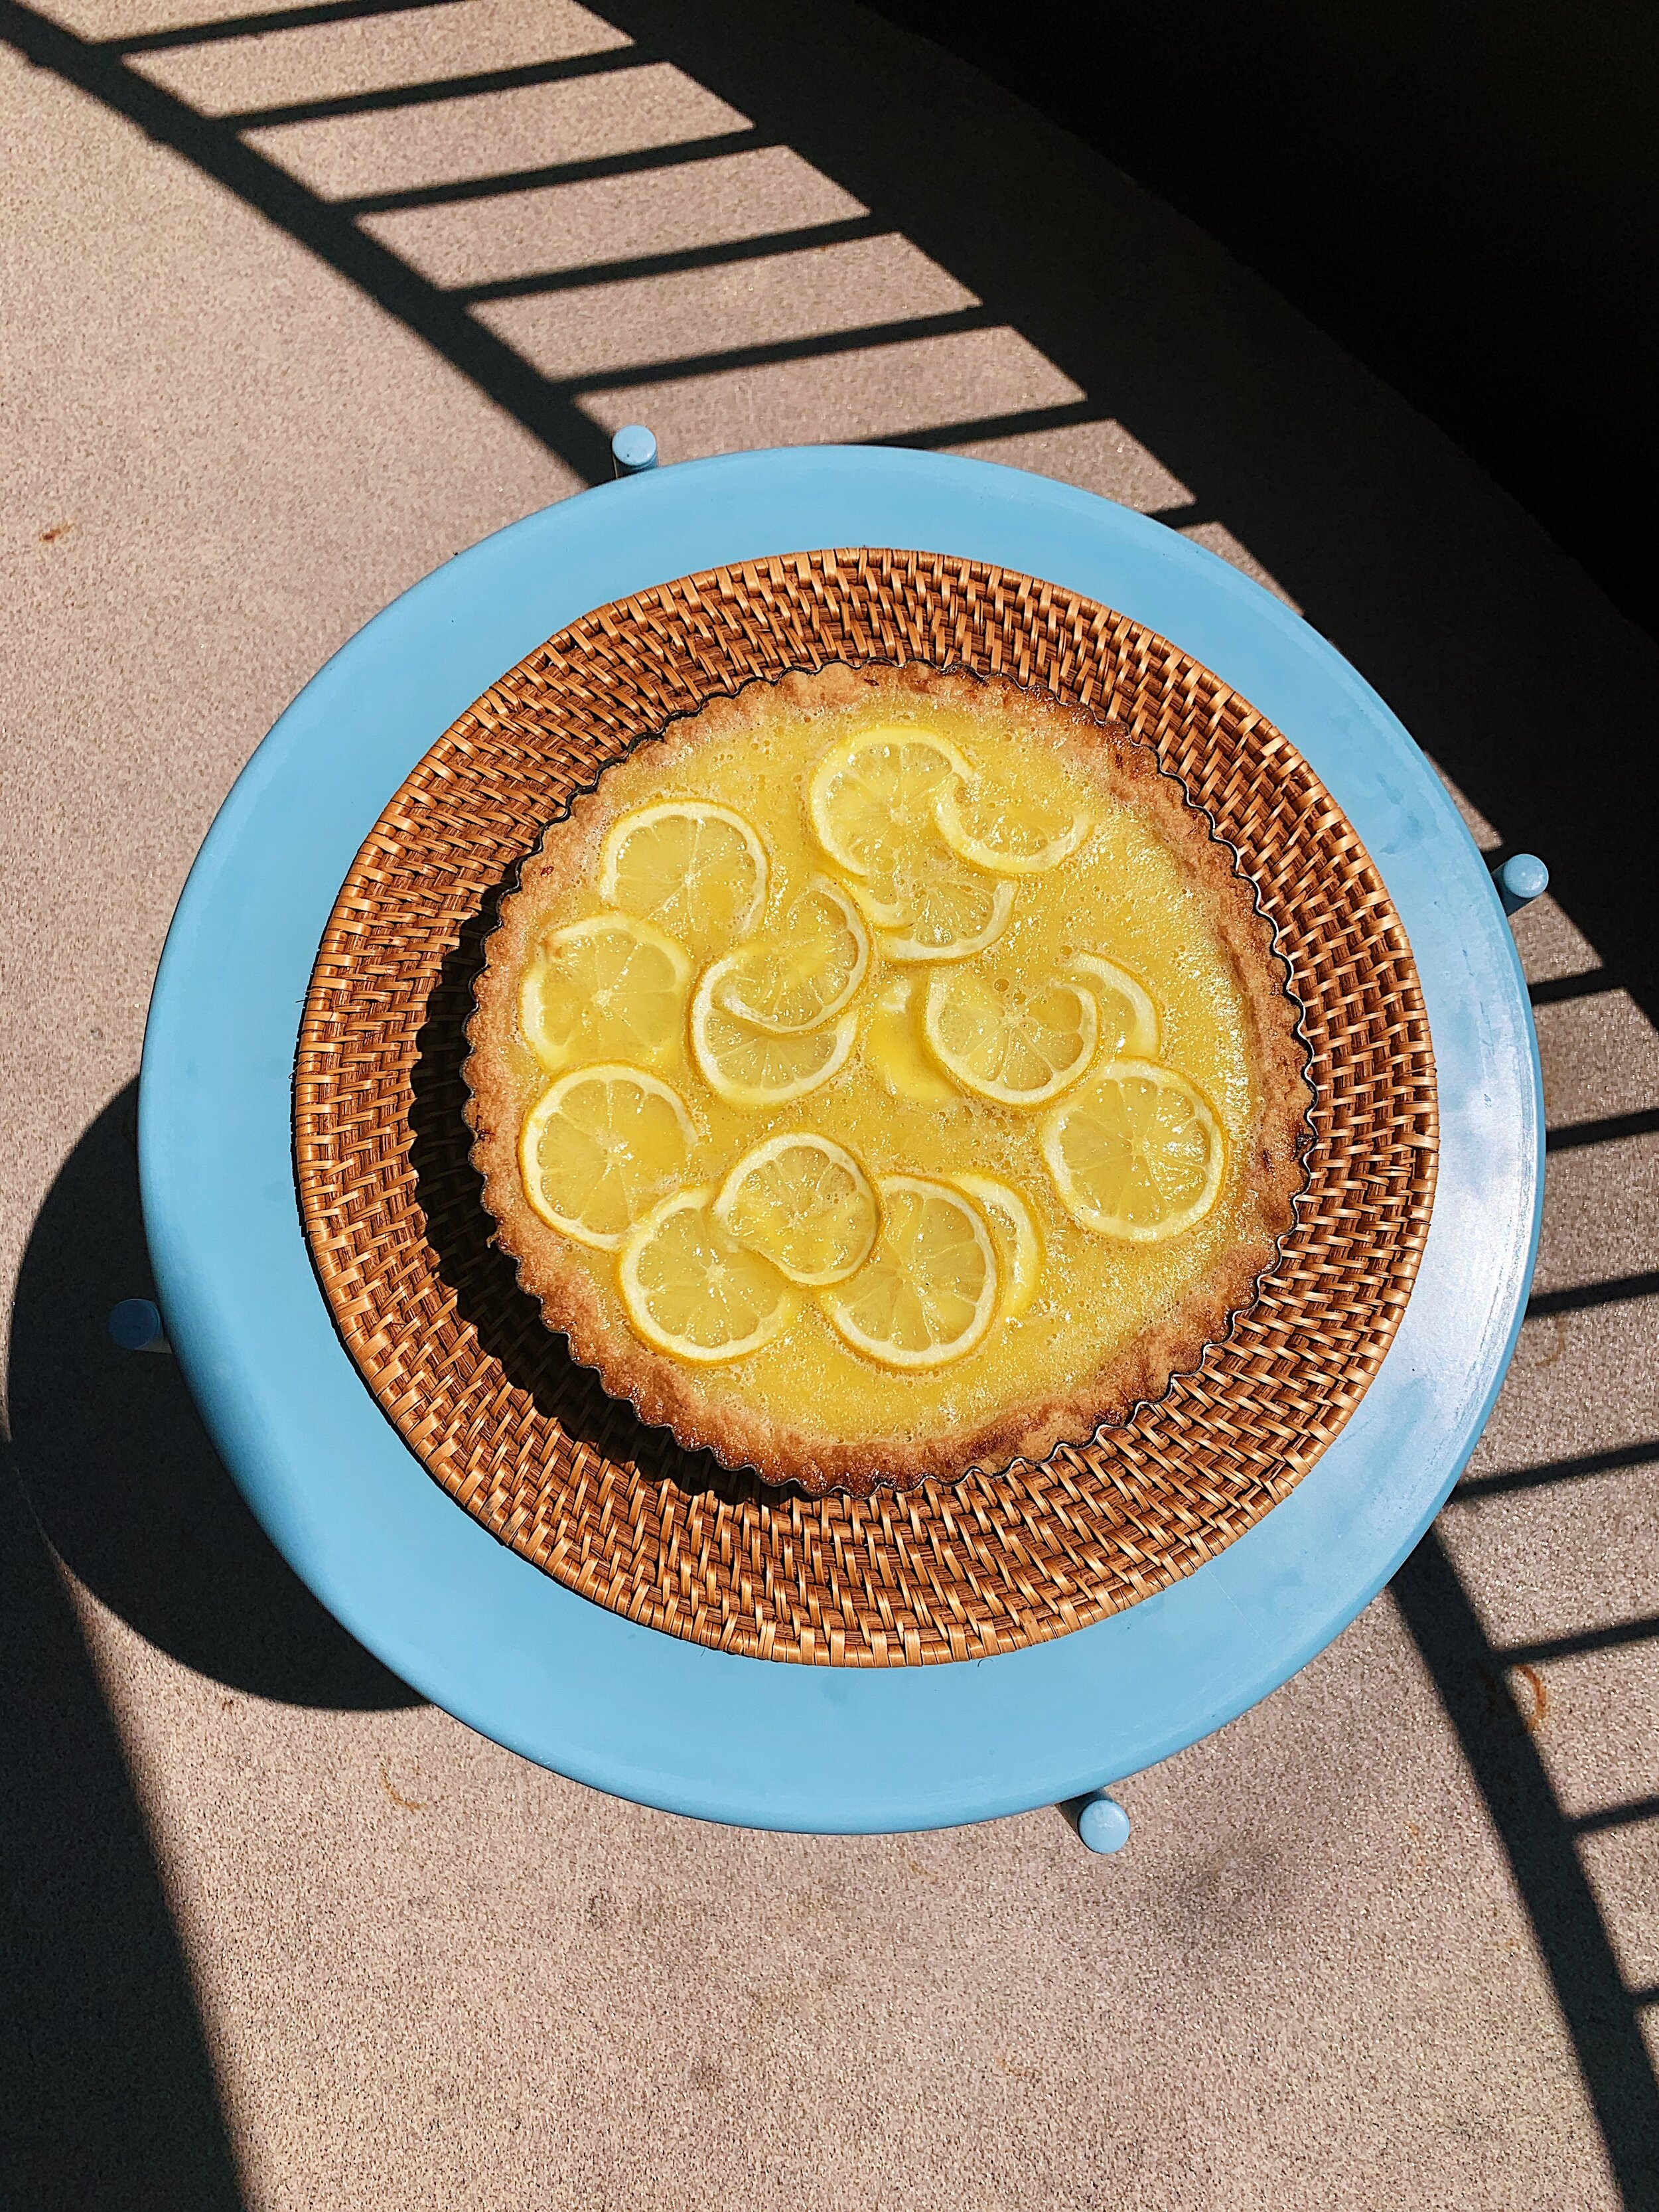
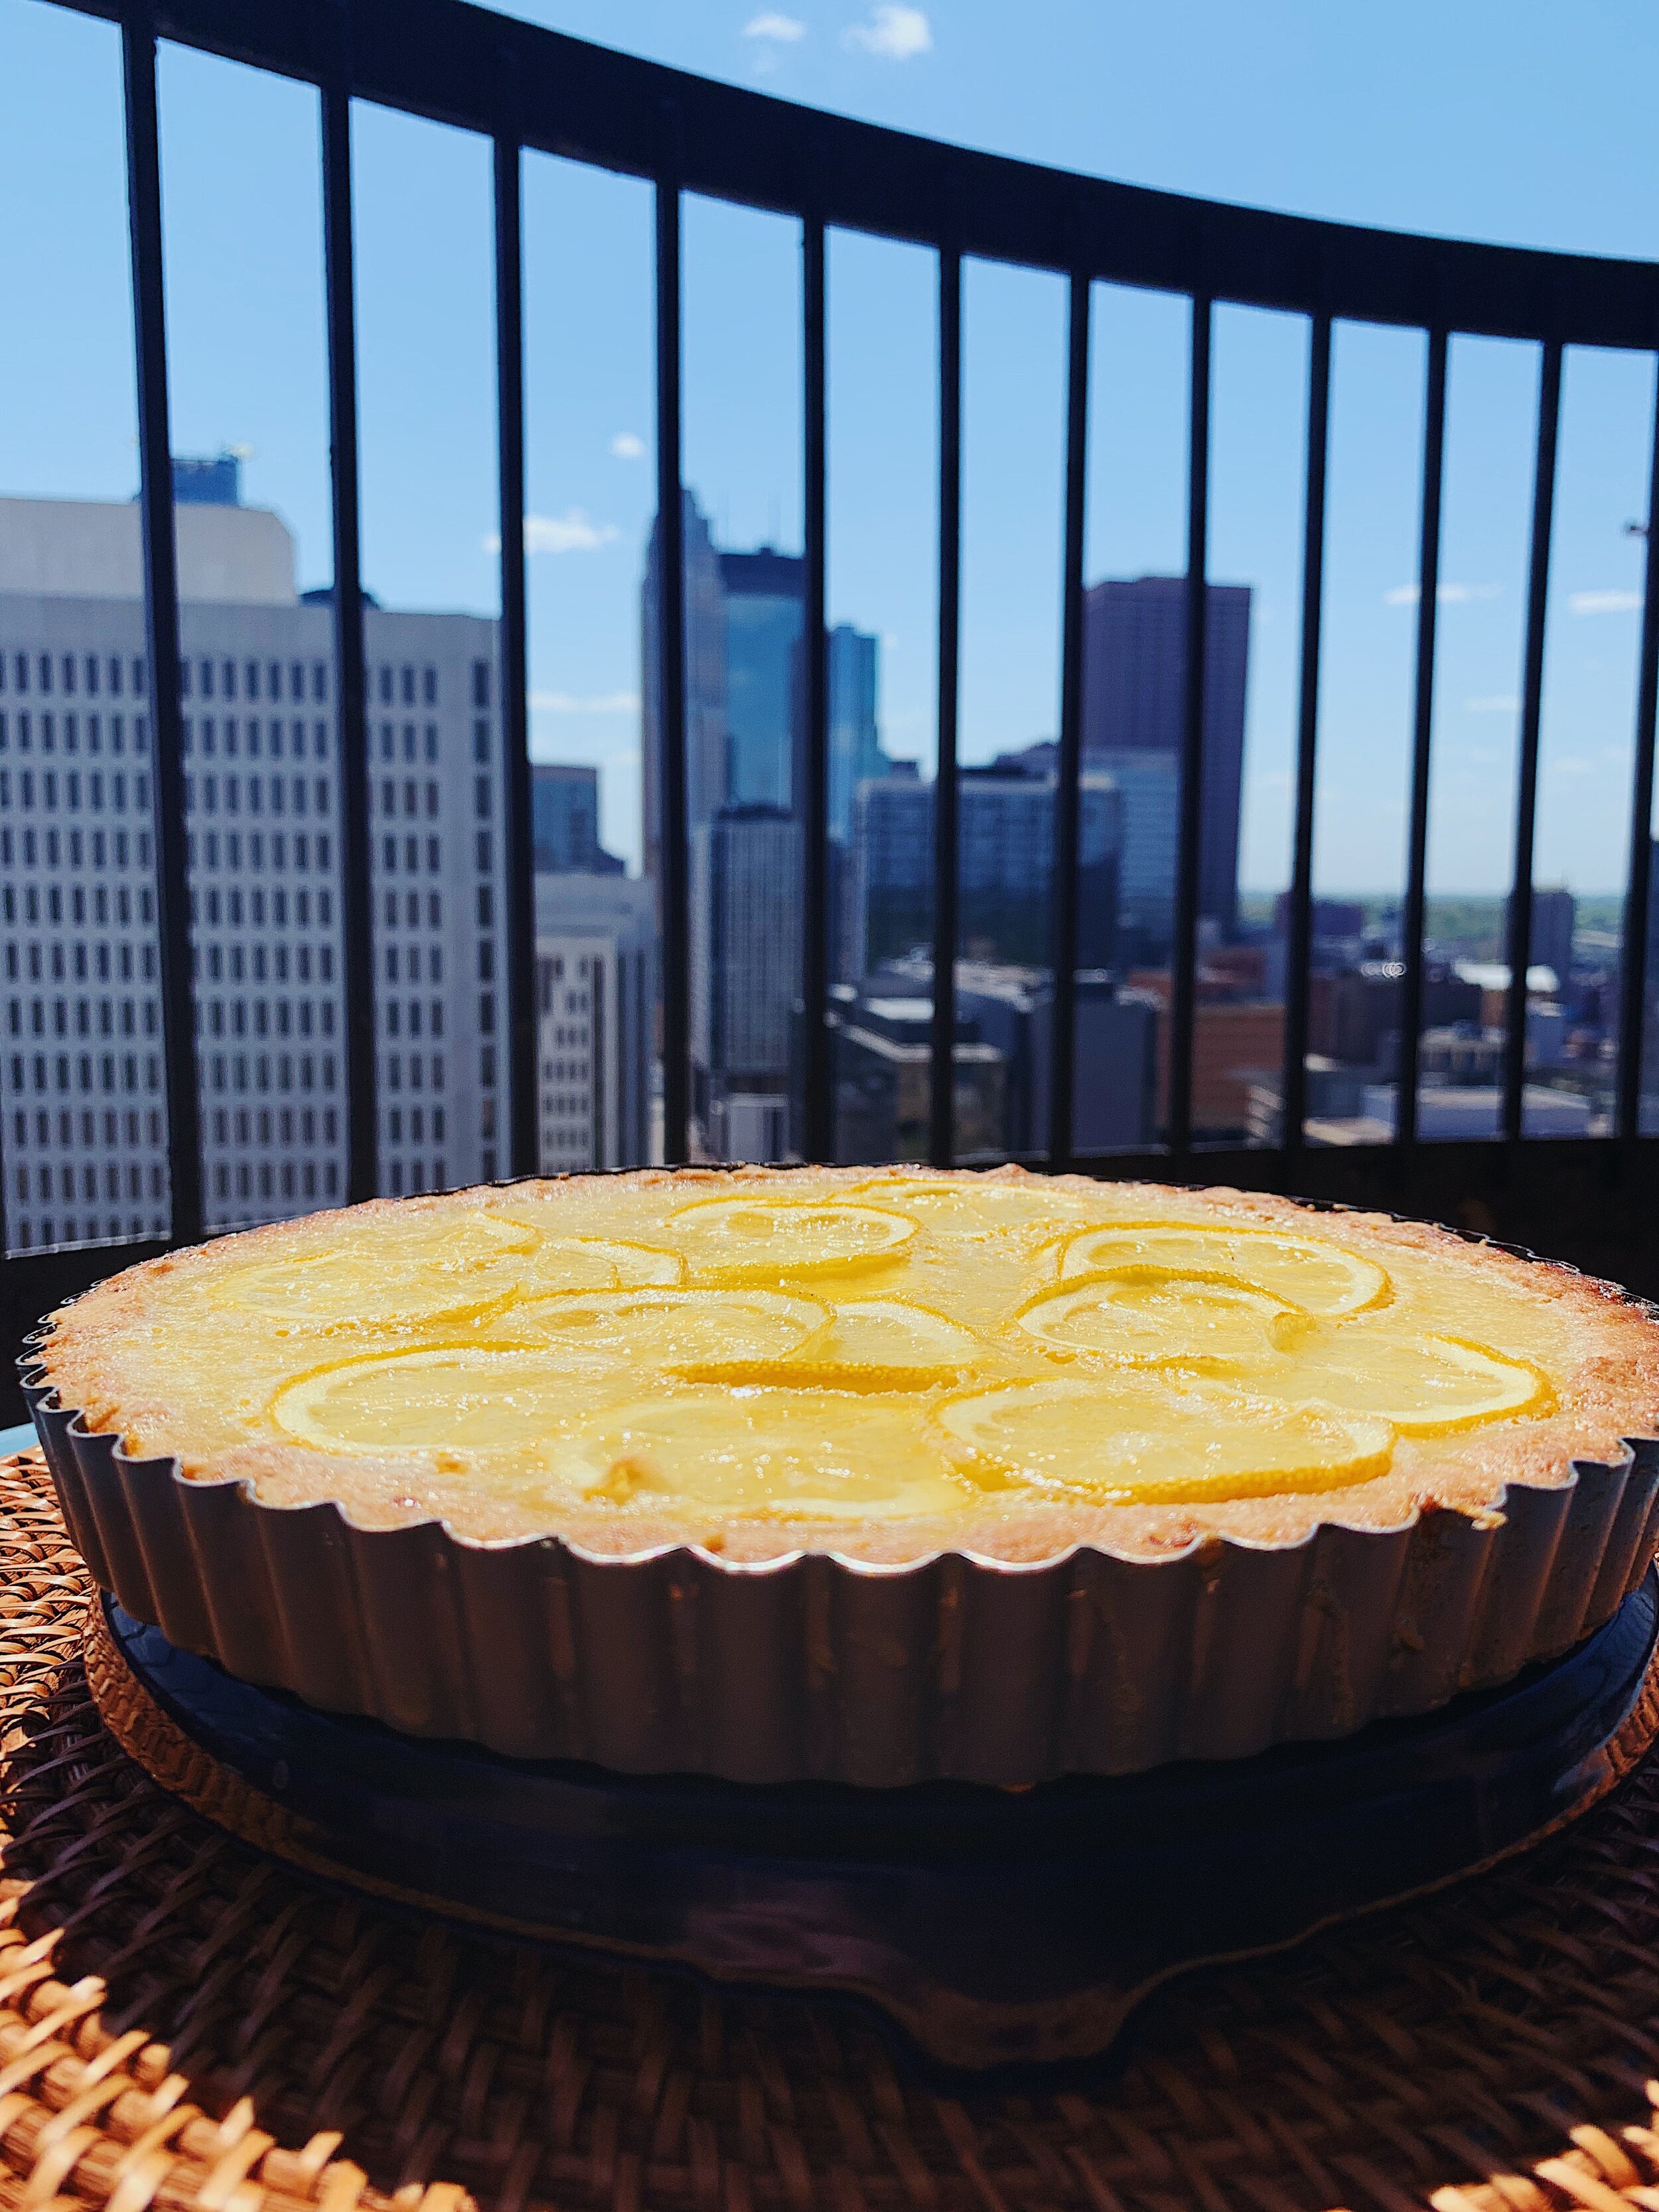
This lemon tart is like a giant circle of lemon bars, with a shortbread crust and a custardy lemon filling. If that interests you, read on, friend. 

Some lemon bars err on the sweet side, and others on the tart end. This dessert really straddles that line, but slightly errs on the tart side. However, that may differ if you use Meyer lemons. Alison says that either Meyer or regular lemons work here. I could not find any Meyer lemons, so opted for regular. But I am now quite convinced that the slight sour edge to this dessert would have been fixed if I had used Meyer lemons (which are really a hybrid of lemon and mandarin/pomelo, making them sweeter). 

Before preparing anything else, I sliced a lemon very thinly, and marinated the slices in a cup of sugar and lemon juice. These need to sit for at least an hour to soften and sweeten before baking.

lemon-shaker-tart-alison-roman-meyer.jpg
lemon-shaker-tart-alison-roman-filling.jpg

The shortbread crust is simple - flour, confectioner’s sugar, salt and melted butter, all mixed to a greasy Play-doh consistency and spread out in the tart pan to bake. I swapped GF flour for regular all-purpose here, with no issues. Xanthan gum, which is used in GF baking to help form structure, is not needed here, since the crust doesn’t really need to rise. The crust bakes first in the oven, until a light golden brown. 

Once the slices finished marinating, I made the filling. Egg yolks, whole eggs, and a bit of flour and salt combine to form a smooth yellow mixture, to which I added the lemons slices, juice and sugar. I mixed it all by hand, then poured the filling into the crust and put it in the oven to bake until it didn’t jiggle in the middle. 

There seemed to be an odd ratio mix-up, and I’m not sure if it’s me or the recipe. I used a 9-inch tart pan as instructed (this is also my only tart pan). But once I filled the crust, there was about 20% of filling still leftover. It posed a bit of a mess since I wasn’t expecting it. I’m curious if others have had the same issue. If you make this recipe, my advice is to pour slowly and cautiously. 

I shared this tart with Jordan, Gina, Madeline and Sam, and all of us agreed that the crust was excellent, the filling a nice blend of sour and sweet, but the lemon slices were too sour all together. Again, I think this was an issue of not using Meyer lemons. So word to the wise, hold out until you can find Meyer lemons for this lovely tart. 

72 recipes cooked, 153 to go.

Chocolate-Tahini Tart with Crunchy Salt by Alison Roman

Laundry is a Monday rhythm for me. I descend 29 floors down the elevator, carrying the overflowing basket of clothes and dish towels on my hip. Our laundry room connects to our apartment lobby, and it’s usually quiet on Mondays. 

“I’m calling it ‘Trouble,’” I heard as I walked toward the laundry room door. I turned around to see Gina, the lobby receptionist peering at me with wide eyes over her mask. “Pam agreed it was Trouble. I found myself licking my hands.” After a few seconds of trying to figure out exactly what she was referring to, I remembered the Chocolate-Tahini Tart. I had given her four slices to share with the other staff on Friday, but hadn’t heard a report back. Apparently this one was her favorite Alison dessert so far. 

It’s mine and Jordan’s favorite so far, too. My mother-in-law took one bite of it and said, “I want this on my birthday.”

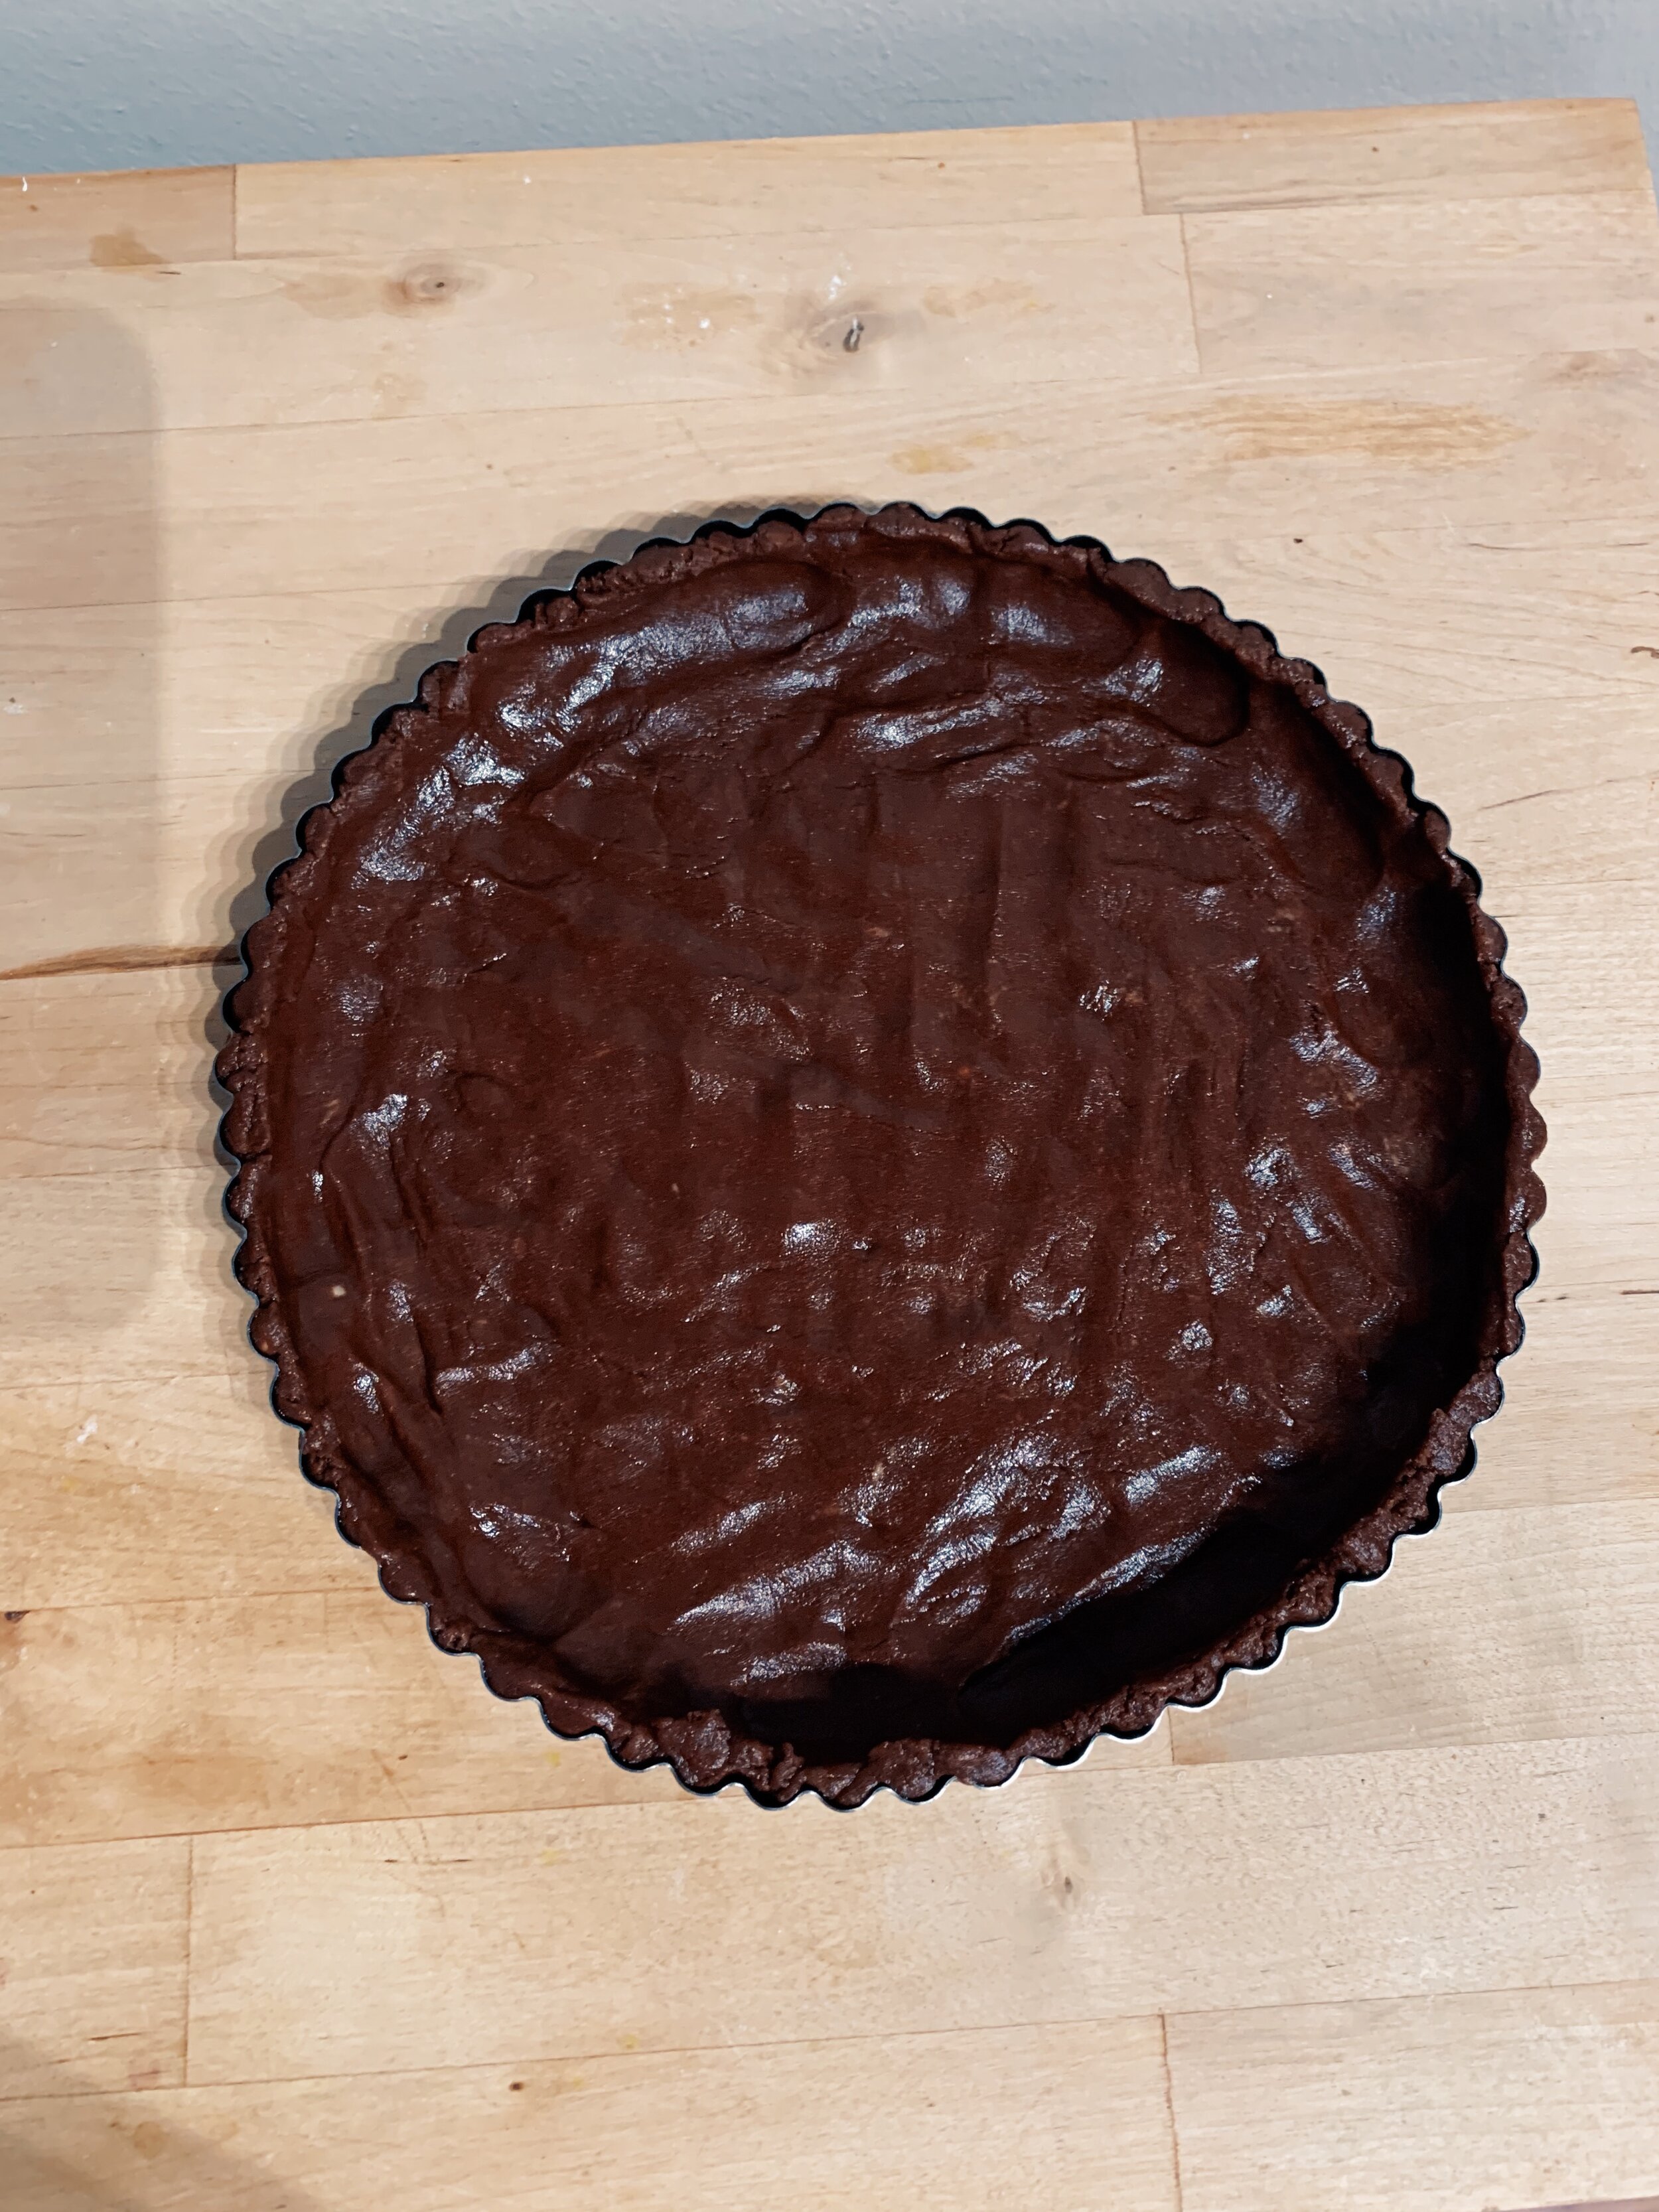
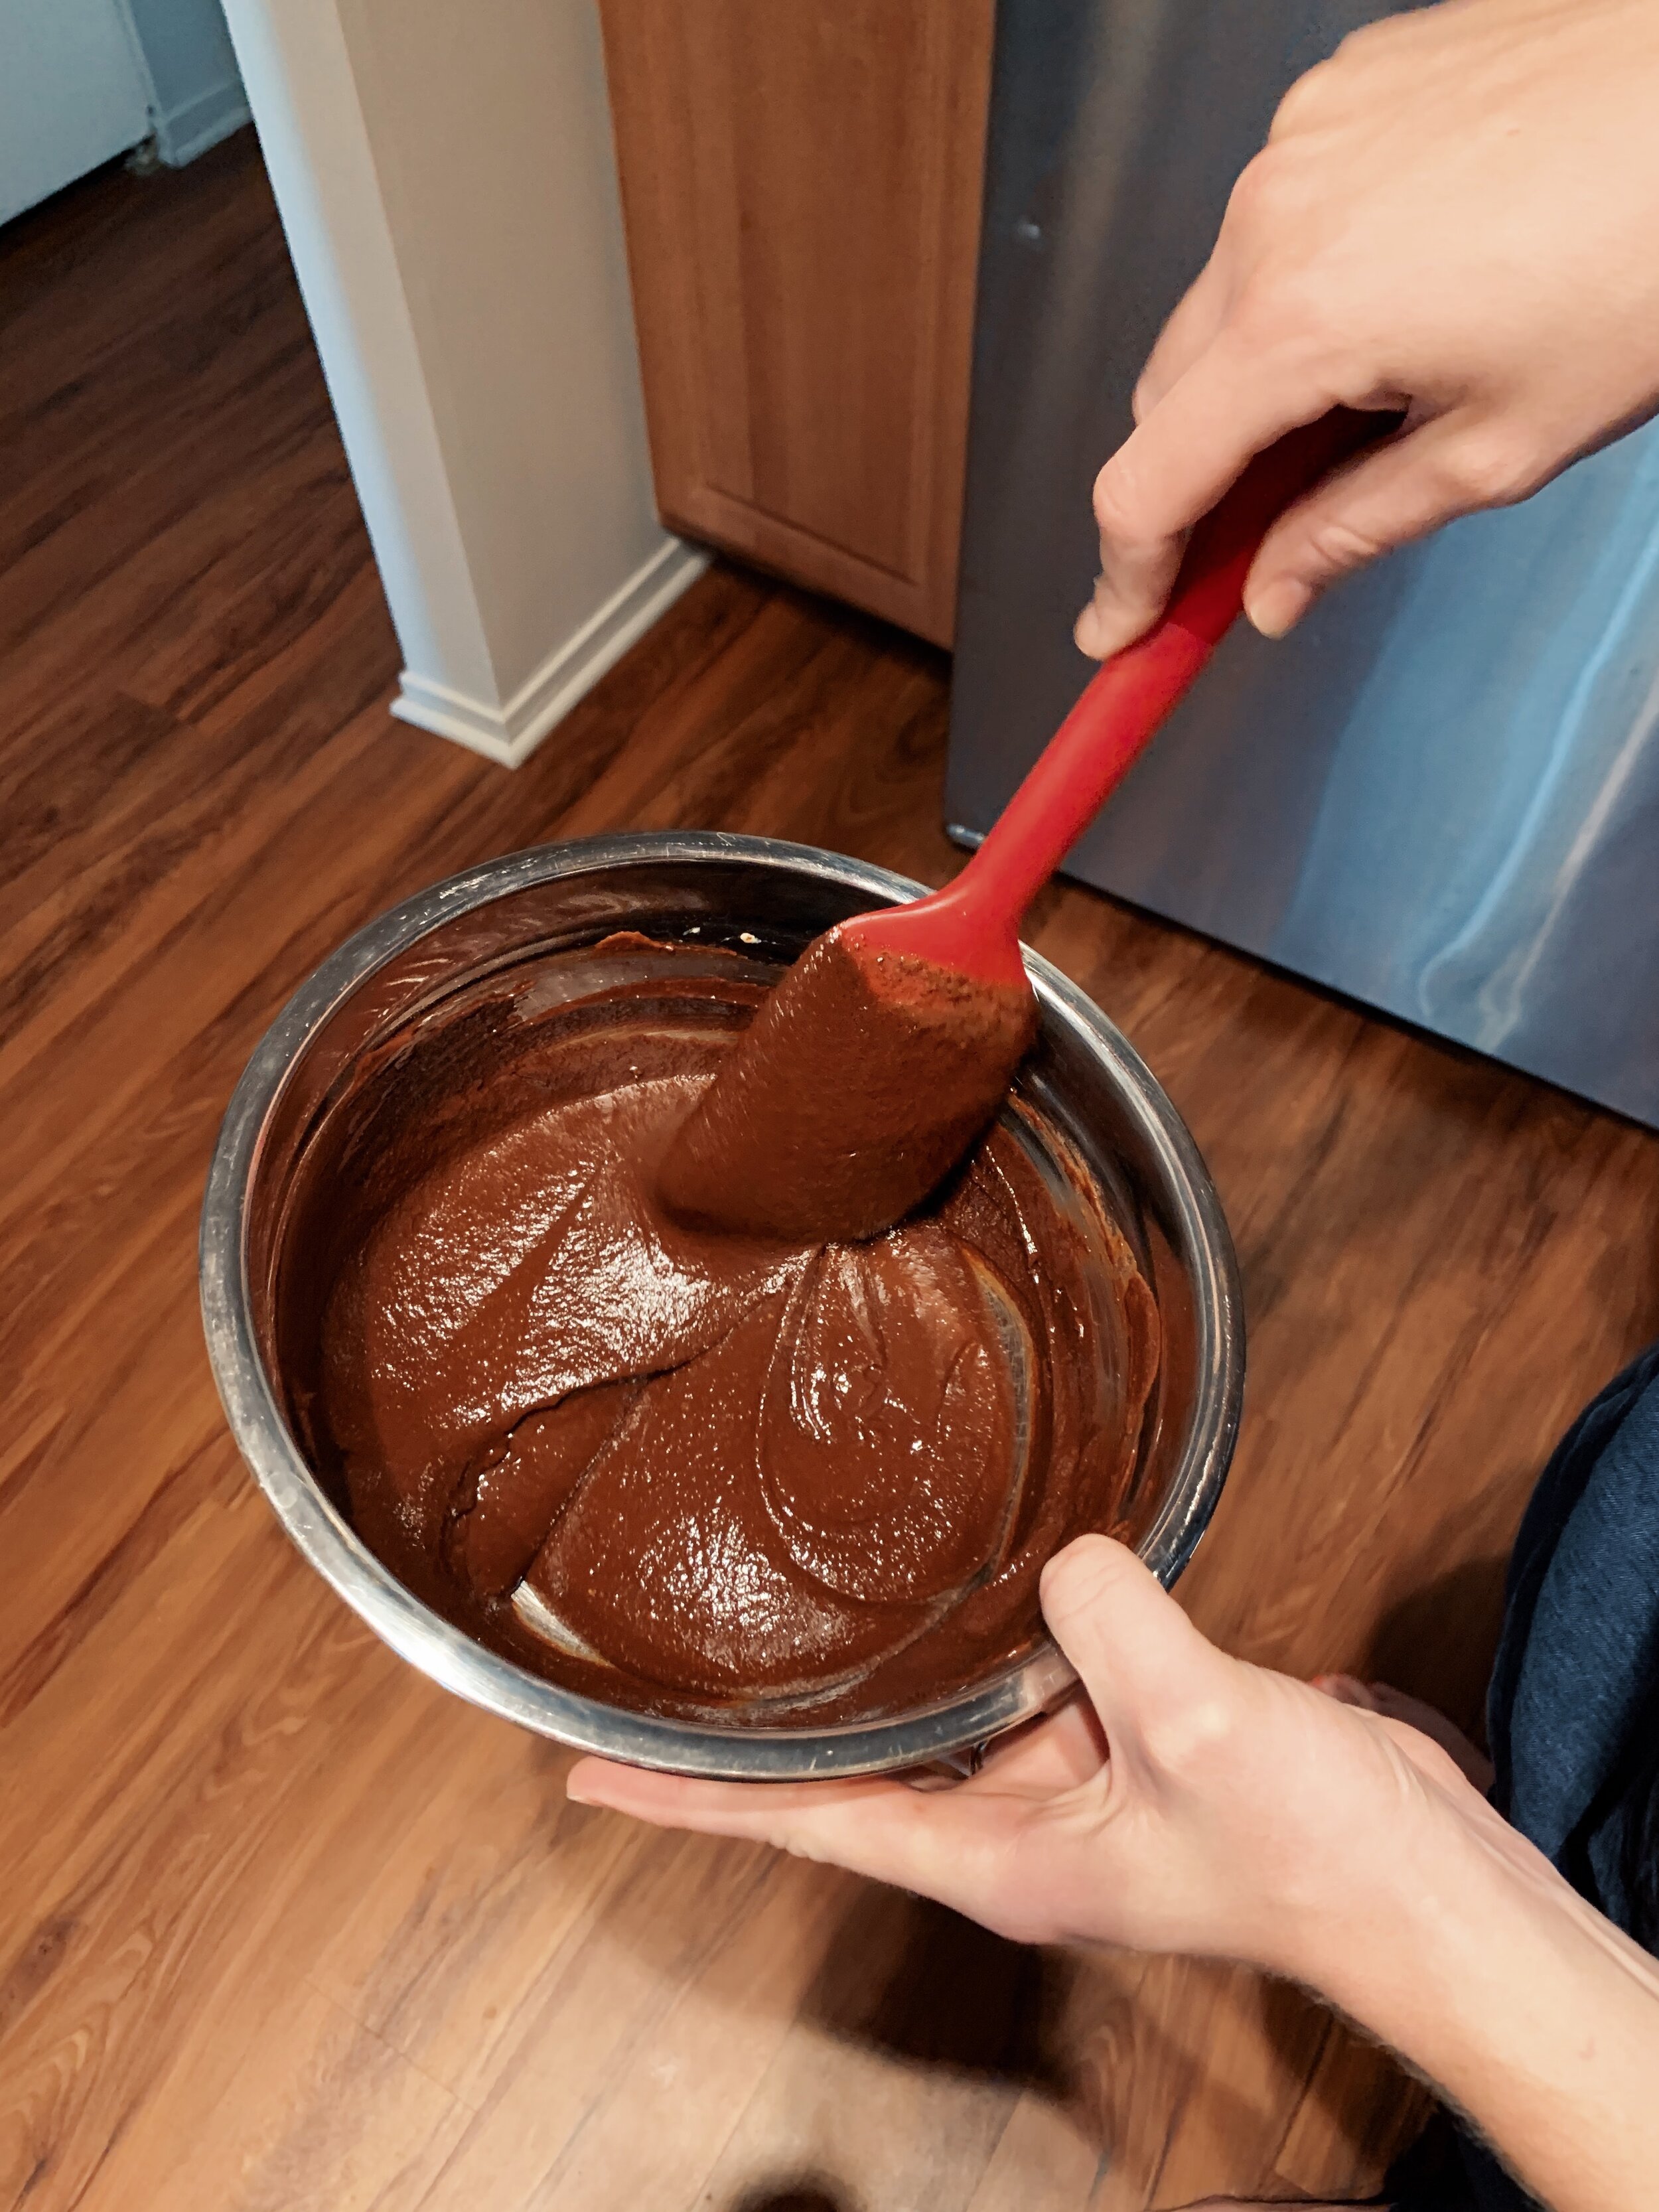
A brief description is in order. The tart’s crust is a chocolate shortbread. Dry ingredients such as flour and cocoa powder are mixed together with a stick of melted butter and pressed into the tart pan to bake. This was my first time using my own tart pan, which I received as a birthday present last month. I love the clean lines of the fluted crust exterior. The pan’s shape makes me feel like a more experienced baker. The crust is baked and set aside to cool for at least an hour. The filling is also simple – chocolate and tahini melted by simmering honey and heavy cream, stirred together and poured into the crust. Top the crust with a generous sprinkle of flaky sea salt (Maldon is the way to go here) and set aside to cool and set. It can be kept on the counter, wrapped tightly, for a few days. 

I used bittersweet Pound Plus chocolate from TJ’s. The bitter chocolate combined with the subtly nutty tahini kept the filling from being too sweet, which could have been the tart’s downfall. Instead it was just the right amount of rich, the right amount of sweet, the right amount of salt. A balanced, delicate yet substantial, dessert that makes it impossible to avoid seconds. I wonder if it can be beat?

61 recipes cooked, 164 to go.

chocolate-tahini-tart-crunchy-salt-alison-roman-1.jpg

Honey-Yogurt Pound Cake with Raspberries by Alison Roman

honey-yogurt-pound-cake-raspberries-alison-roman-raspberry.jpg

I find Alison’s recipe introductions delightful. When I read them, I feel as though she’s having a friendly conversation with me. Sometimes she lets me in on a secret; sometimes she divulges her opinions on food prep or ingredient preferences. I appreciate hearing about her failures and victories in the kitchen. 

The intro to this particular recipe is about desserts that travel well, and one’s that don’t. Clearly she’s tried bringing many carefully crafted desserts to a variety of shindigs, and those desserts haven’t always made it to their final destination. At least not in their desired form. But this pound cake? It travels well! 

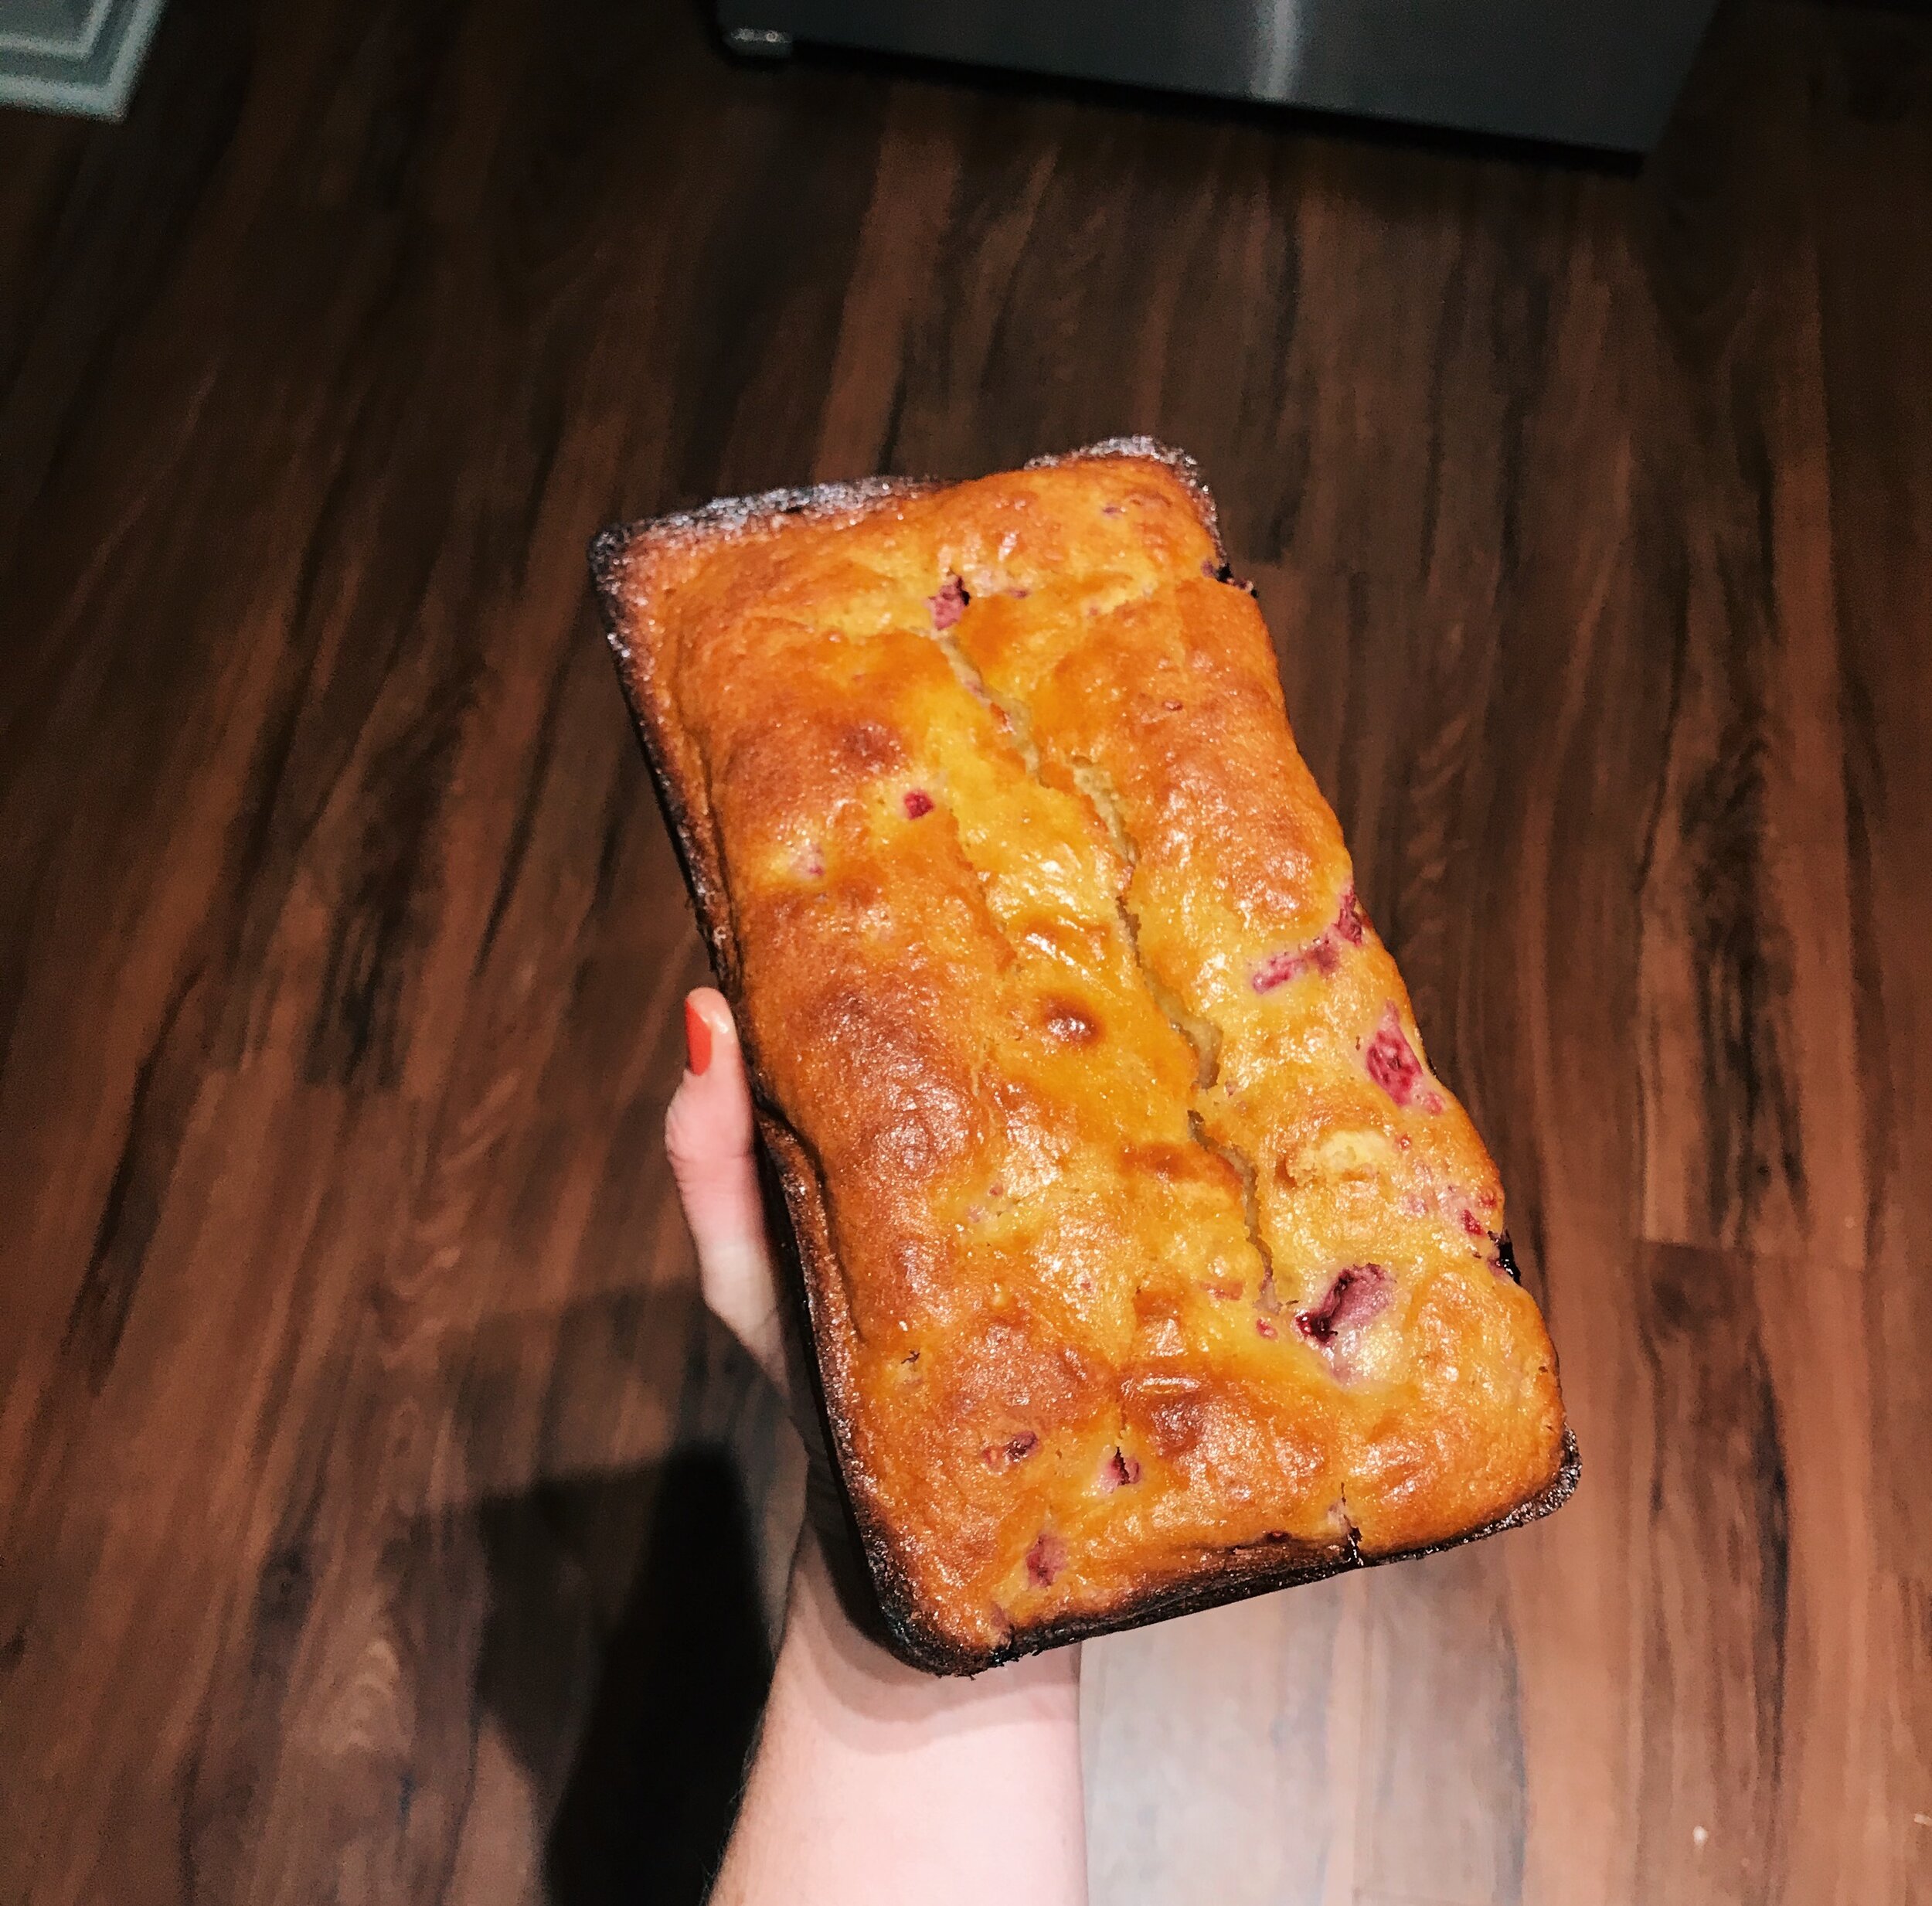
My own experience can back this up. Apart from the two slices I took down to the lovely receptionist in our apartment lobby, I took the whole cake to a friend’s house wrapped in cling wrap. The cake jostled around in a big bag full of other stuff over a bumpy car ride, and yet it arrived looking just as shapely as it did coming out of the pan. I left most of the cake at said friend’s house, but returned home with a small chunk leftover. This bit also didn’t crumble. Thus I can vouch for Alison’s travel-well assertion. I bet I could take this cake in my backpack on a plane and have relative success! 

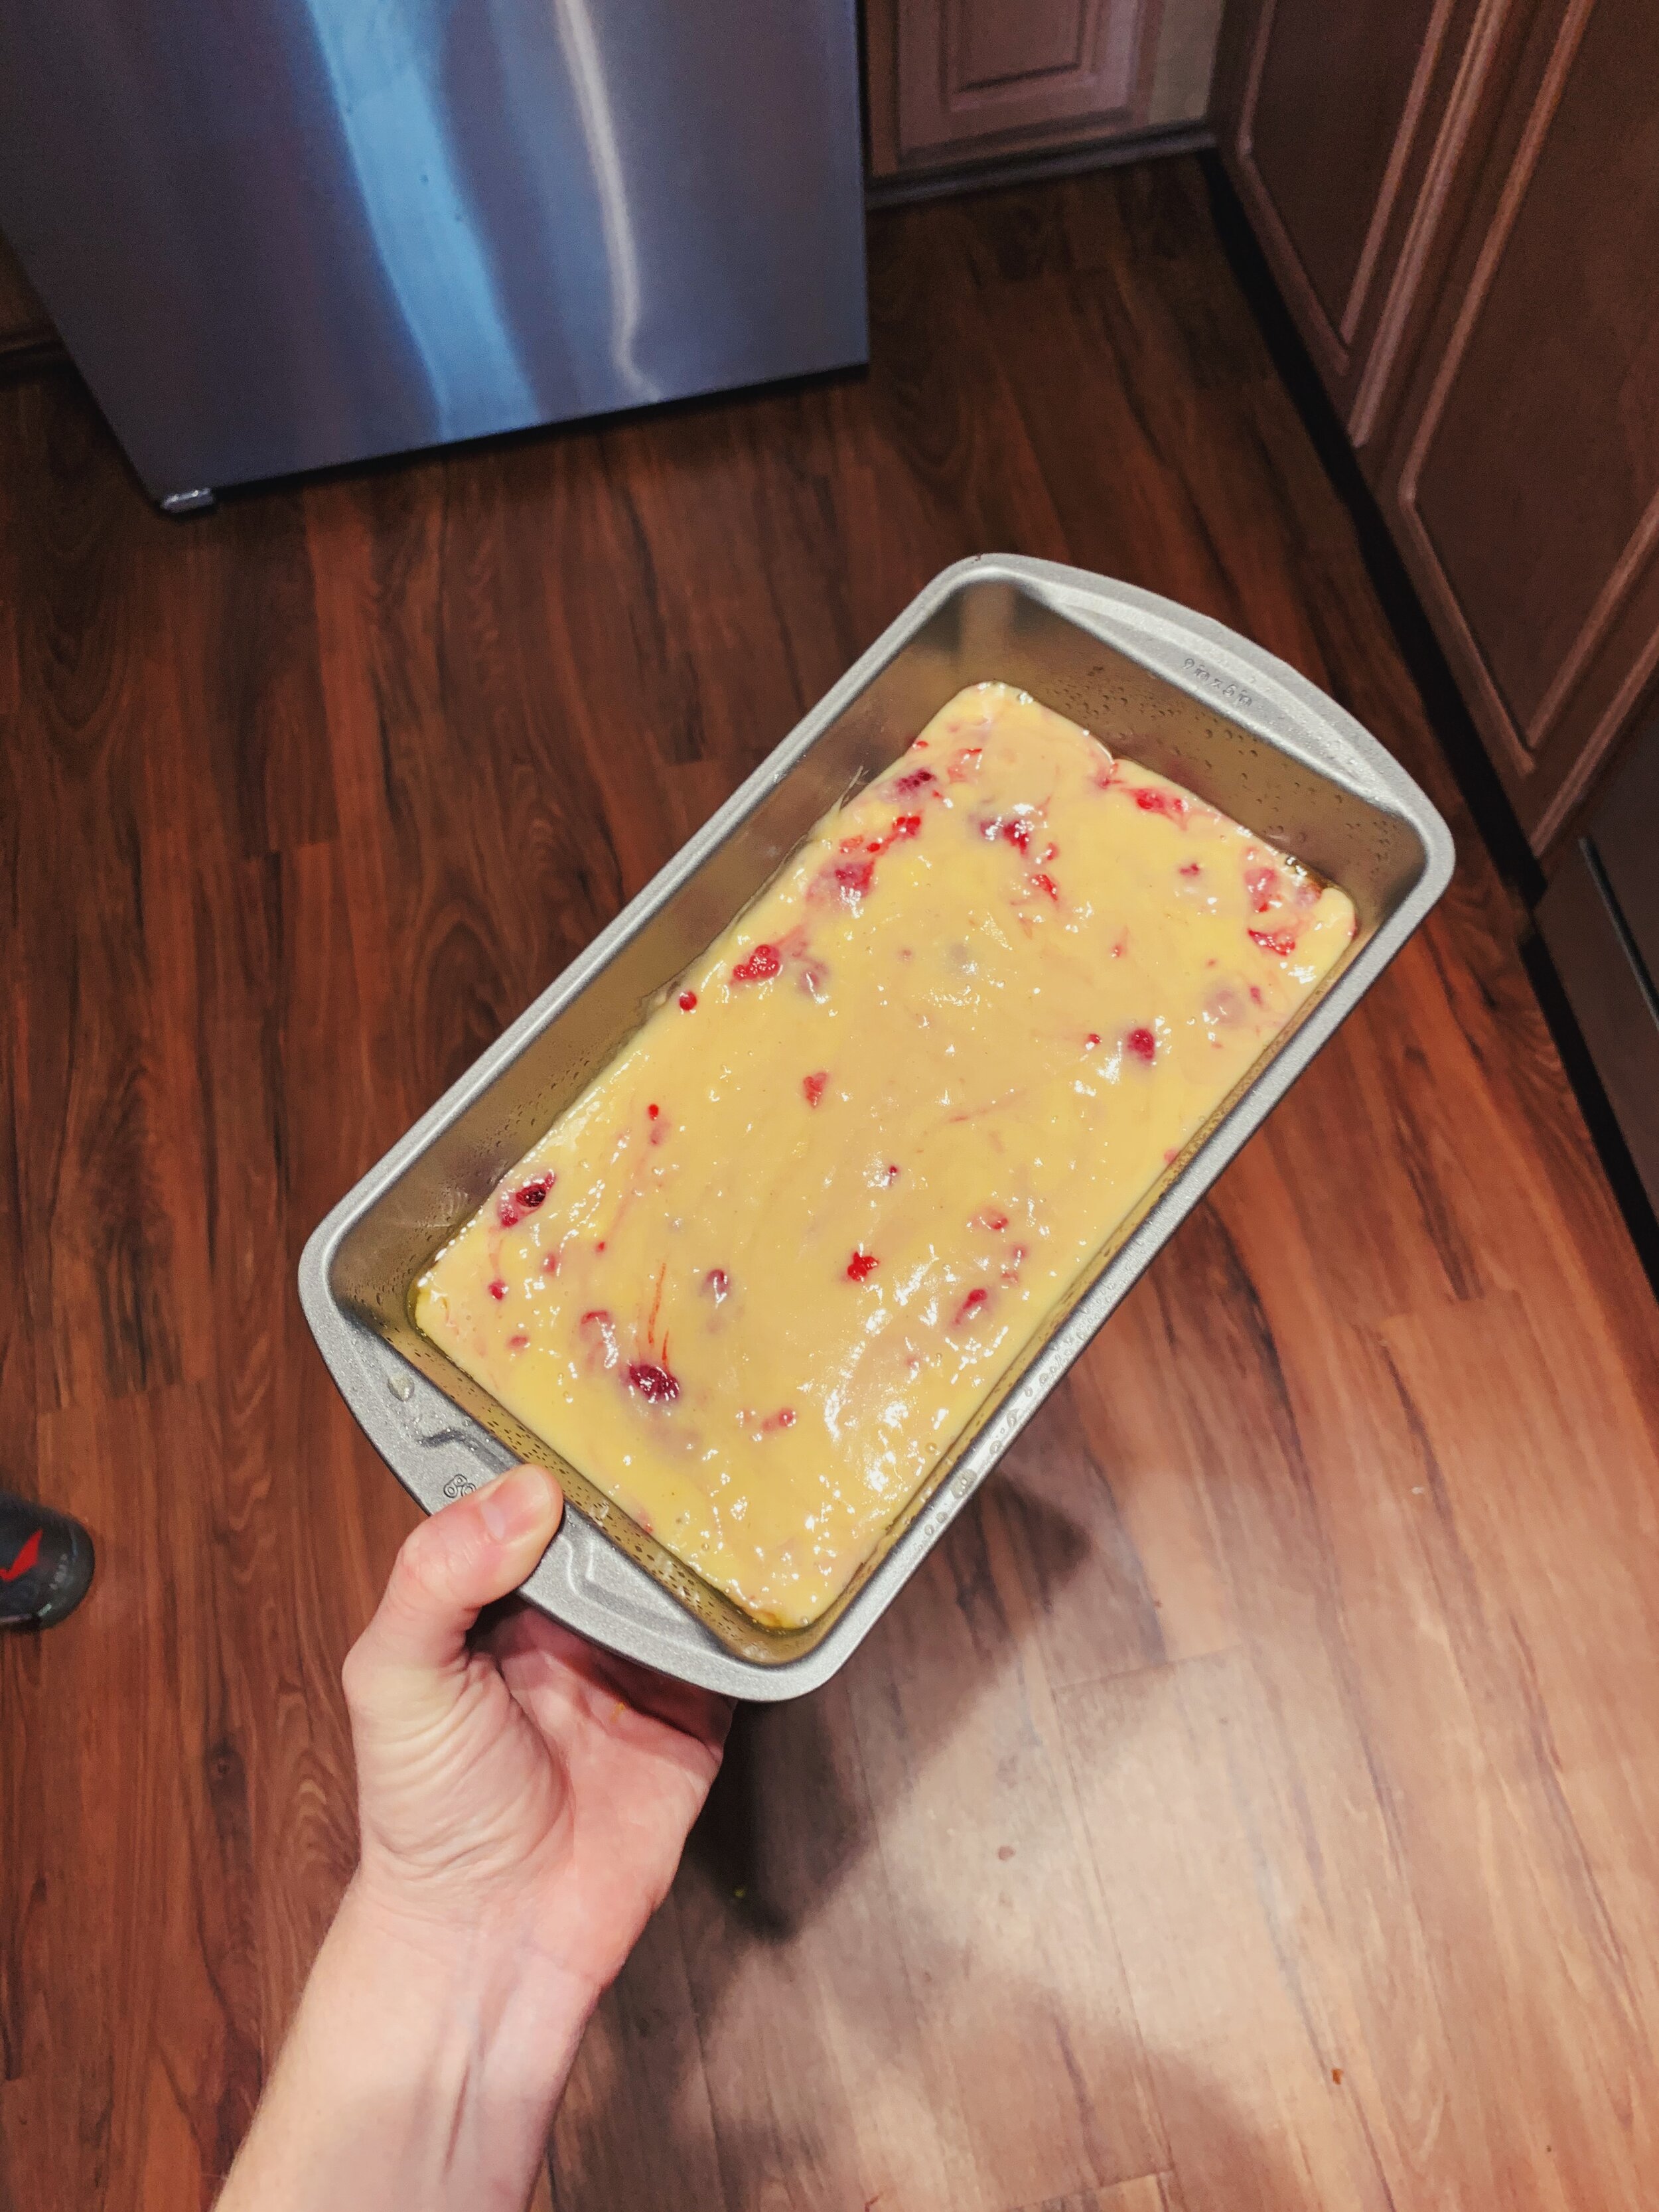
Though the title sounds fancy, this cake recipe is extremely simple. It’s a mix dry ingredients, then mix wet ingredients, then combine them and stir in the fruit sort of recipe. The key is to not overmix the dry and wet ingredients. Apparently that’s how a dome forms at the top, and that’s not what you want. 

Once again, I converted this to be gluten free. I was told by several taste testers that this was my most successful GF dessert conversion yet. The cake maintained the appropriate moisture and crumb levels for a pound cake. This brought me great joy. 

The cake is also not super sweet. The raspberries and yogurt add a nice tangy, sour balance to the honey and sugar. I can see this going well with whipped creme fraiche or regular whipped cream. Perhaps next time I’ll really go wild and top it with turbinado sugar before baking. I’ve got a few trips on the books (thank you, vaccine!) that may well include this cake in my backpack.

58 recipes cooked, 167 to go.

honey-yogurt-pound-cake-raspberries-alison-roman-piece-3.jpg

Everyone's Favorite Celebration Cake by Alison Roman

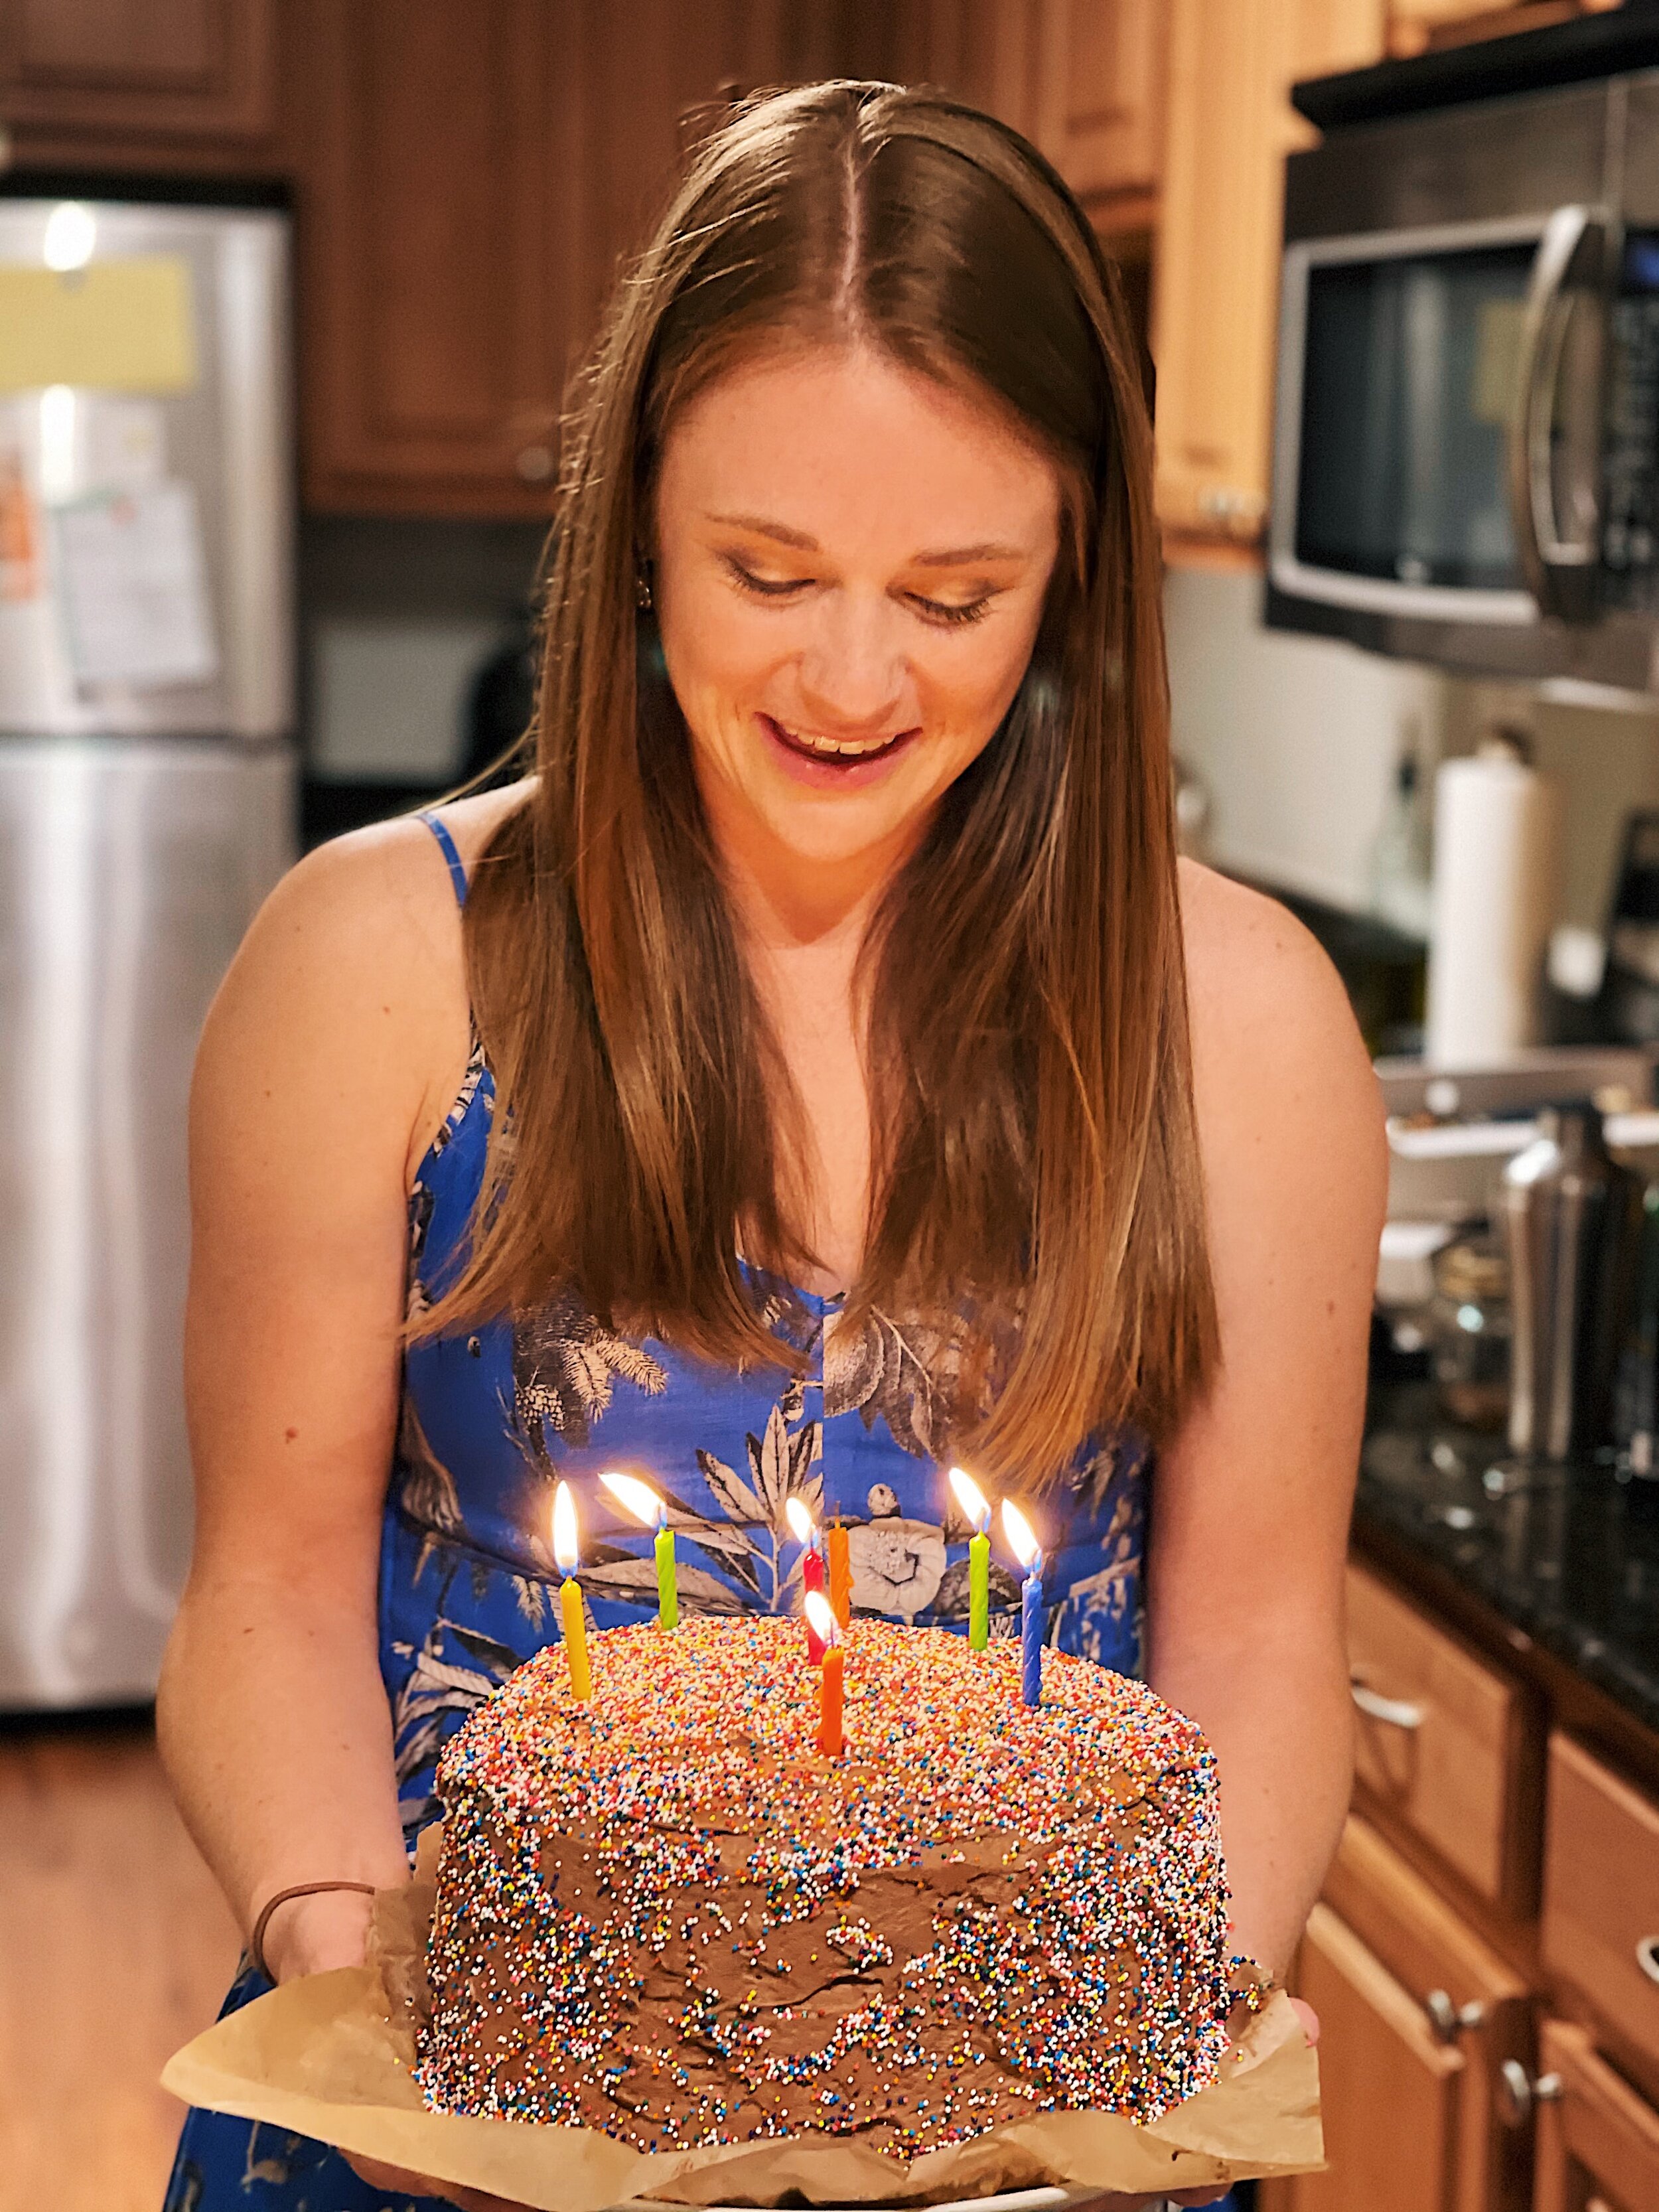
My 28th birthday was magical… 

(Shameless plug: If you want to hear about ALLLL the magic, you can subscribe to my weekly newsletter. It’s short and hopefully entertaining, and arrives just in time for your Saturday morning coffee. Subscribe here.)

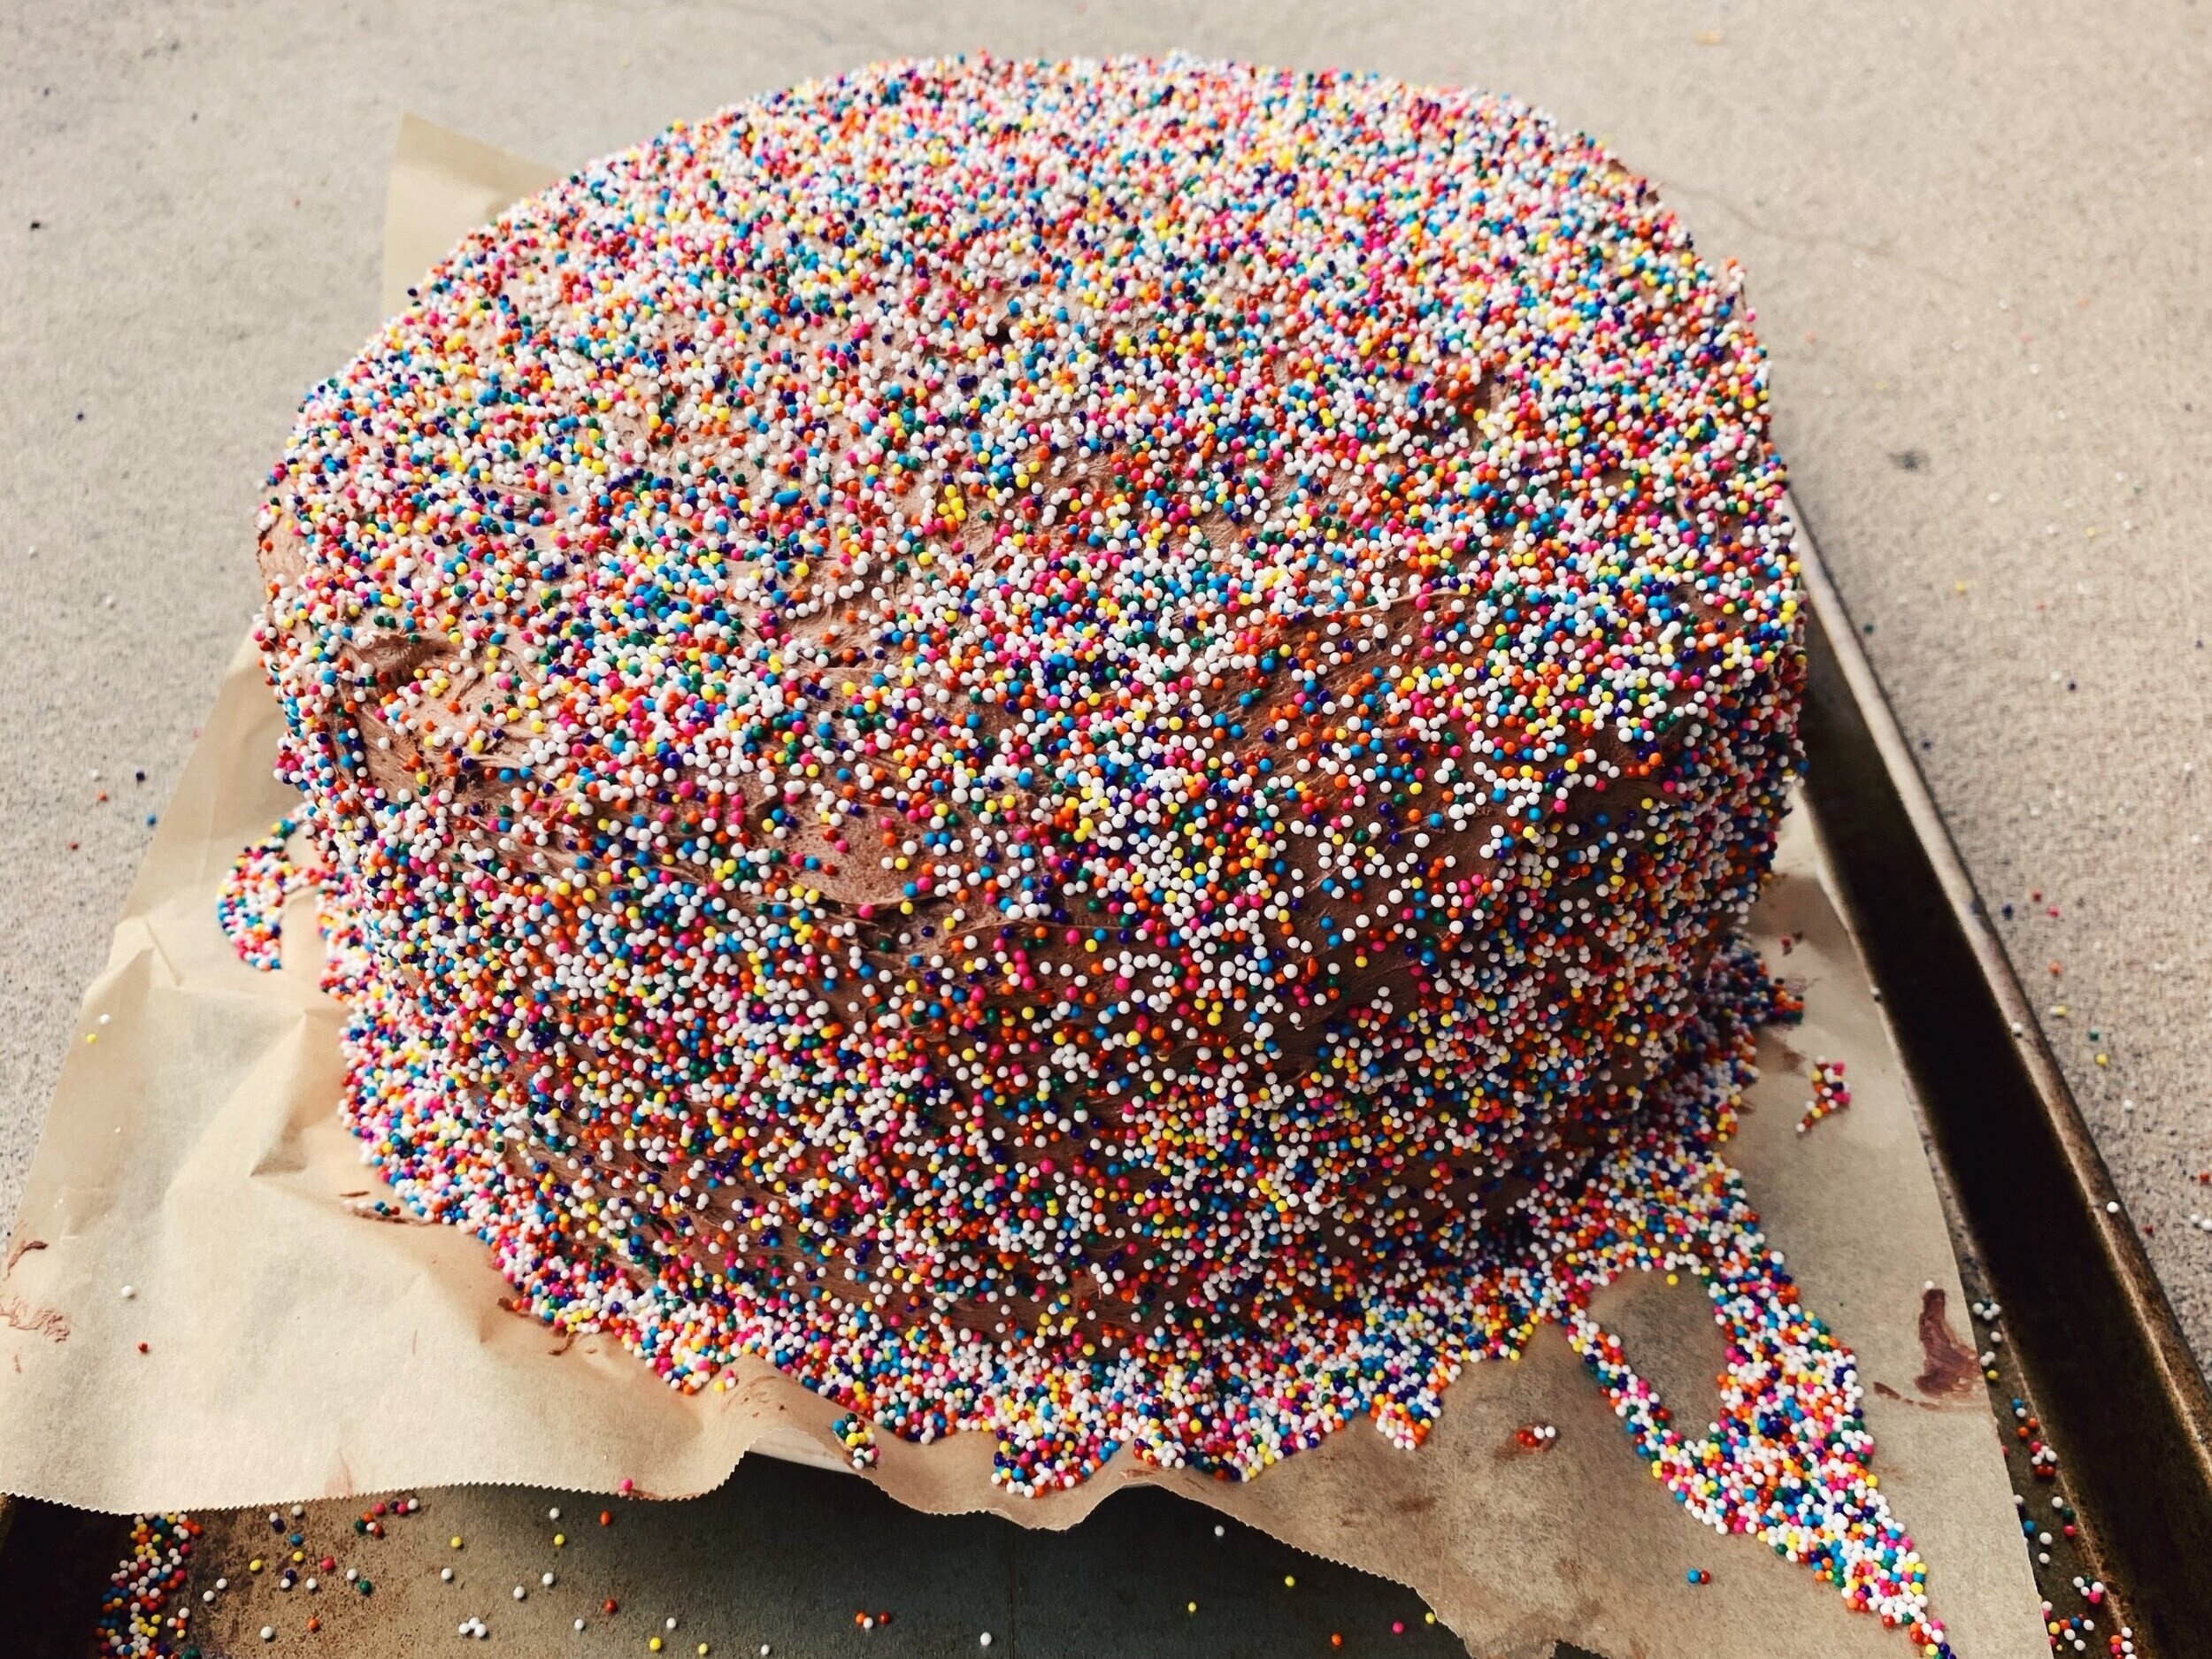
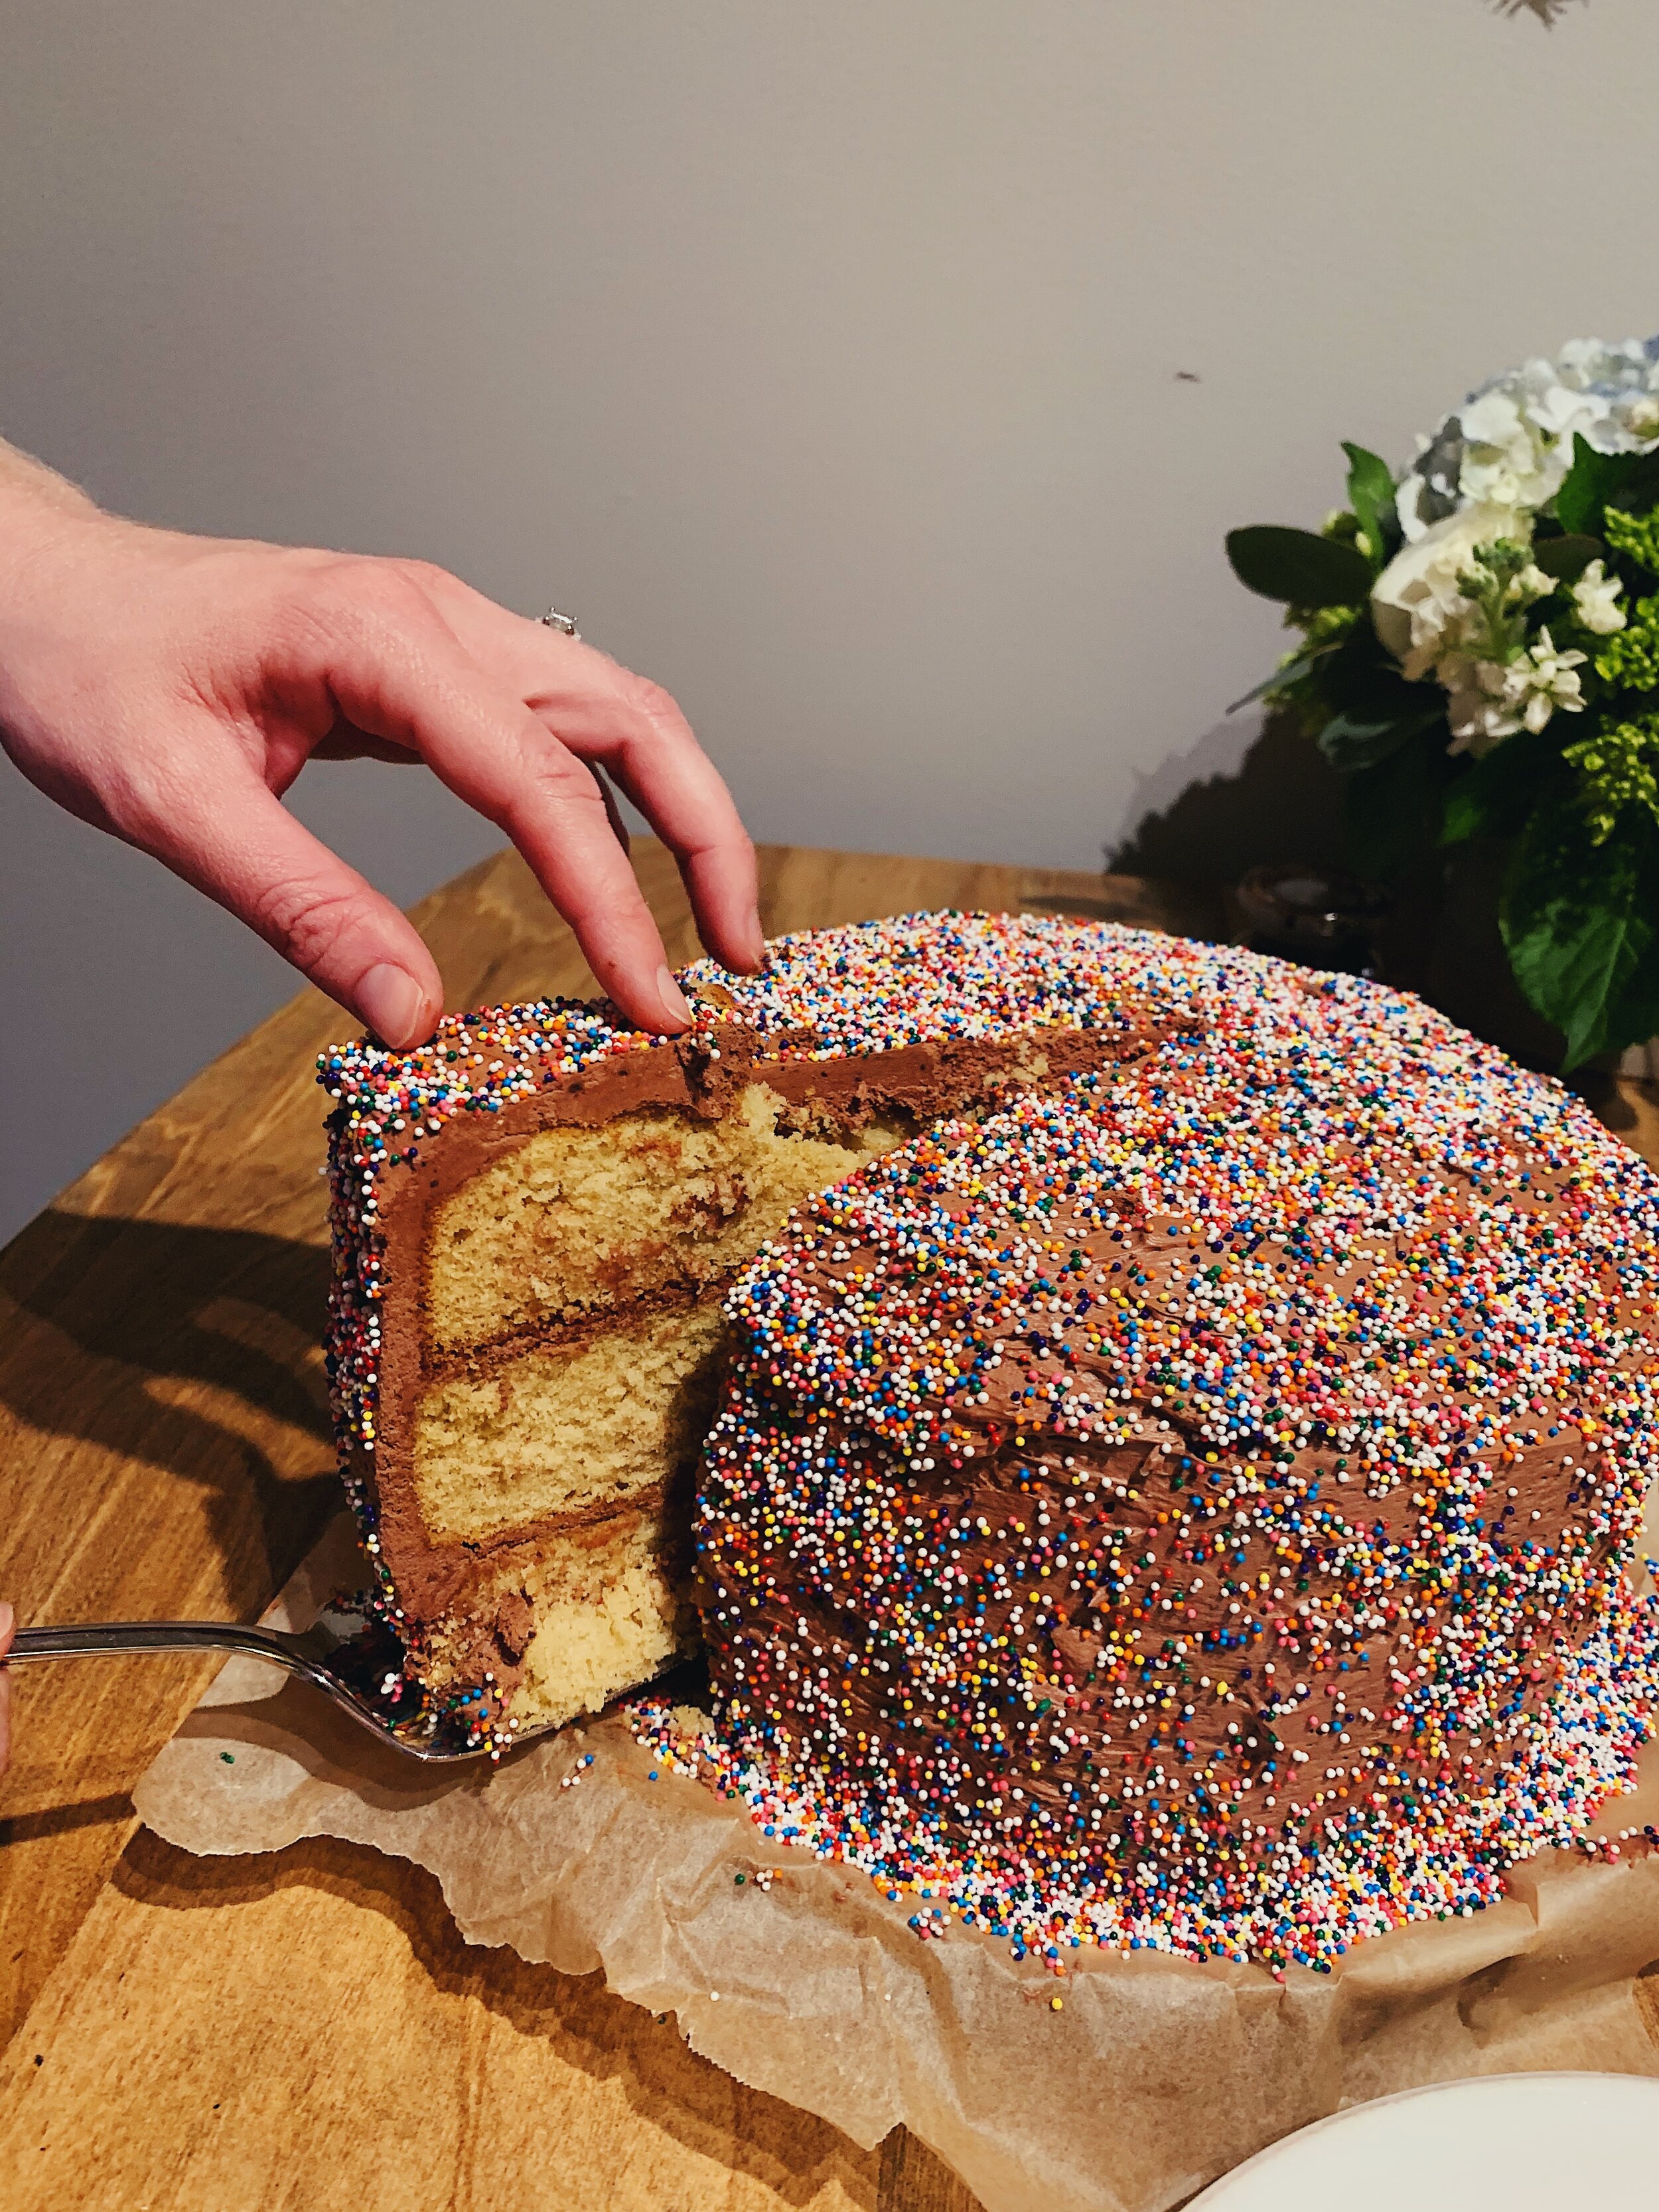
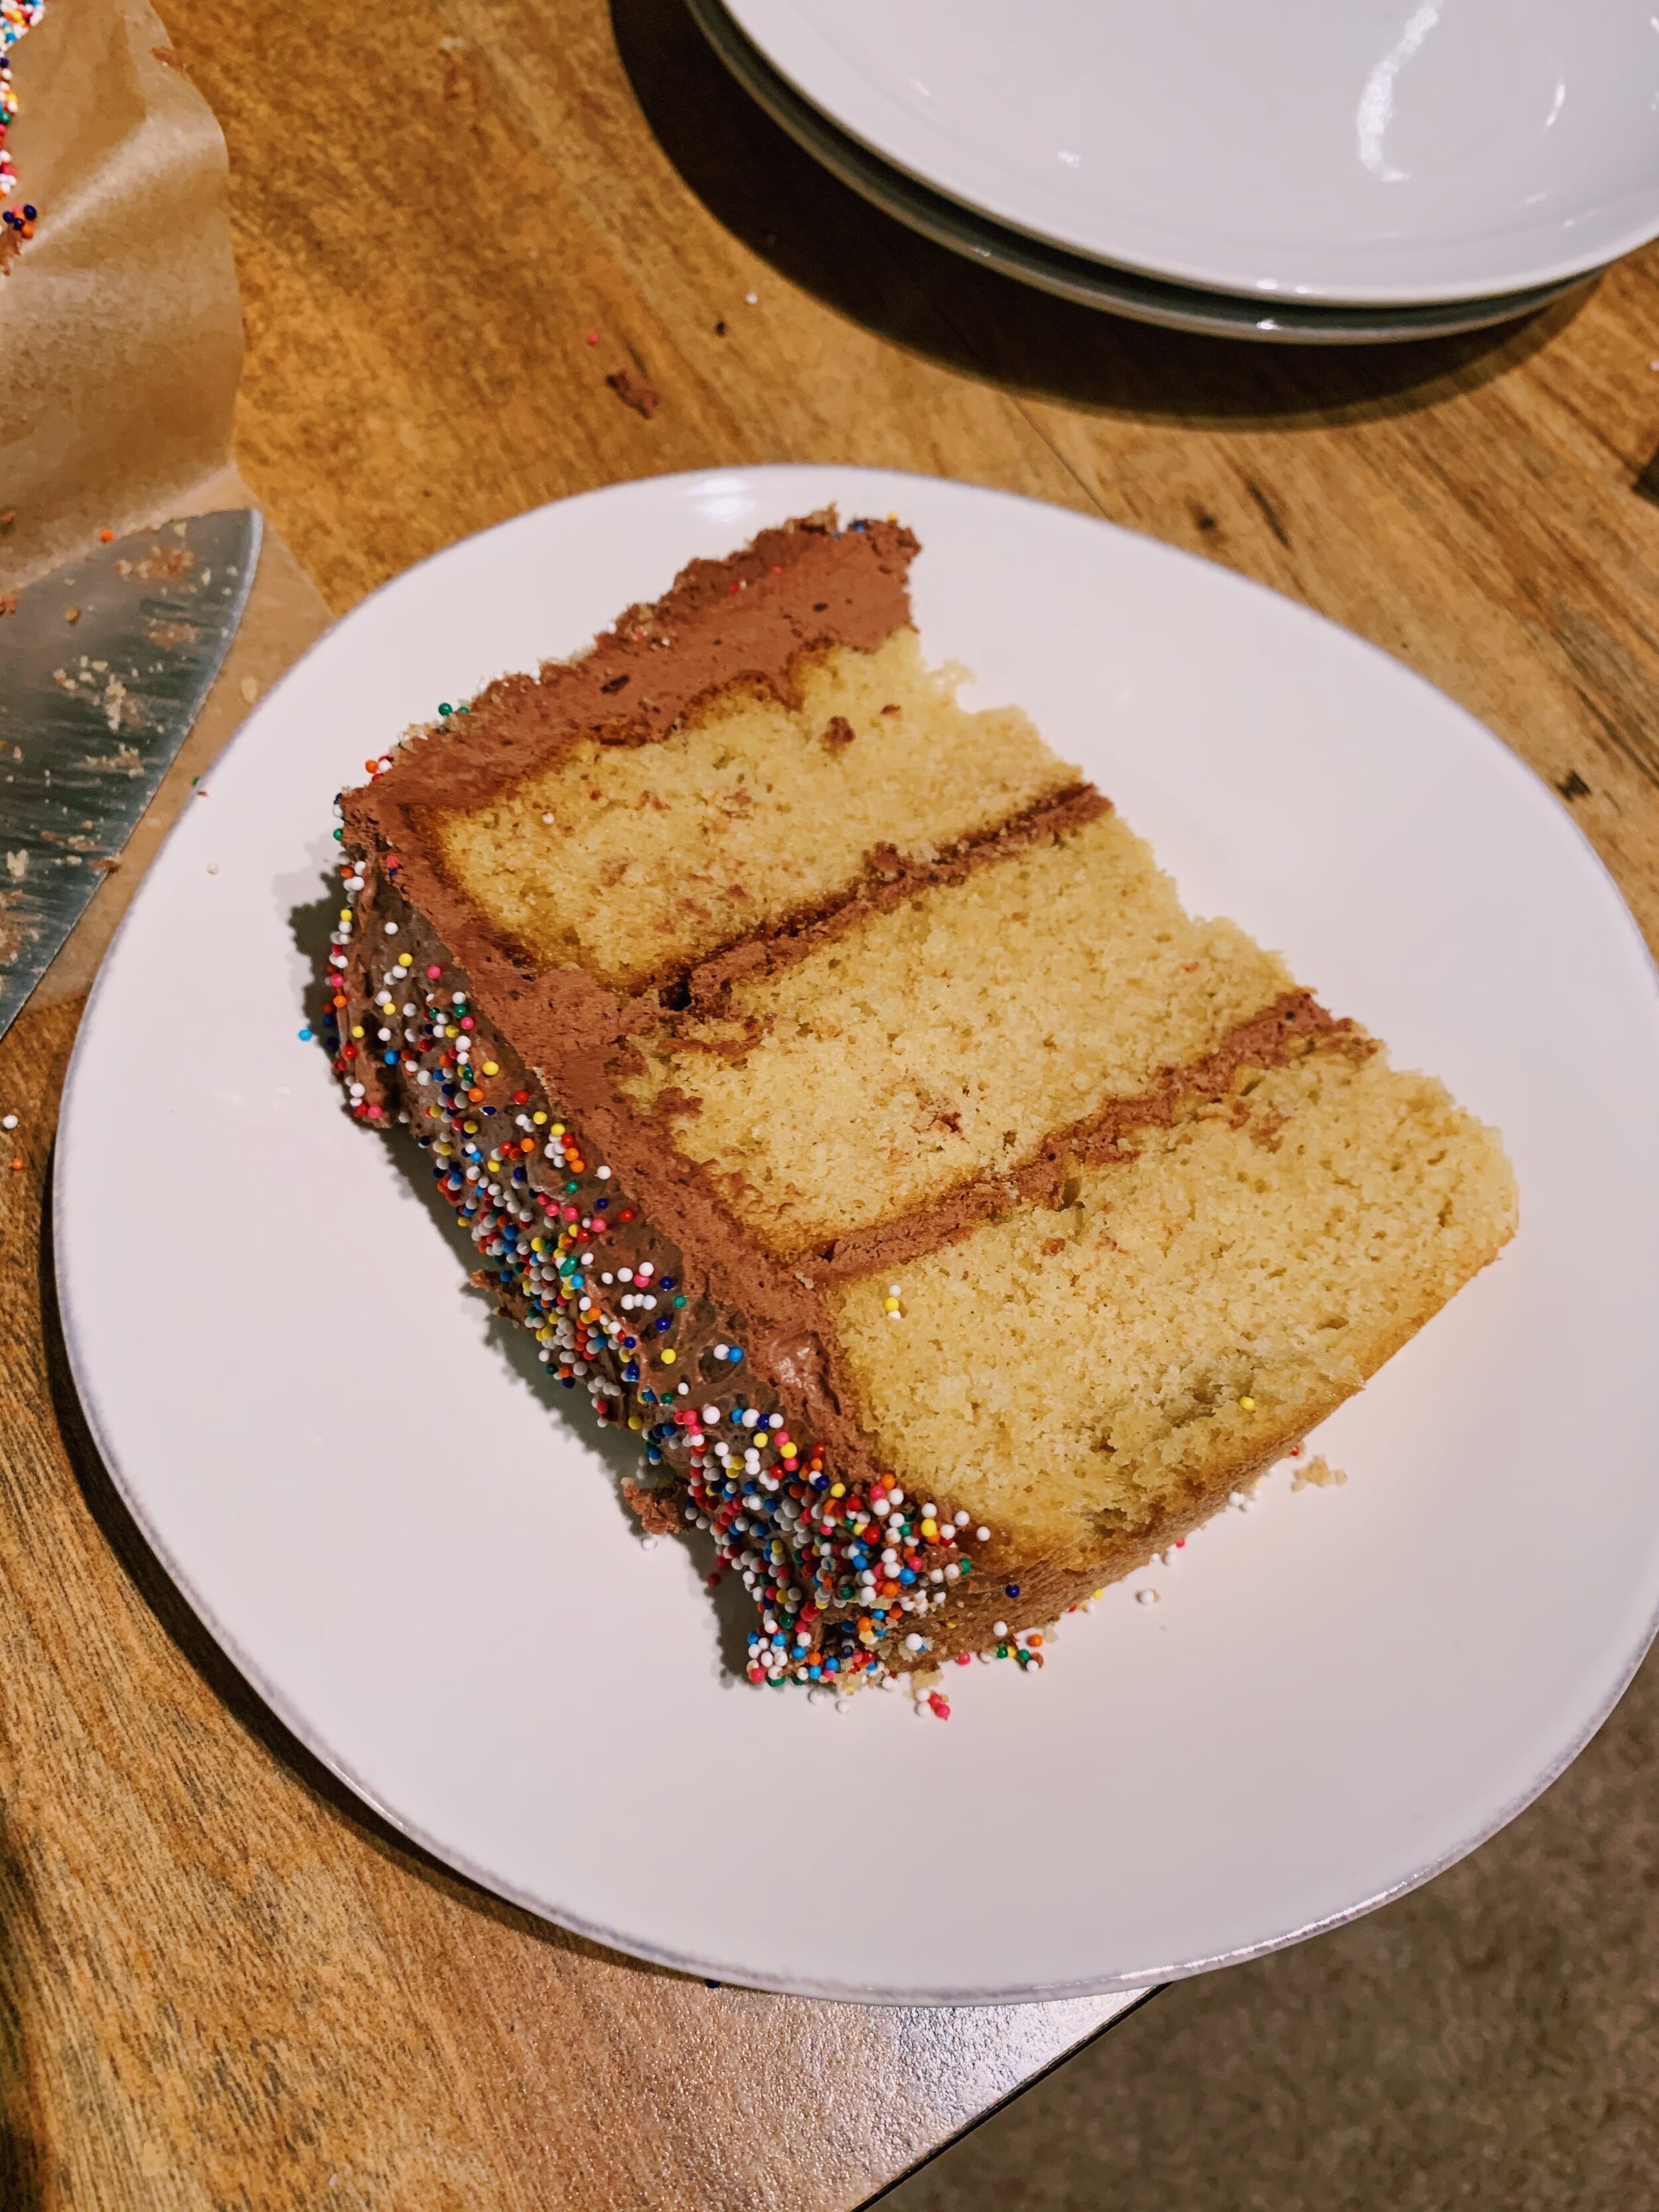
One of the many magical events of my birthday weekend was having our two favorite couple friends over to celebrate. For this event, I felt it only fitting to make Alison’s Celebration Cake: a three-tiered yellow cake with chocolate/sour cream frosting and rainbow sprinkles. And yes, I did convert it to a Gluten-free recipe! Tips for doing so are below.

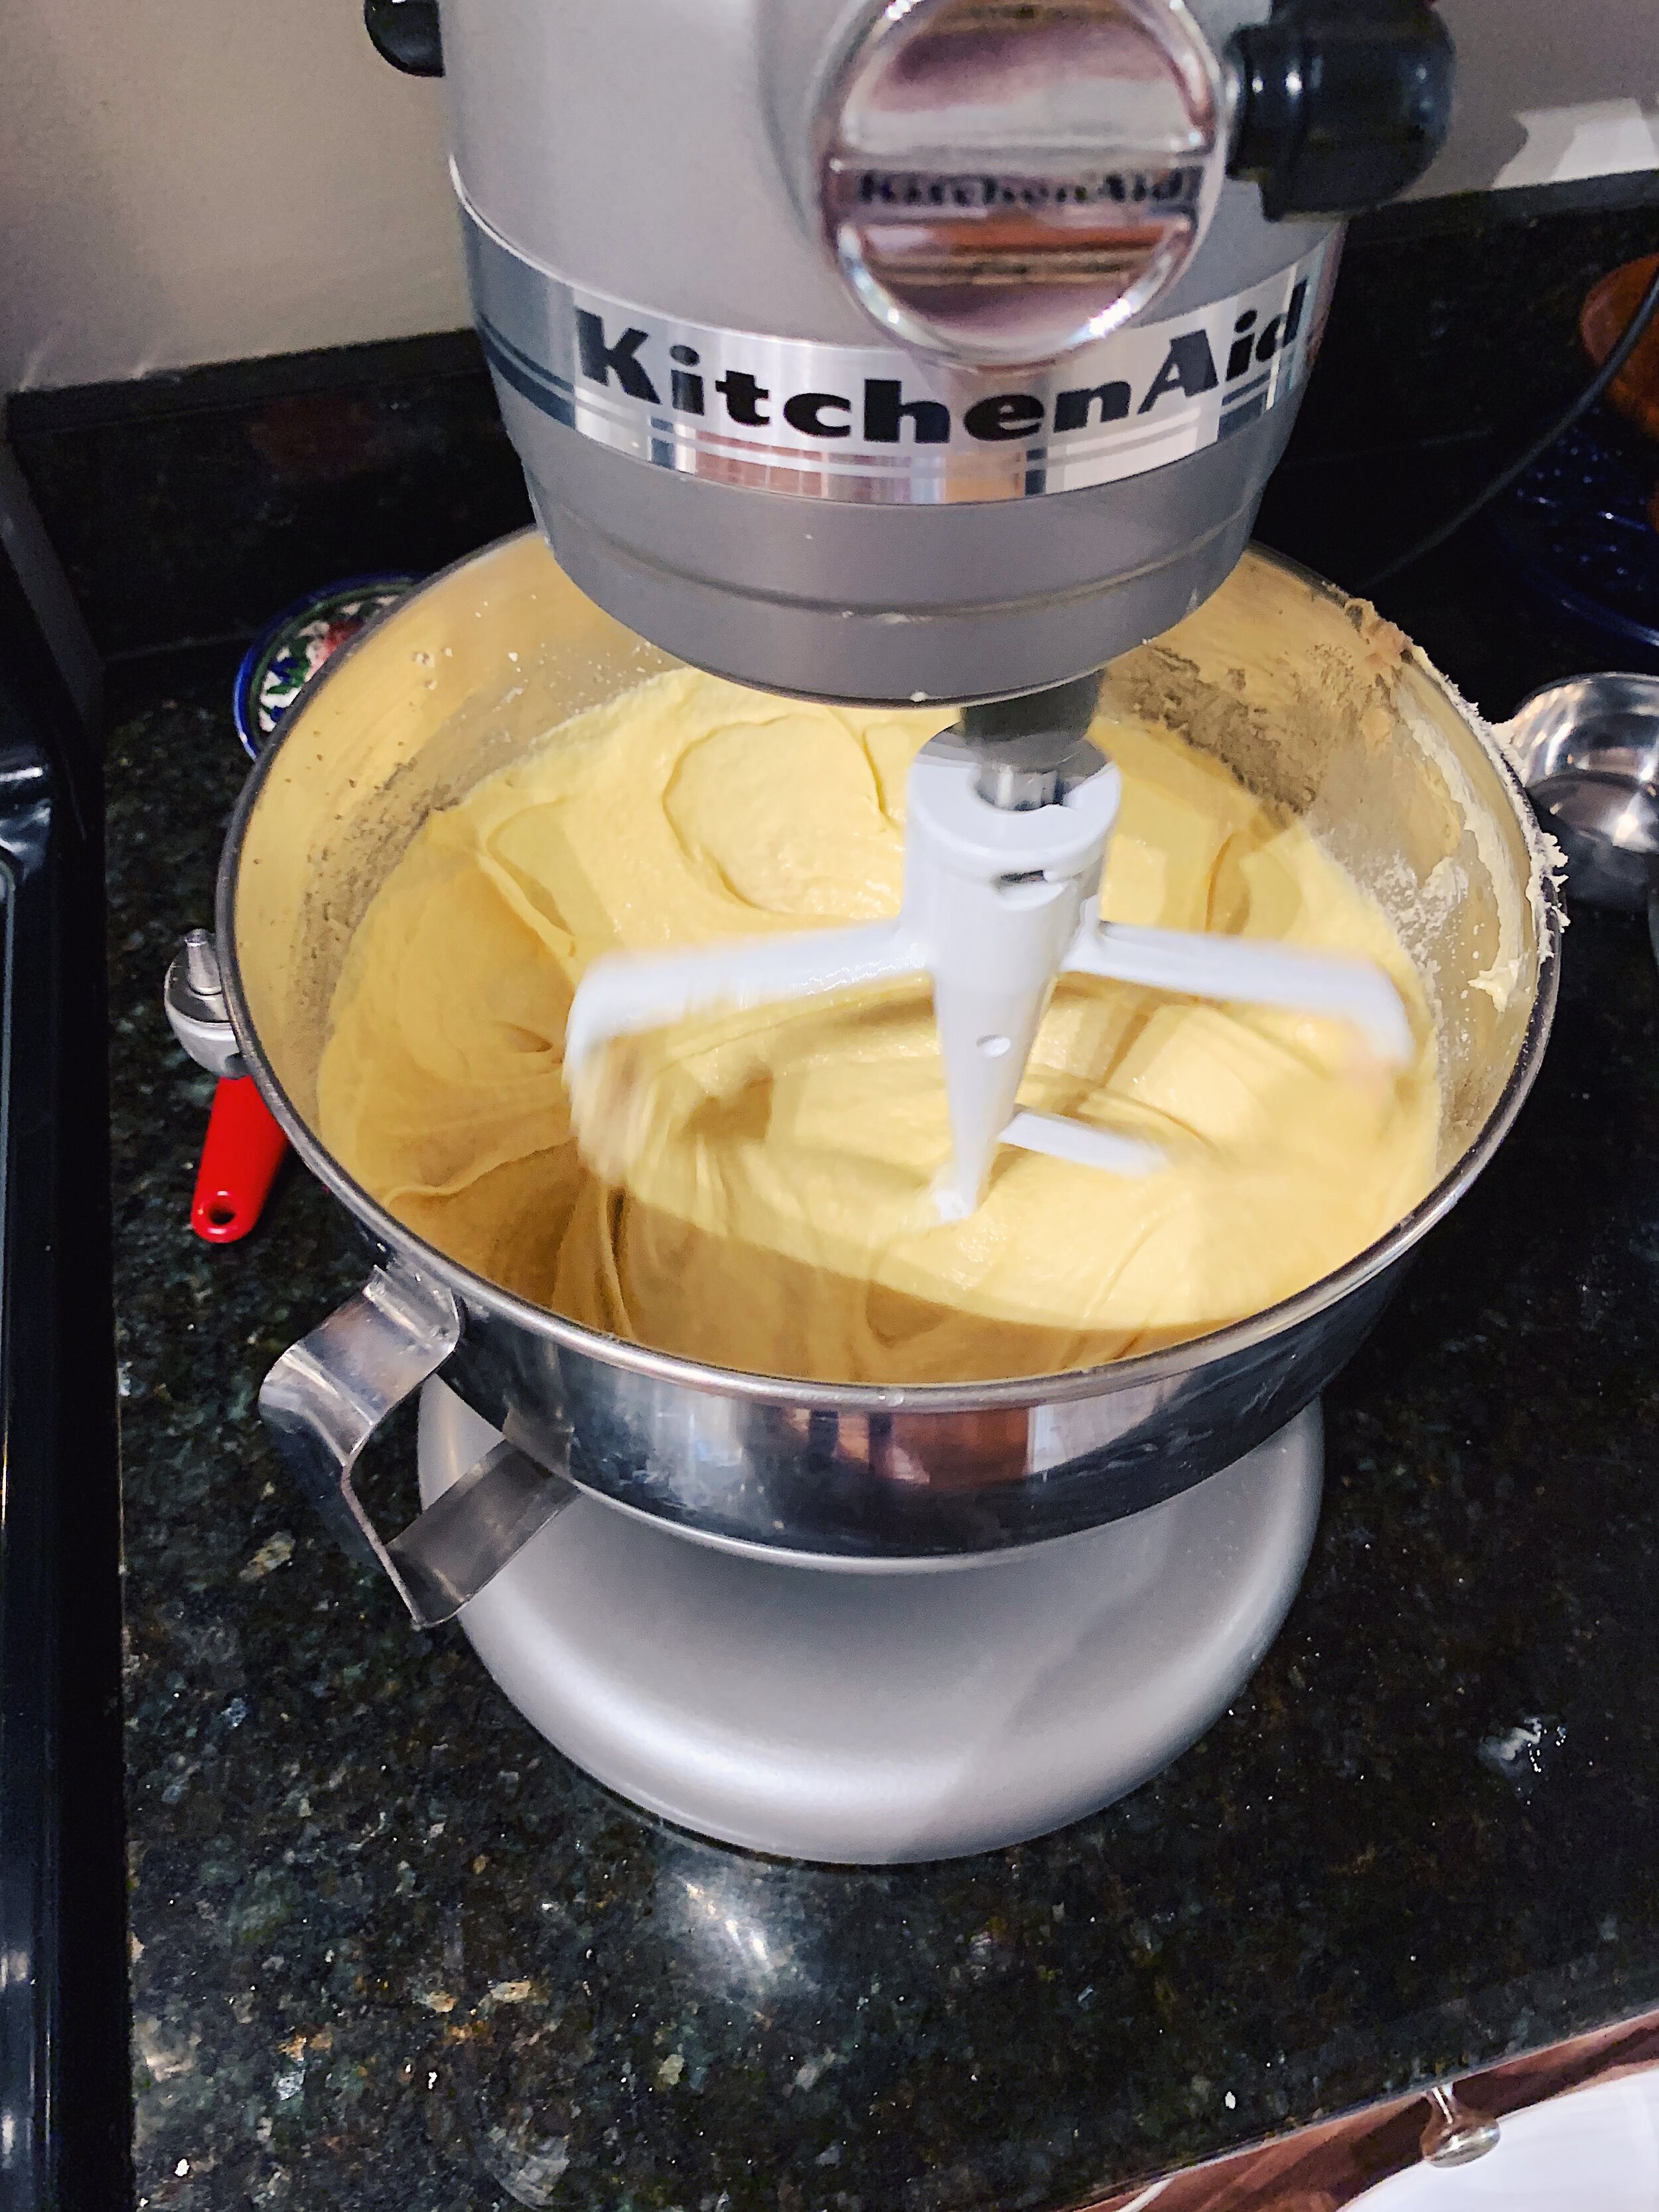
everyones-favorite-celebration-cake-alison-roman-batter.jpg

I’ll admit that I’ve never considered myself a baker. Baking is fussy and requires precision. People say baking is pure science, and since I am historically terrible at that subject, I assumed I’d fail at baking, too. I used to tell people that I was capable of messing up a box of brownie mix. (Which is true, I’ve done so more than once.)  I’m working on my baking confidence though. I received a Kitchen Aid mixer as a wedding gift, and you can’t have one of those giant, heavy machines and not attempt to use it. This project alone requires me to bake at least 30 times. But a three-tiered cake -- now, that made me nervous. I went down a dark mental road and imagined it toppling over several times. Which turned this into a moment when I had to test my theory that good things happen when passion and risk join forces. So without further ado… cake.

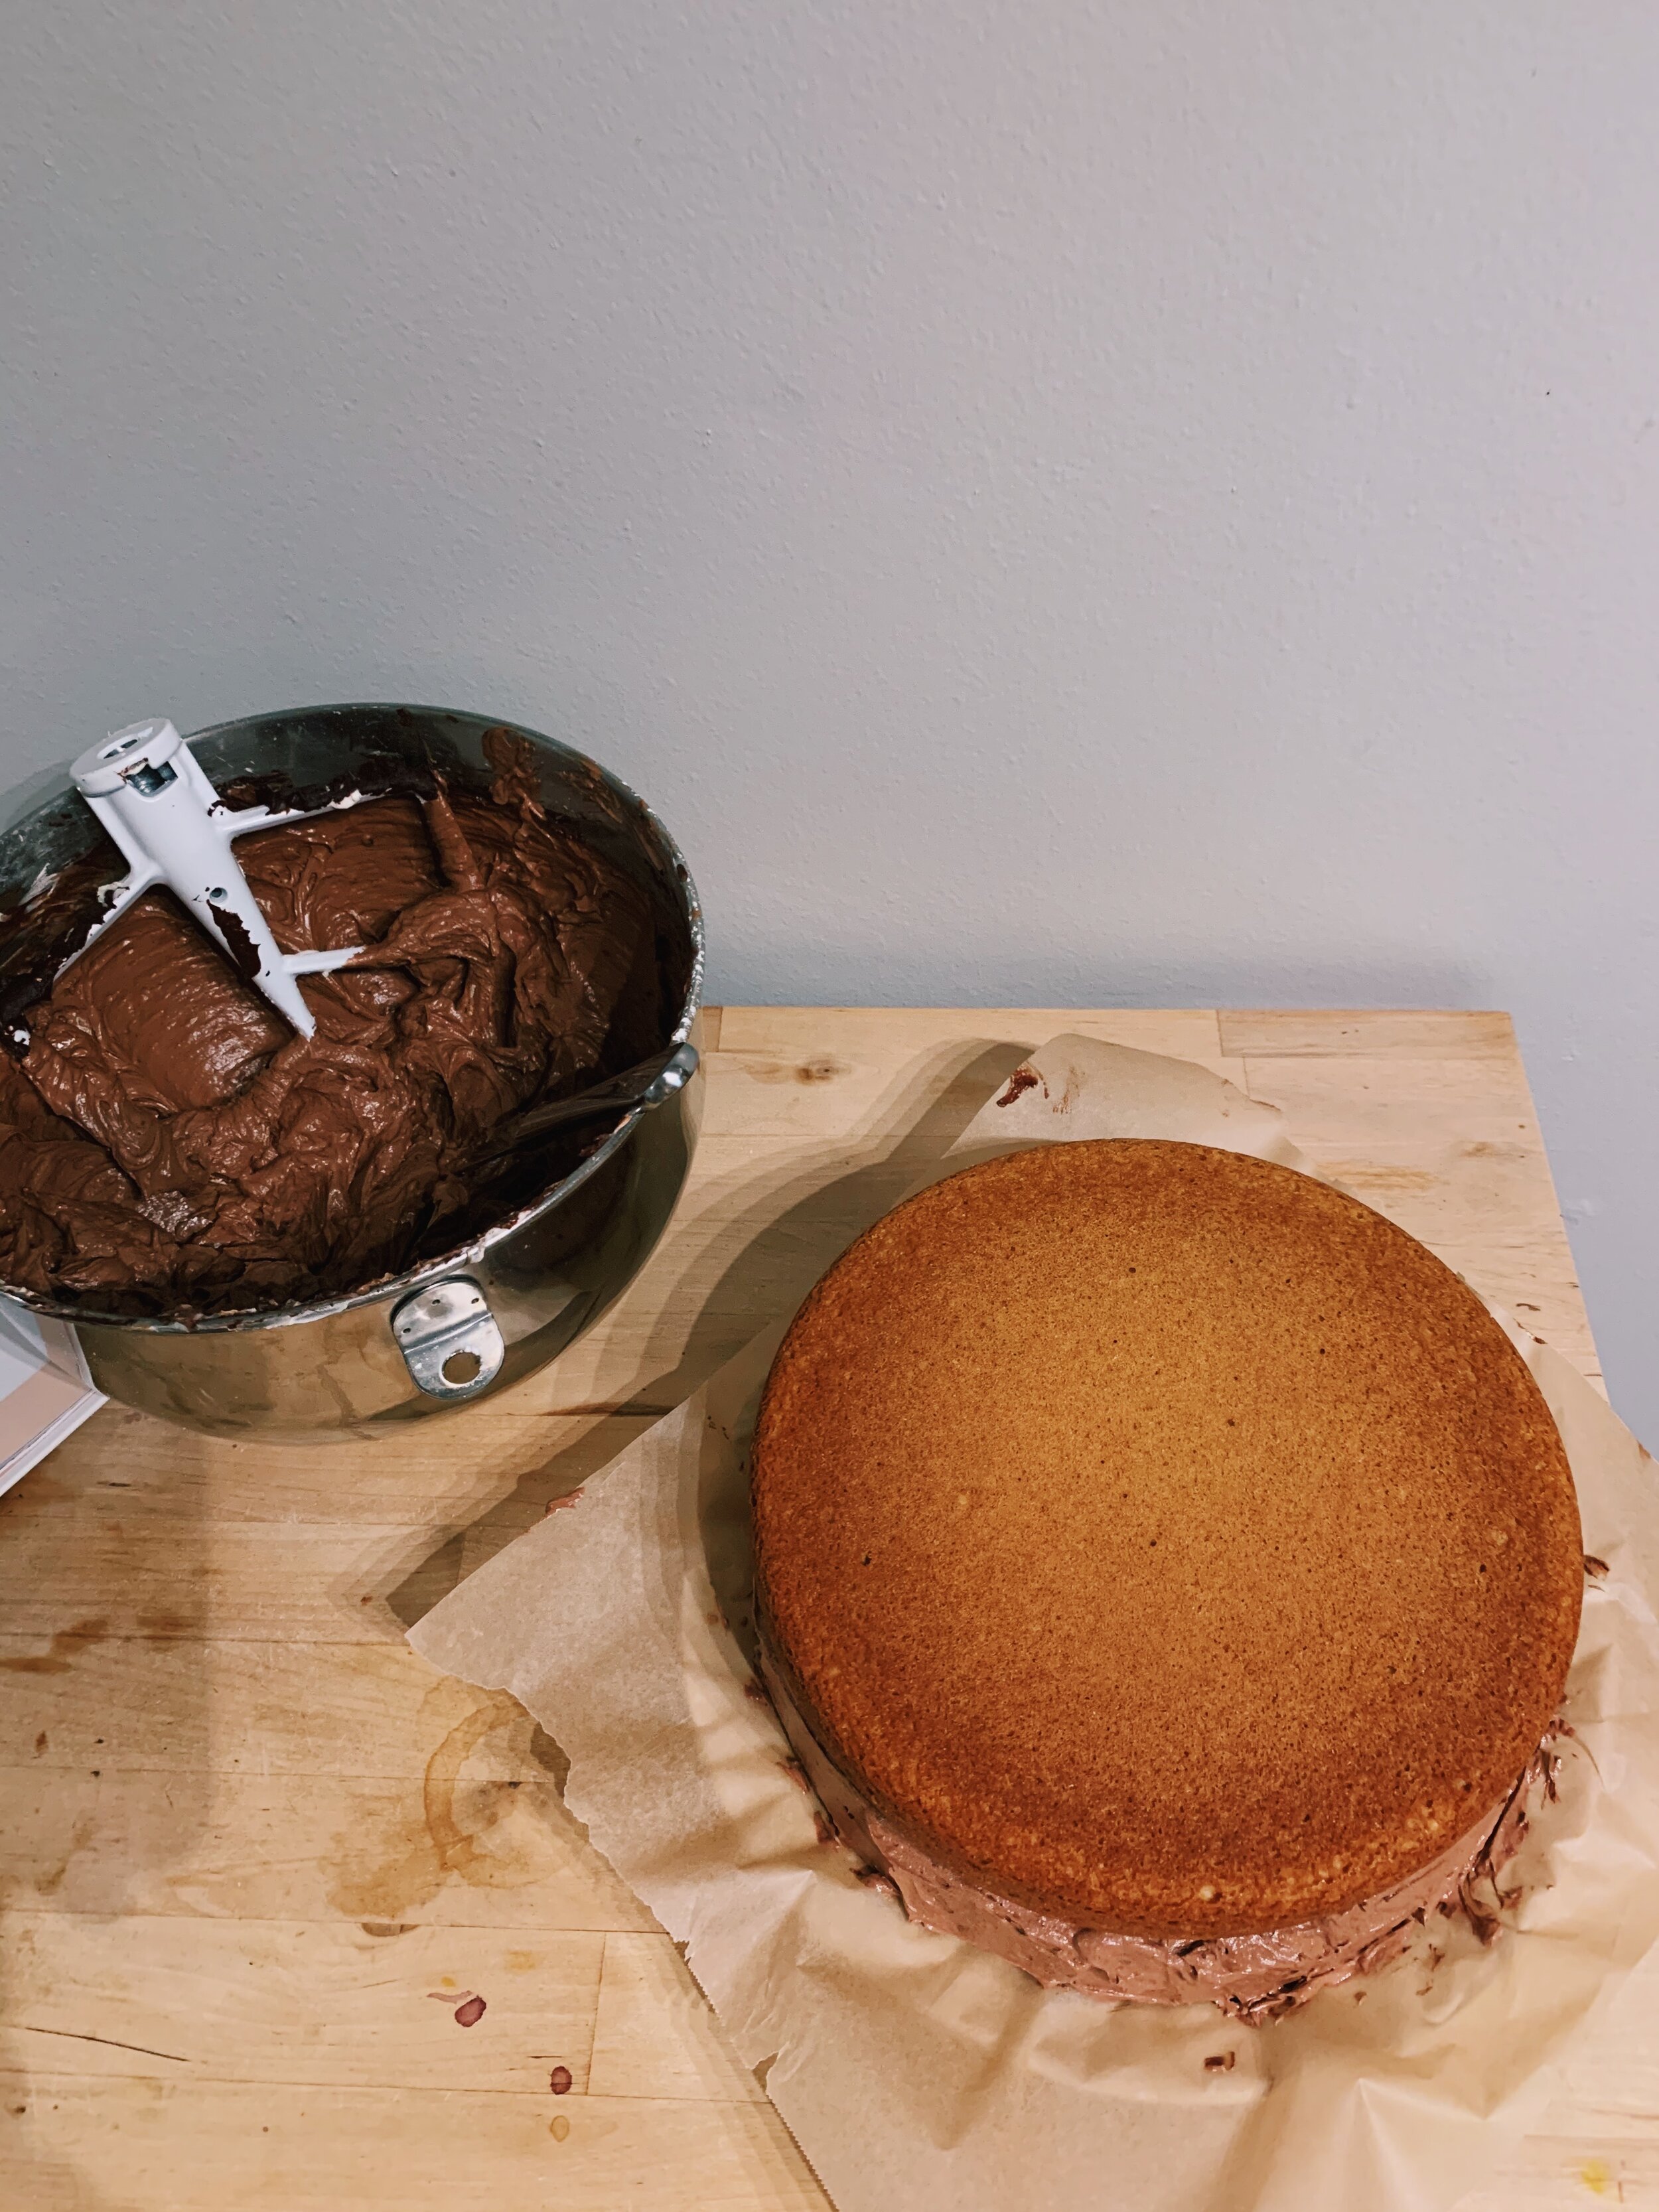
everyones-favorite-celebration-cake-alison-roman-cakes-cooling.jpg

First step was to make all three tiers of the yellow cake and let them cool completely. I won’t bore you with the steps of making the cake batter, but I will tell you how I made it GF. Using the steps below, I truly could not tell what the difference would be between my GF version and the real deal. Similar to the method I used for the Lemony Turmeric Tea Cake, I: 

  • Swapped regular All-Purpose flour with Gluten-free All-Purpose flour, using a 1:1 ratio 

  • Added 1.5 tsp. of Xanthum gum (½ tsp. per cup of flour)

  • Used 2 additional eggs: 7 whole eggs instead of just 5 eggs, in addition to 3 egg yolks

everyones-favorite-celebration-cake-alison-roman-frosting.jpg

I used my scale to distribute the batter evenly between the cake pans as best I could. The cakes bake for about 40 minutes, swapping two of the pans halfway through so that each one has some time on the top rack. Once they are golden brown and pulling away from the sides, they can rest on a rack to cool completely. 

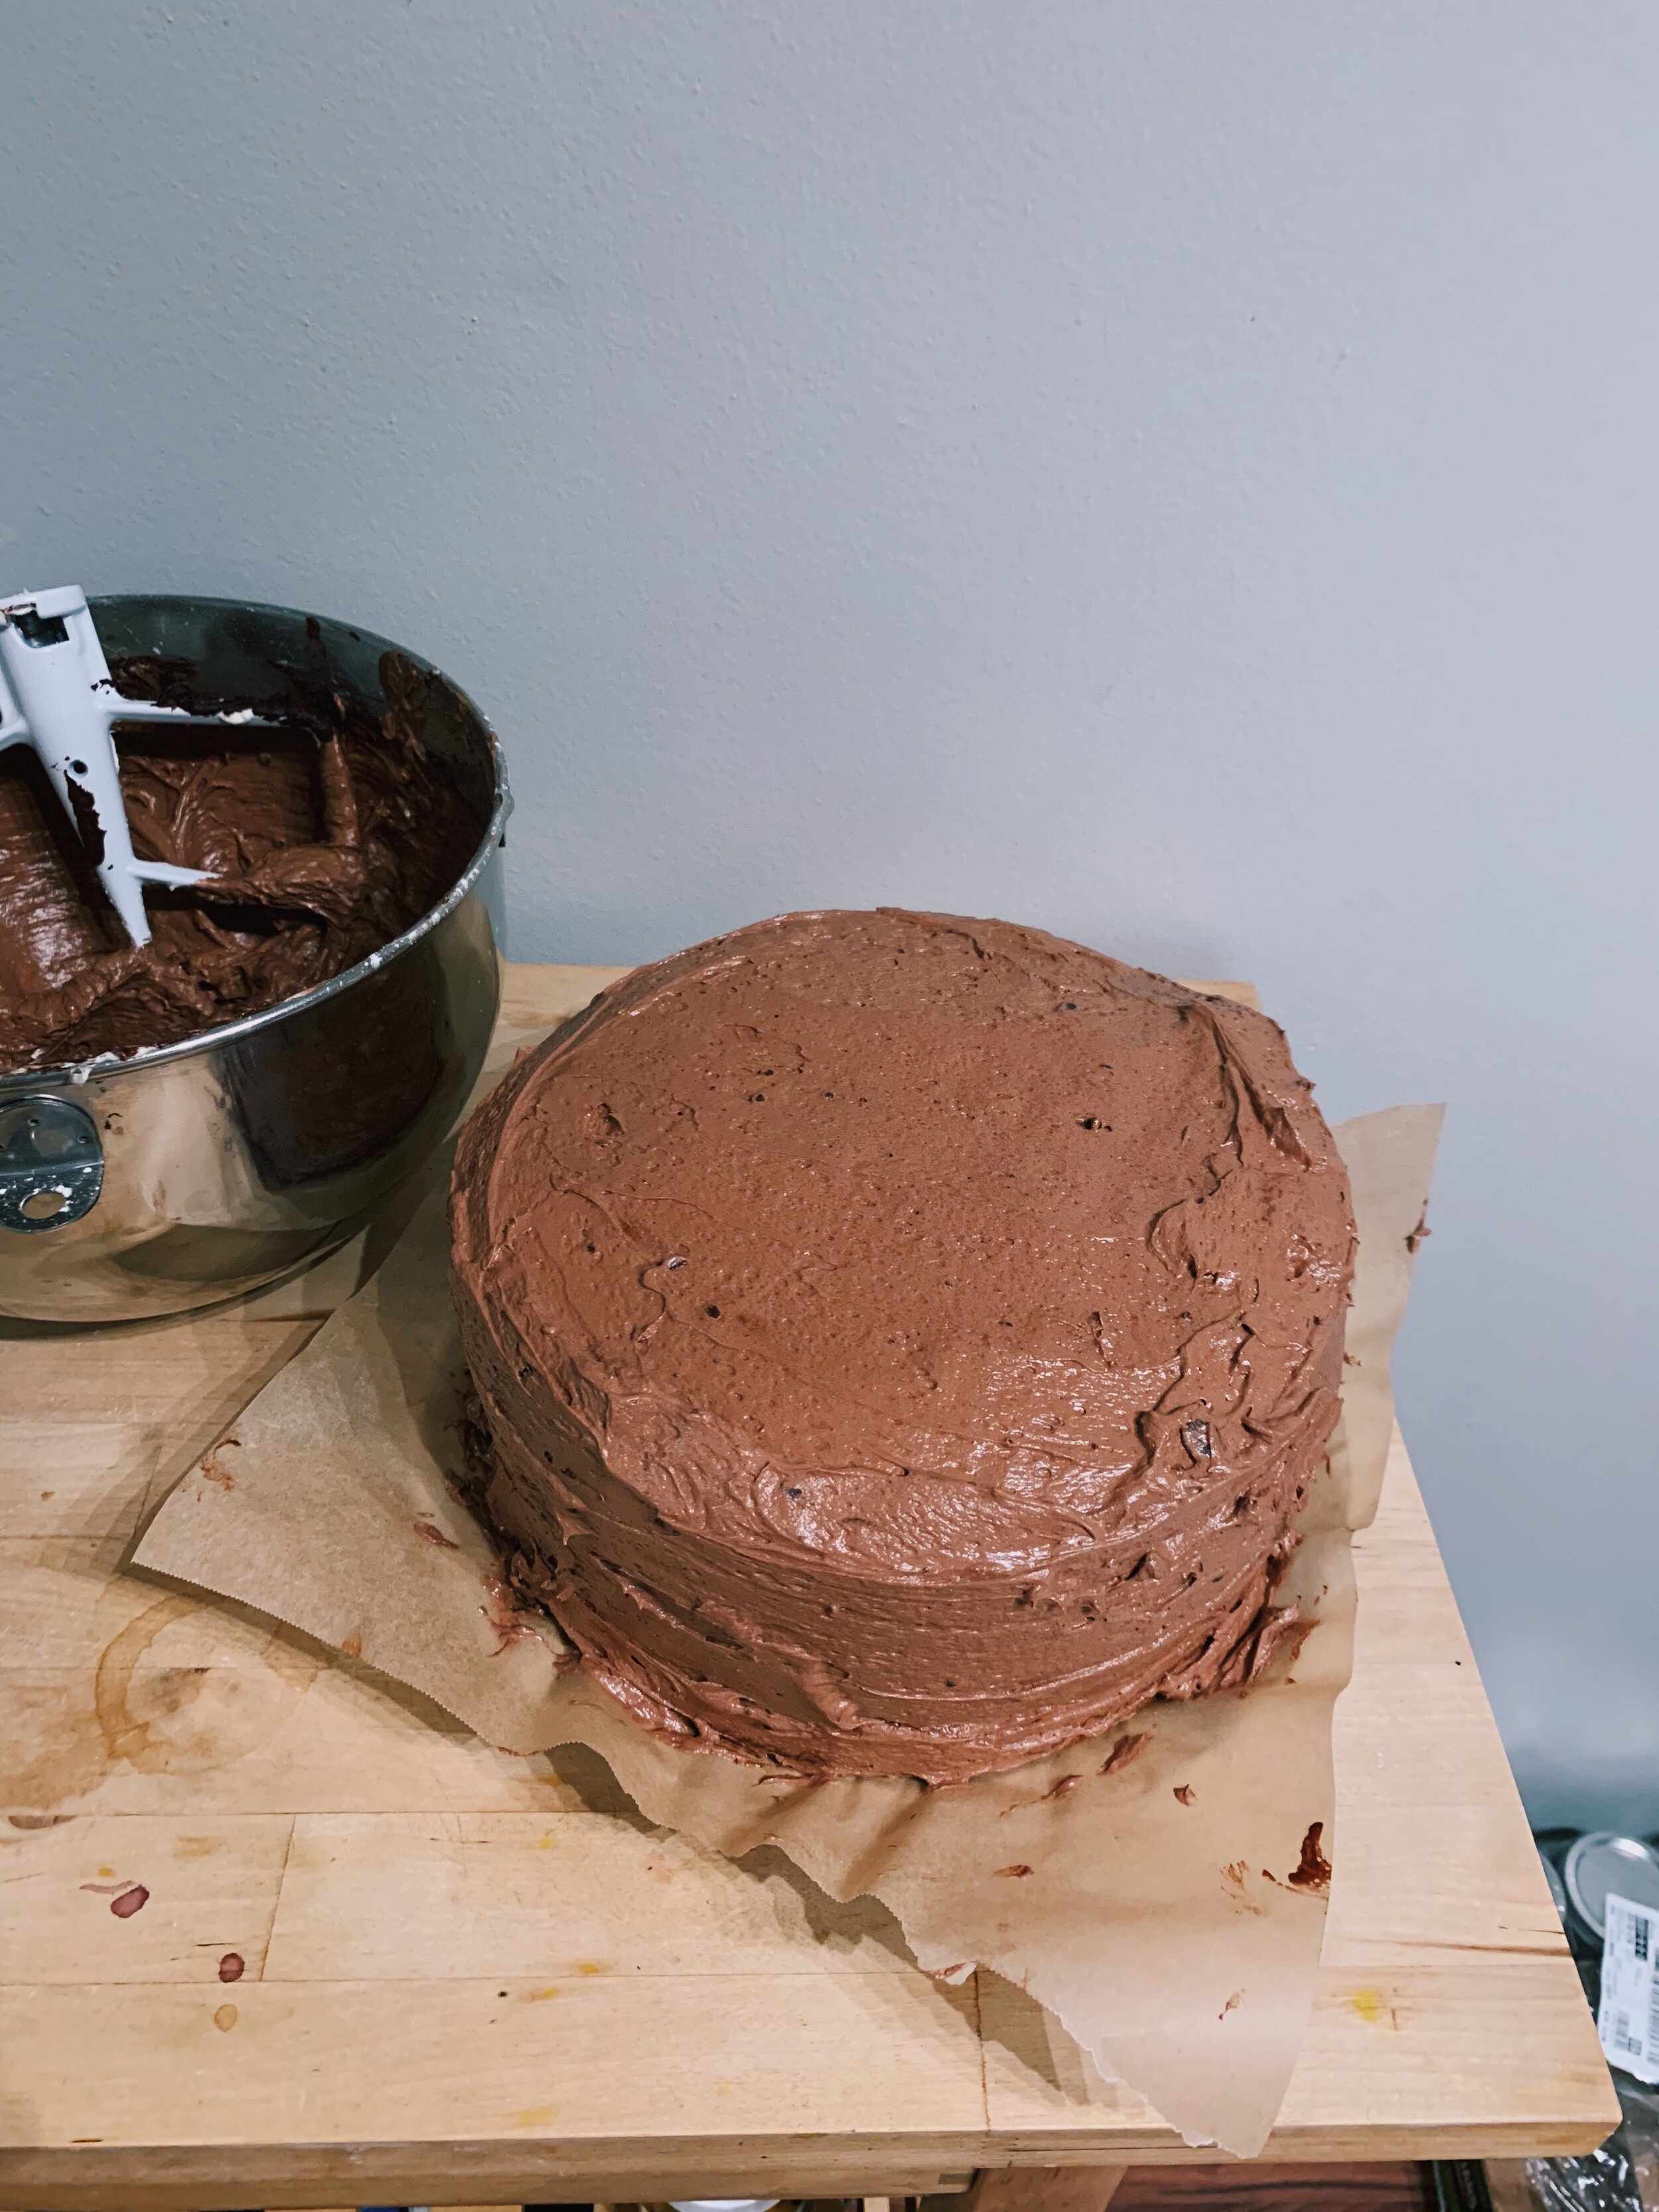
The frosting is made of only 5 ingredients: 12 oz. melted bittersweet chocolate, 2 sticks of butter, powdered sugar, sour cream, and a dash of salt. Whip them together until they’re impossibly fluffy, and you’ll have frosting that looks and feels like it came straight from a canister. I’ll admit that this frosting is VERY rich. Delicious, but perhaps slightly too much for me. And for some reason, it tasted more mellow on the second and third days. 

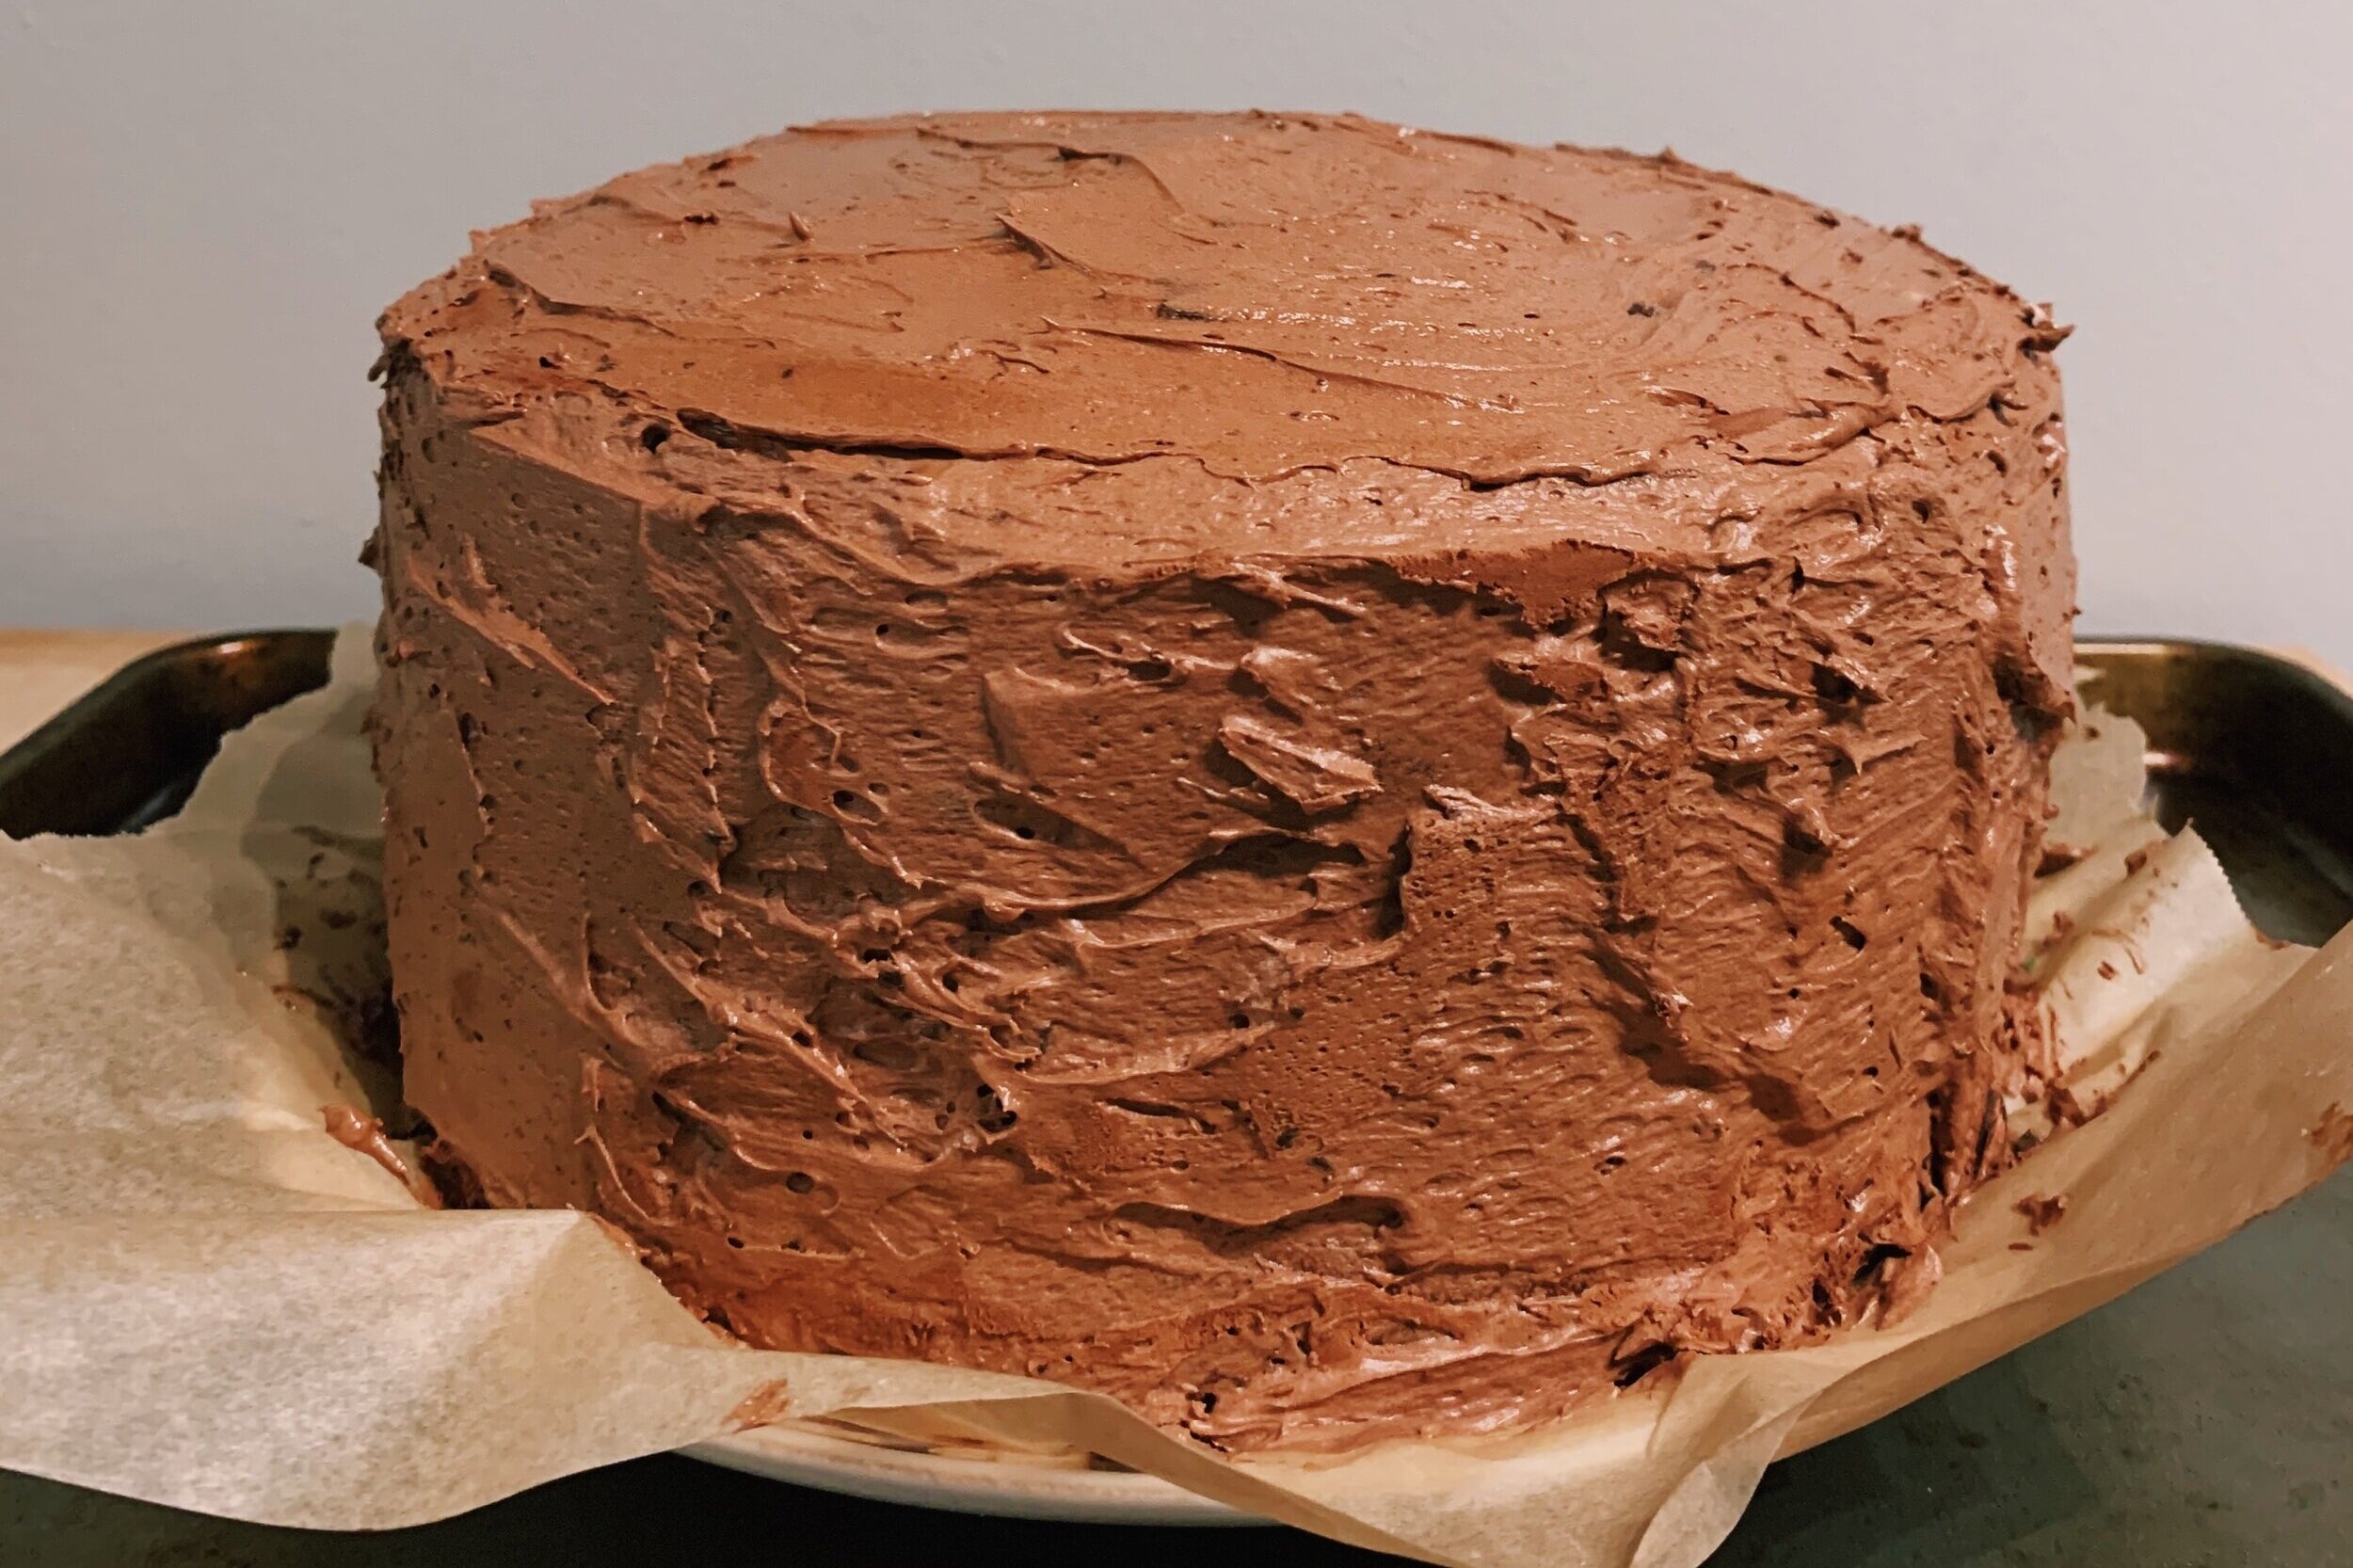
Assembling and frosting the cake was the part I was most nervous about. However, Alison provides a guide on “How to Casually Frost a Cake,” which basically encourages playing fun music, sipping rosé and acting like the whole affair is purely a fun activity. Which in hindsight seems like a no brainer. But I do struggle with taking myself too seriously, so this was a welcomed reminder. 

I learned about a crumb layer through this recipe. It’s essentially the first layer of frosting applied to a cake. You know the time you frosted a cake as a kid and it felt like you were just smearing loose crumbs all over the surface with the frosting? A crumb layer allows for that to happen, because you can refrigerate the cake after the crumb layer, allowing the cake to settle and firm up before applying the second, and more decadent layer of frosting -- the layer that won’t have any crumbs. (However, I didn’t have any problems with crumbs in either layer, which I think is due to how thoroughly my cakes had cooled by this point.)

The last step was to apply copious amounts of rainbow sprinkles. For the sides, I basically had to toss sprinkles at them like confetti and pray that they stuck. Which means that these sprinkles went E-VER-Y-WHERE. At one point, Jordan had the brilliant idea of moving the whole operation to our balcony. We stood in the cold wind and chucked double-fisted handfuls of sprinkles at the cake like all-star pitchers. 

I may still be vacuuming up sprinkles from my carpet one week later, but this cake was totally worth it. The awe-factor of cutting into it and seeing those three straight layers of cake emerge was super satisfying. Like I said, the cake and frosting were rich, but boy were they delicious.

49 recipes cooked, 176 to go.